 This work is licensed under a Creative Commons Attribution-NonComercial-ShareAlike 4.0 International license.
Video tutorial
Tutorial
To download and install the Picto Selectorapplication, we must open the Picto Selector website in our browser.

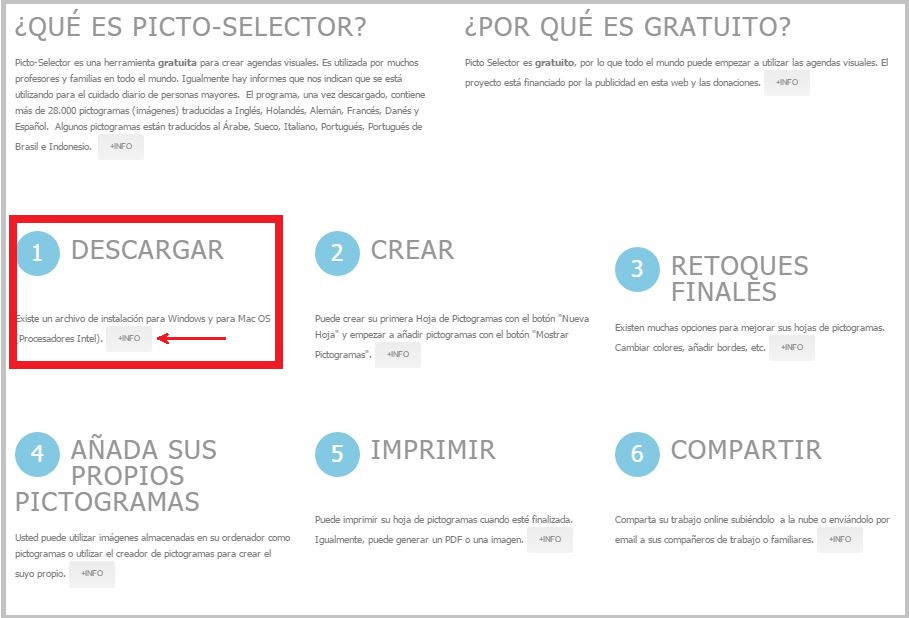
Once inside it, you go down using the scroll of the screen and click on the +INFO button in section 1 DOWNLOAD.
The browser detects the operating system of our computer and offers us the installation on Windows or Mac.
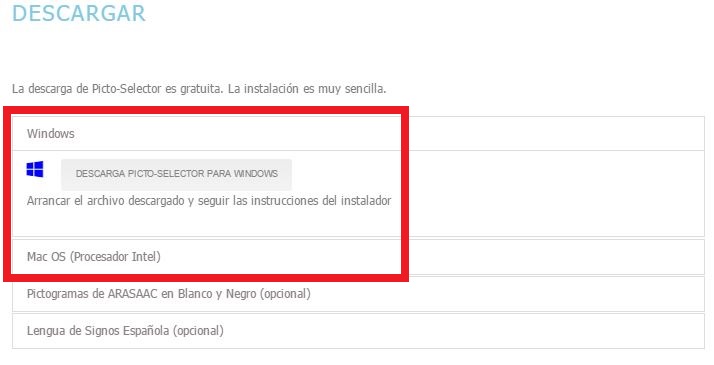
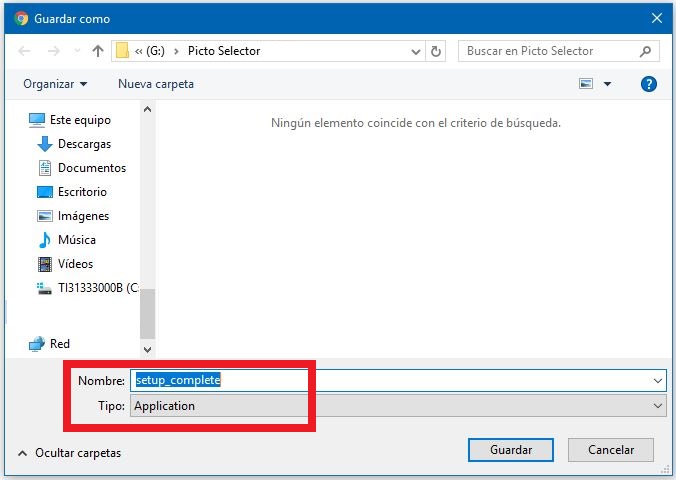
Click on the PICTO-SELECTOR DOWNLOAD button and the download window of the installation file will appear setup_complete. Nós apenas temos que salvar o arquivo em qualquer pasta do nosso computador.
During the installation process, we just have to follow the steps that appear on the screen until we reach the last box and use the Installbutton.

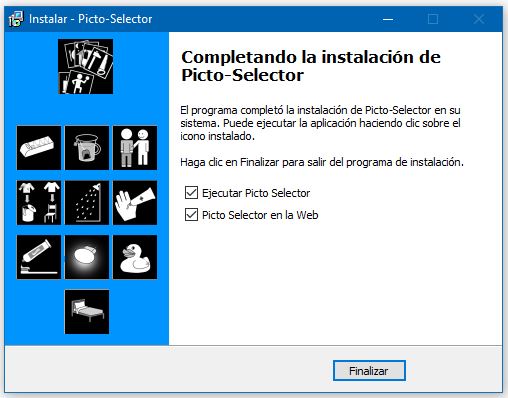
Once the installation process is finished, a window appears on the screen from which we can start the application for the first time. You will also see the Picto Selector icon on your desktop.
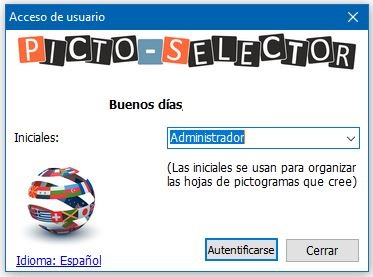
As Picto Selector can work in network and be used by several users,when you start for the first time it will ask you for a username. In this way, it can be used by different people when the computer is shared and save the work of each one separately.
If you are going to use the computer for personal use, we recommend that you use the Administratoraccount, which appears by default.
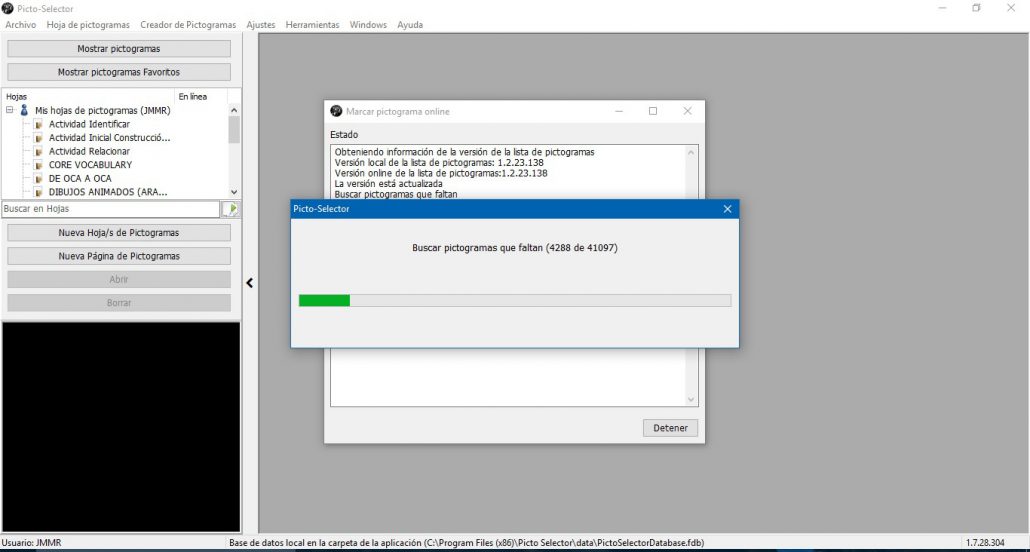
One of the great implementations of Picto Selector is that, every time we start the application, it connects with the main database and warns you of the new updates of the application and the new pictograms added, so that you can proceed to make the updates of both on your computer. In this way, Picto Selector will always be updated to the latest version and will contain all the pictograms updated to the current date.