 Este obra está bajo una licencia de Creative Commons Reconocimiento-NoComercial-CompartirIgual 4.0 Internacional.
Video tutorial
Tutorial
To finish with the own pictograms that Picto Selector offers us, we are going to learn how to handle the Text Bar pictogram that appears in the pictogram gallery.
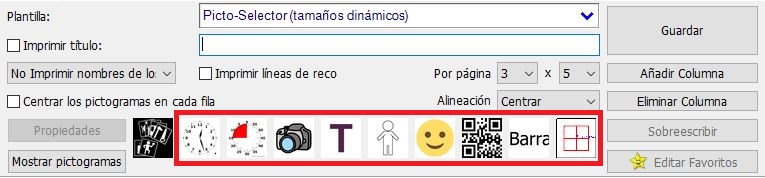
The Text Bar pictogram, as its name suggests, is used to write the text that we want in a complete row of our pictogram sheet. It is very important to emphasize that the text and the format that we introduce will adapt to a complete line of our sheet and we will not be able to introduce any other pictogram in that line. You can use this pictogram, for example, to generate the titles of your final sheet.
The first times you use it, it may be somewhat complex, but it is simpler than it seems. Once we click on the Text Bar icon, a pop-up window appears. In the Text tab in the text bar, we type our title, in this case “Where Wild Animals Live.” And then, we proceed to configure the different options of our text bar.
First of all, the Width of the columns must match the number of columns that we have preset for our glyph sheet. Secondly, the alignment option allows us to Justify to the right, Justify to the center or Justify to the left our text. Lastly, choose a Background color for our text bar.
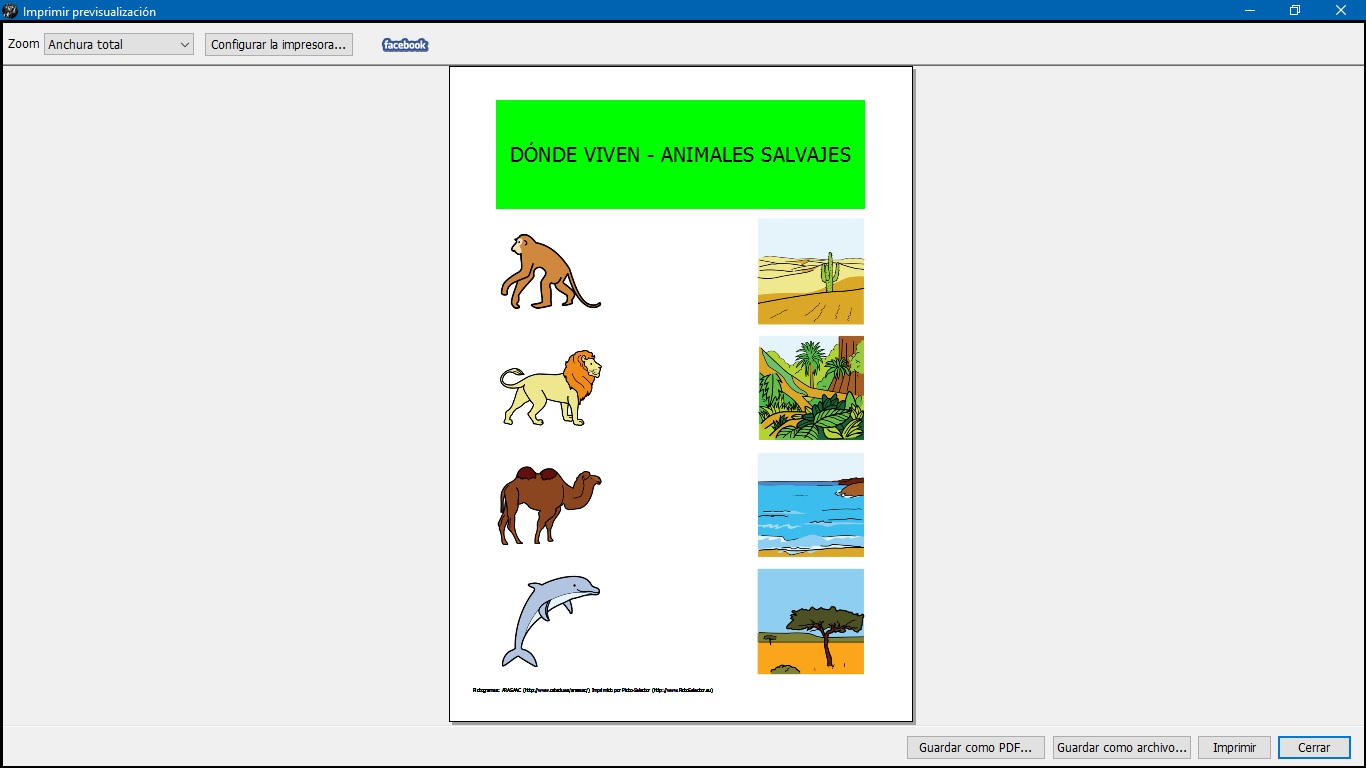
For our example, we have configured the text bar in this way.

Once the pictograms corresponding to the animals and the places and the pictograms in white have been added to the central part, we are going to see the final result. To do this we go to the File menu and select the Print option to preview the result and perform one of the actions: Save as PDF file,Save as graphic file or Print.