


 This work is licensed under a Creative Commons Attribution-NonComercial-ShareAlike 4.0 International license.
Video tutorial
Tutorial
Picto Selector offers us the possibility to Create pages of pictograms to print, using all the tools that we have shown in the chapter of the Pictogram Creator. The handling of the pictogram page is similar to that of creating slides in PowerPoint or OpenOffice Impress. We are going to try to use a simple example so as not to complicate and lengthen this chapter, although we recommend that you explore and rehearse all the possibilities offered by the pages of pictograms.
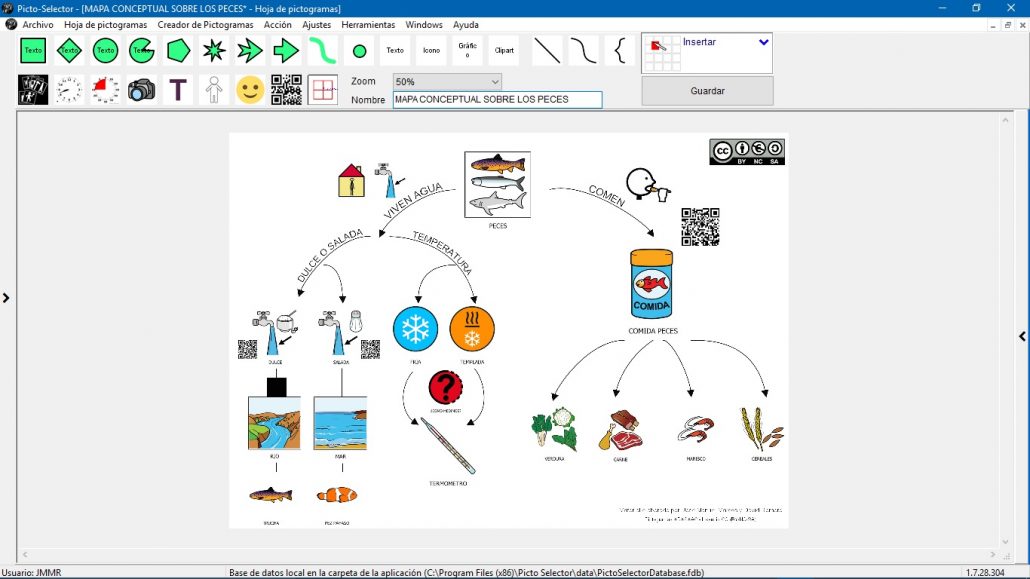
To start creating our glyph page, we select New Pictograms Page in the box on the left and a pop-up window appears in which we can select between a blank Page or Use Pictogram Sheets wizard,which we have already described in a previous chapter. In our example, we are going to use a blank page, as we want to create a concept map about fish.
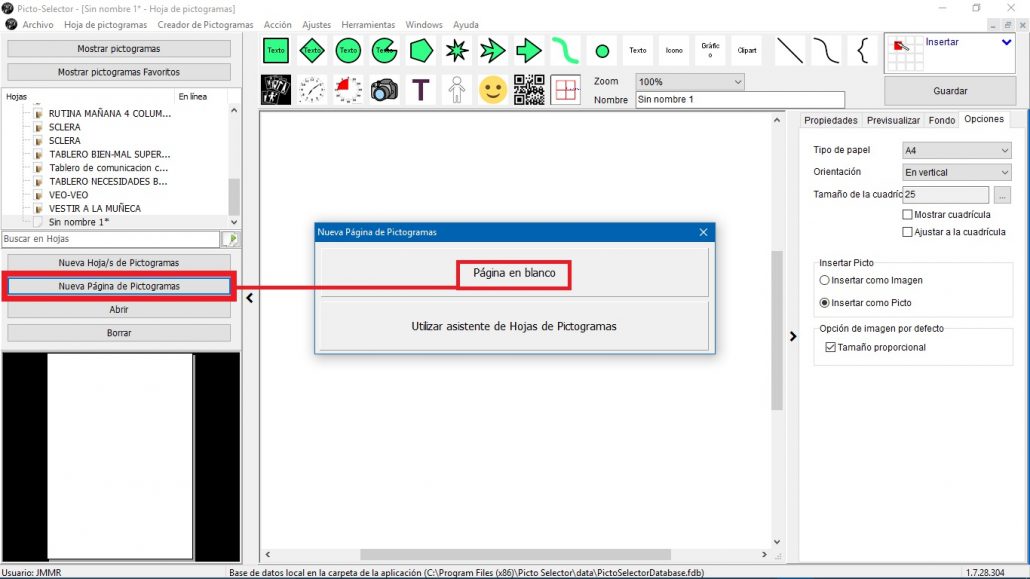
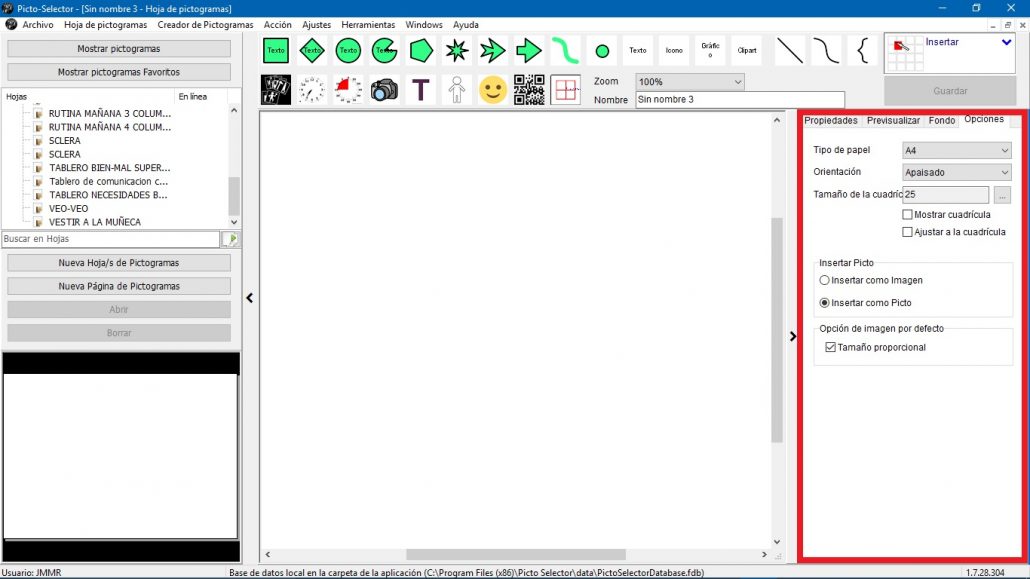
It is very important that you pay attention to the box on the right,since it offers you all the options and properties of the elements and tools that we are going to use in our sheet. In this case, when we use our first blank page, it offers us a very interesting option to use a grid on our page and help us to more easily place all the elements that we are going to introduce. You can activate/deactivate it at any time. From now on, we can observe the properties of any element in this box. In our example, we are not going to activate the grid so that the screenshots can be better previewed.
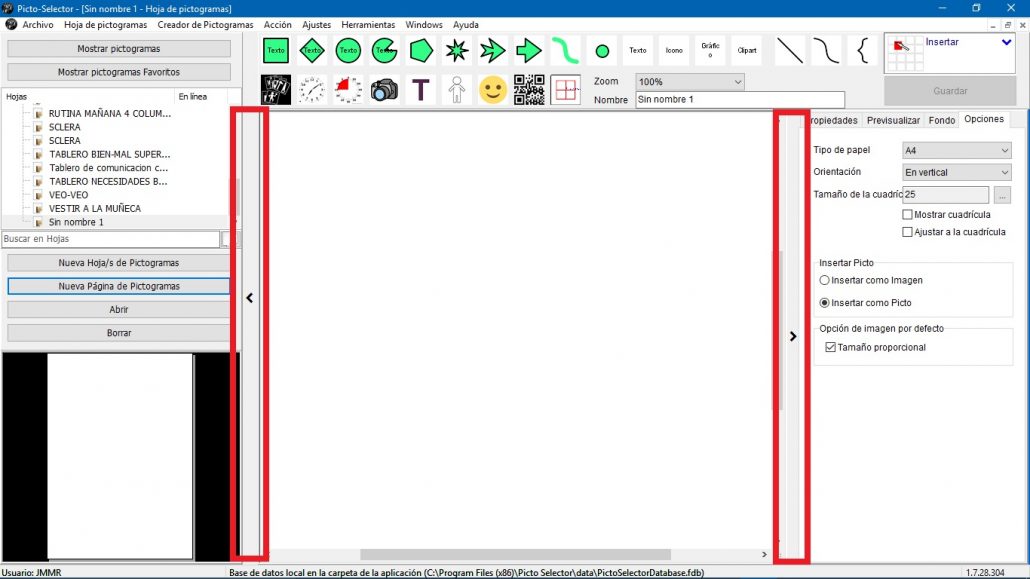
We can make the two side menus disappear to display our pictogram page at full size,using the two arrows of the bars that we indicate in the following image.
Before starting to work on our page we make two recommendations.
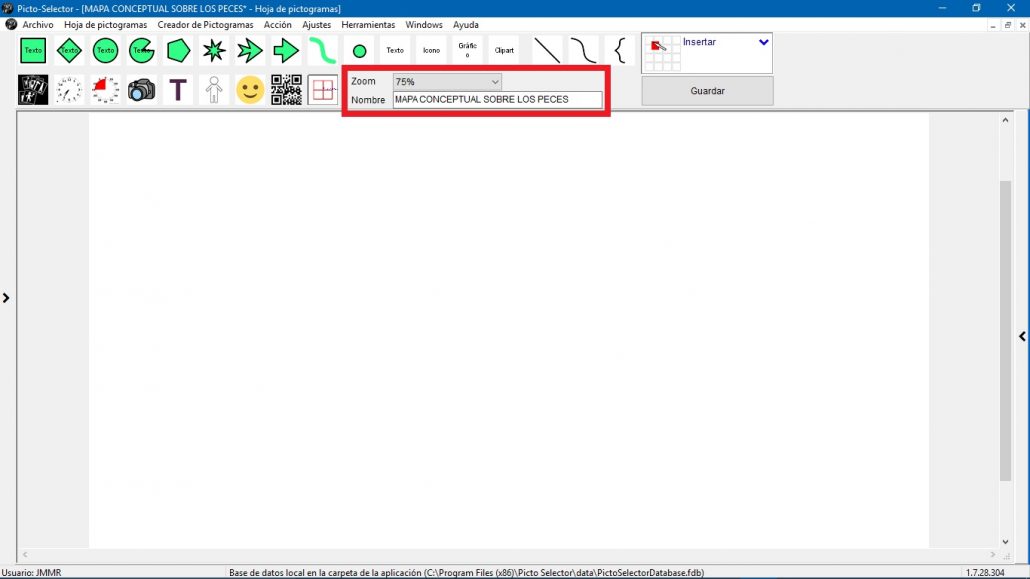
The first is that you fill in the name of your page. In our example, we have called it CONCEPTUAL MAP ABOUT FISHES.
The second is a detail that depends on the resolution of your monitor. To be able to visualize your work in full size, you must activate the Zoom to the top percent that allows you a complete view of the page. In our case, we would have to use 50%, but for the images to be more detailed in the captures we sometimes use 75%.
Let’s start creating our pictogram’s page. We have explained all the tools that we are going to use in the different chapters of this tutorial, so we are not going to dwell on explaining them again.
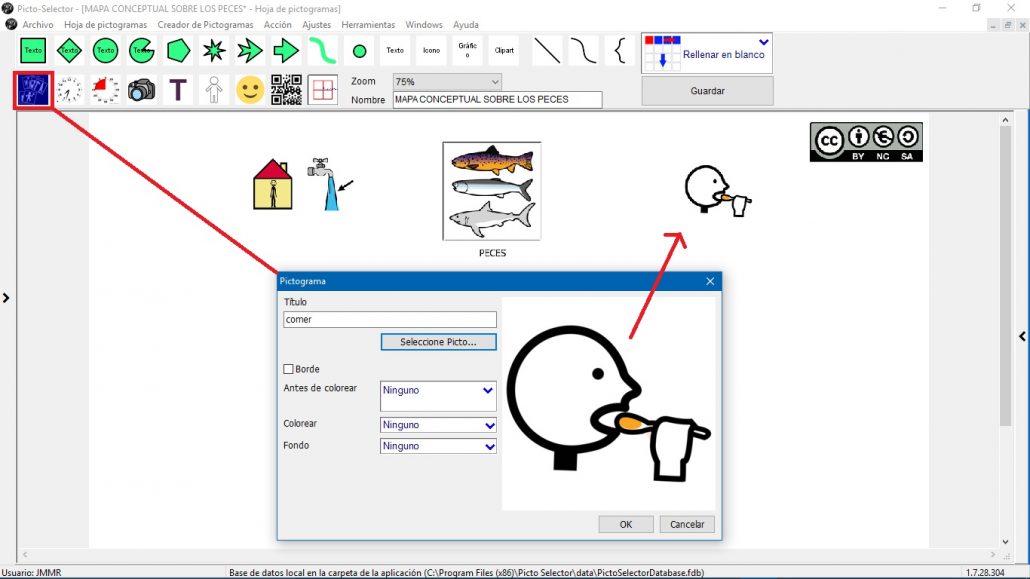
To start with, at the top of our glyphs page we have introduced four glyphs using the Pictograms popup. Simply, what we have to do is find the pictogram, drag it to our page and resize it. In one of them, we have entered the text; in the rest, we have not contemplated this option.
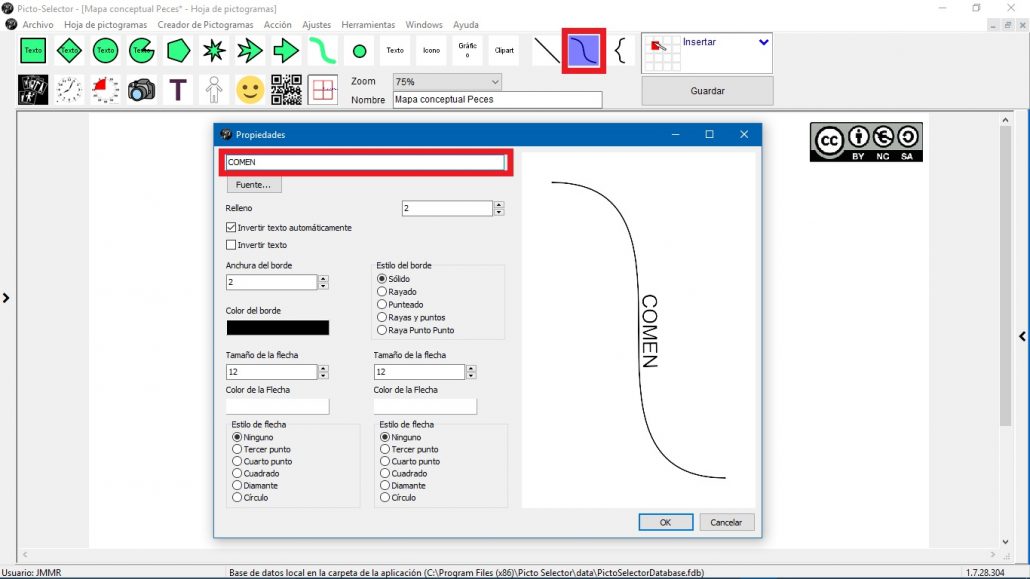
Next, we are going to introduce Bézier Lines to give an outline look to our page. To do this, click on the Bézier Line tool and in the pop-up window that appears we can configure the format and properties of our line. A very interesting option is the possibility of adding Text. This text will adapt to the way we give our line, so the effect is spectacular. Keep in mind, as we explained in the corresponding chapter, that Bézier lines are straight lines that we can shape using anchor points.
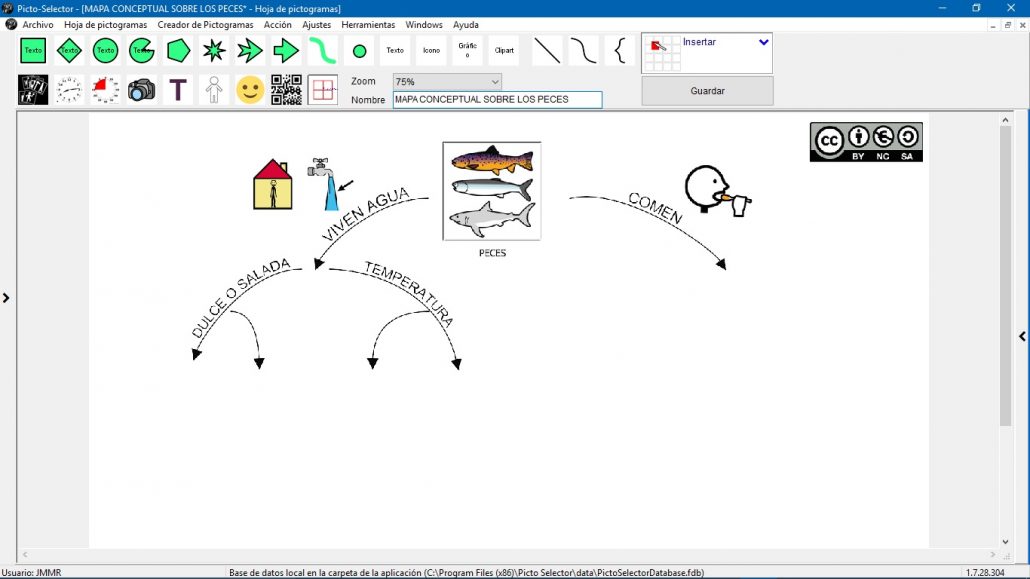
In our case, we have added several lines at the top and the appearance of our page begins to take this form.
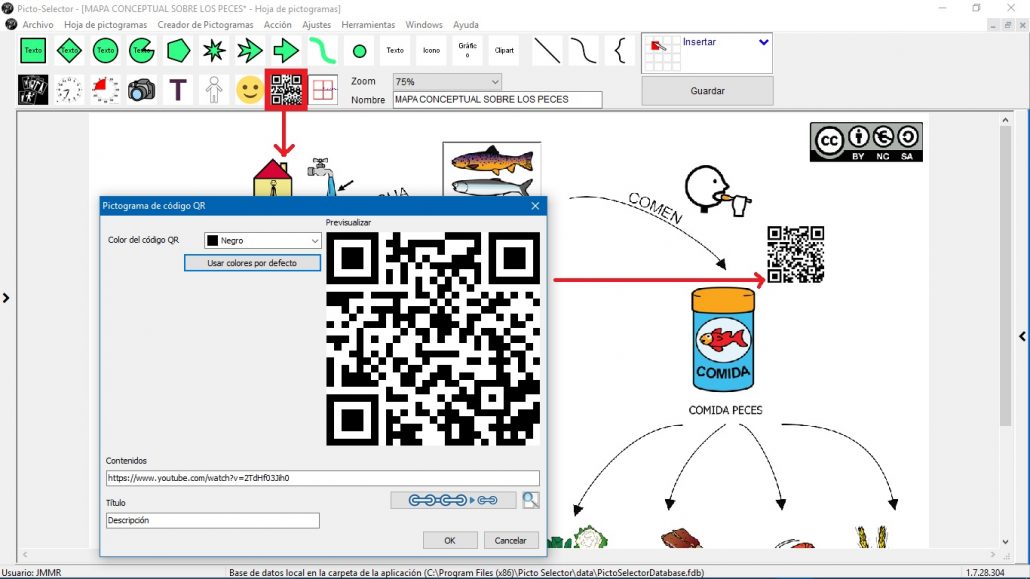
To make our page more dynamic, we have introduced several QR Code pictograms linked to different videos on YouTube about fish.
We have continued to complete our page with pictograms, Bézier lines and QR codes and here you have the final result.
Let’s see the end result. To do this we go to the File menu and select the Print option to preview the result and perform one of the actions: Save as PDF file,Save as graphic file or Print.

The end result is fantastic. Surely we are going to have a great time working with our scheme and we are going to learn many new things about the world of fish or about the world you imagine 🙂


