 Este obra está bajo una licencia de Creative Commons Reconocimiento-NoComercial-CompartirIgual 4.0 Internacional.
Video tutorial
Tutorial
The User Settings of Picto Selector allow us to access the general configuration of the application and set by default options for its management that will remain active in the next sessions in which we start the application.
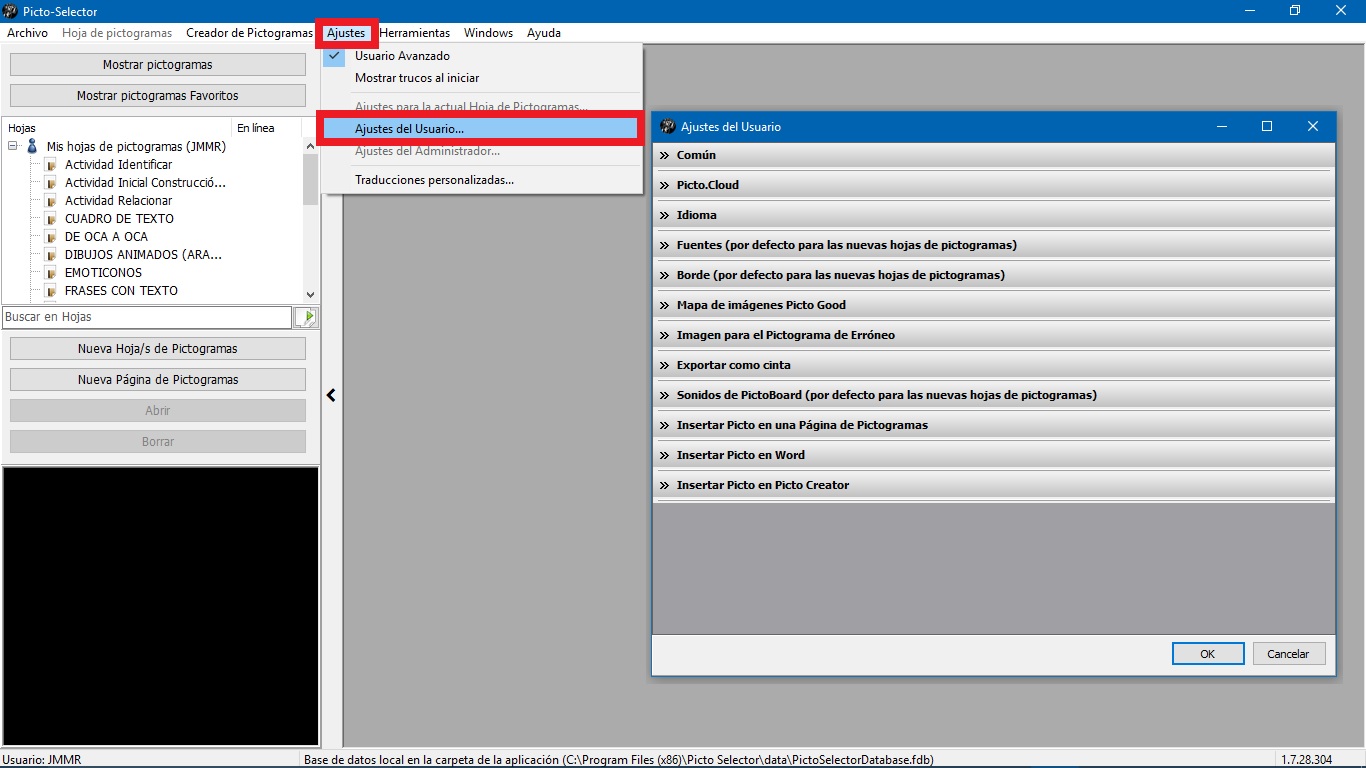
Below, we explain some of the basic settings that can be of great help when creating your sheets and pages of pictograms.
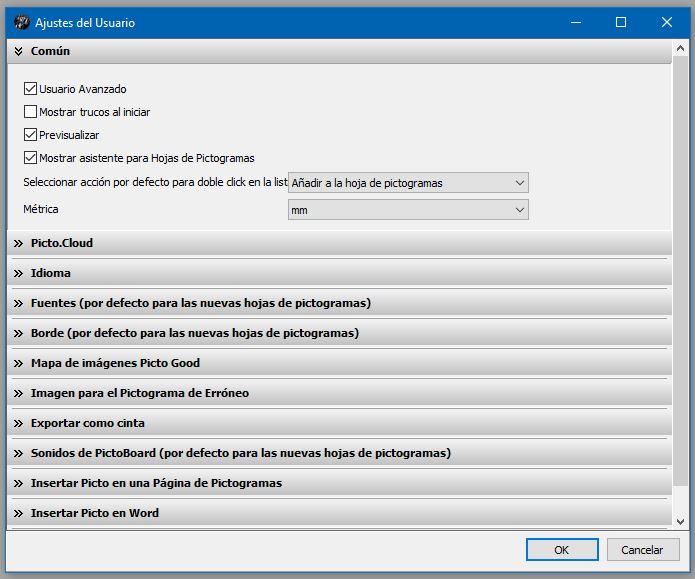
In the Commonsection, we can activate / deactivate several options among which we highlight the possibility of working as an Advanced User,Show tricks in a small pop-up window every time we start the application, Preview in the lower left window how our pictogram sheet is looking and Show the wizard for Pictogram Sheets when clicking on New pictogram sheet. By clicking on the corresponding boxes we will activate / deactivate these options.
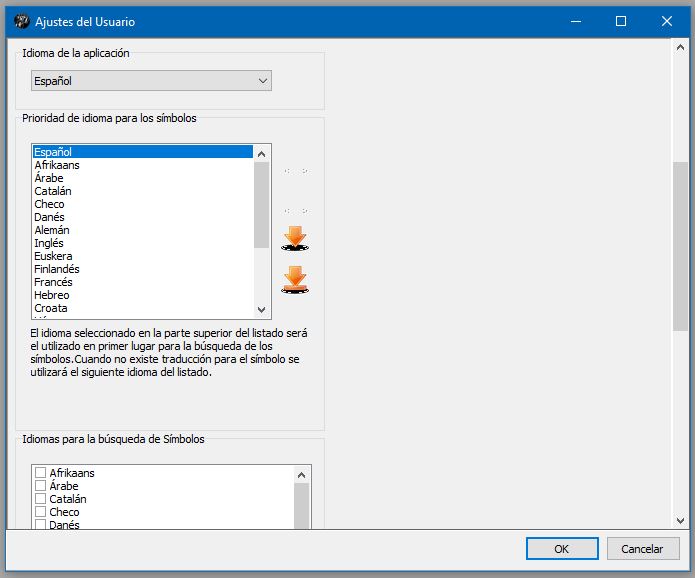
In the Languagesection, we must select the Language of the application that will translate the interface, menus and tools into that language.
We will also set the Language Priority for the symbols,using the arrows to place our language first.
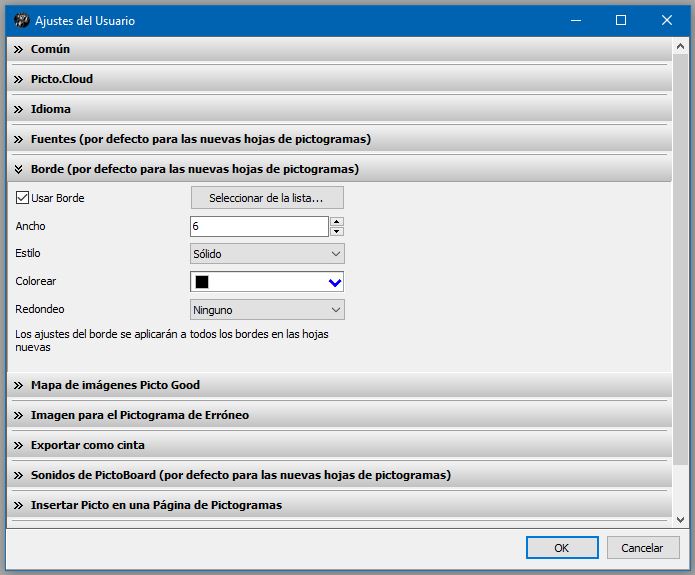
In the Bordersection, we can permanently activate / deactivate the Border of the pictograms and in the event that we want to use by default border for all the symbols, we can preset the default border settings,which will be activated every time we open the application.
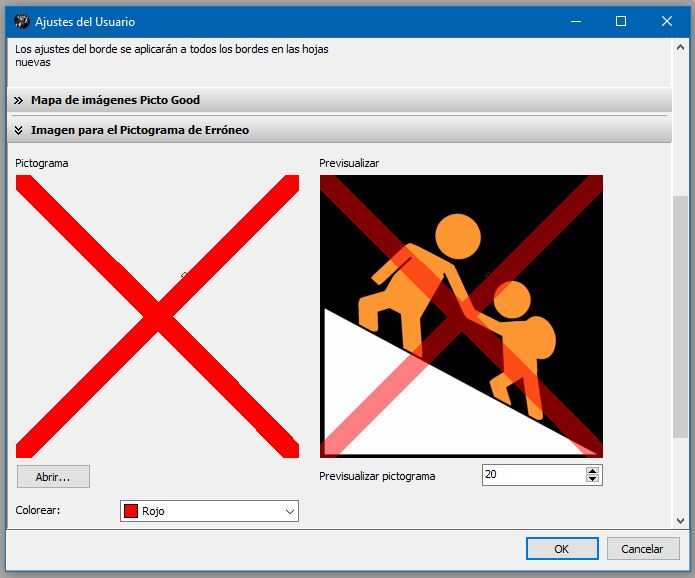
In the Section Image for the Erroneous Pictogram,the application makes it easier for us to choose the color of the blade that will be placed above the pictogram, being able to preview the result in the window on the right. We can also use our own image as a blade,instead of the one that comes by default, although the file we upload must be transparent.
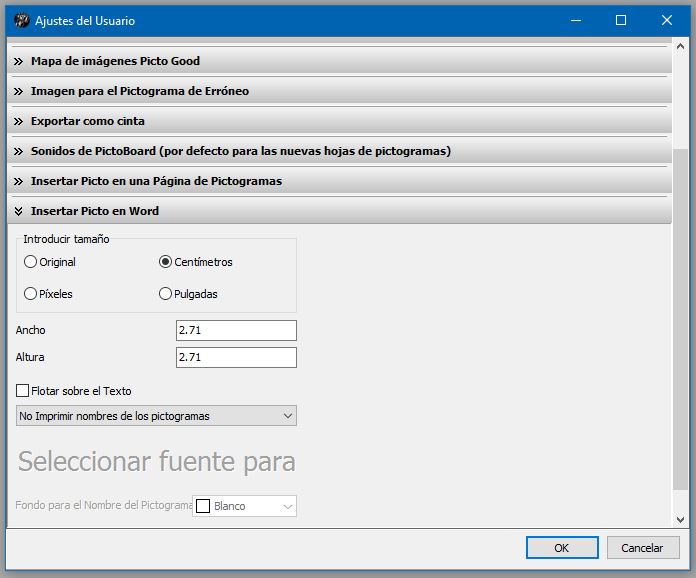
Finally, in the insert Picto in Wordsection, we can preset the output size that our pictogram will have when we drag it to Word from the List of pictograms or when we copy it directly, using the context menu of the pictograms. We can also activate / deactivate the possibility of copying the pictograms with the text they have associated, using the different options that appear in the do not print the names tab, which is configured by default with the option not to insert the text. Try to open this tab and use the option that suits you best.