 This work is licensed under a Creative Commons Attribution-NonComercial-ShareAlike 4.0 International license.
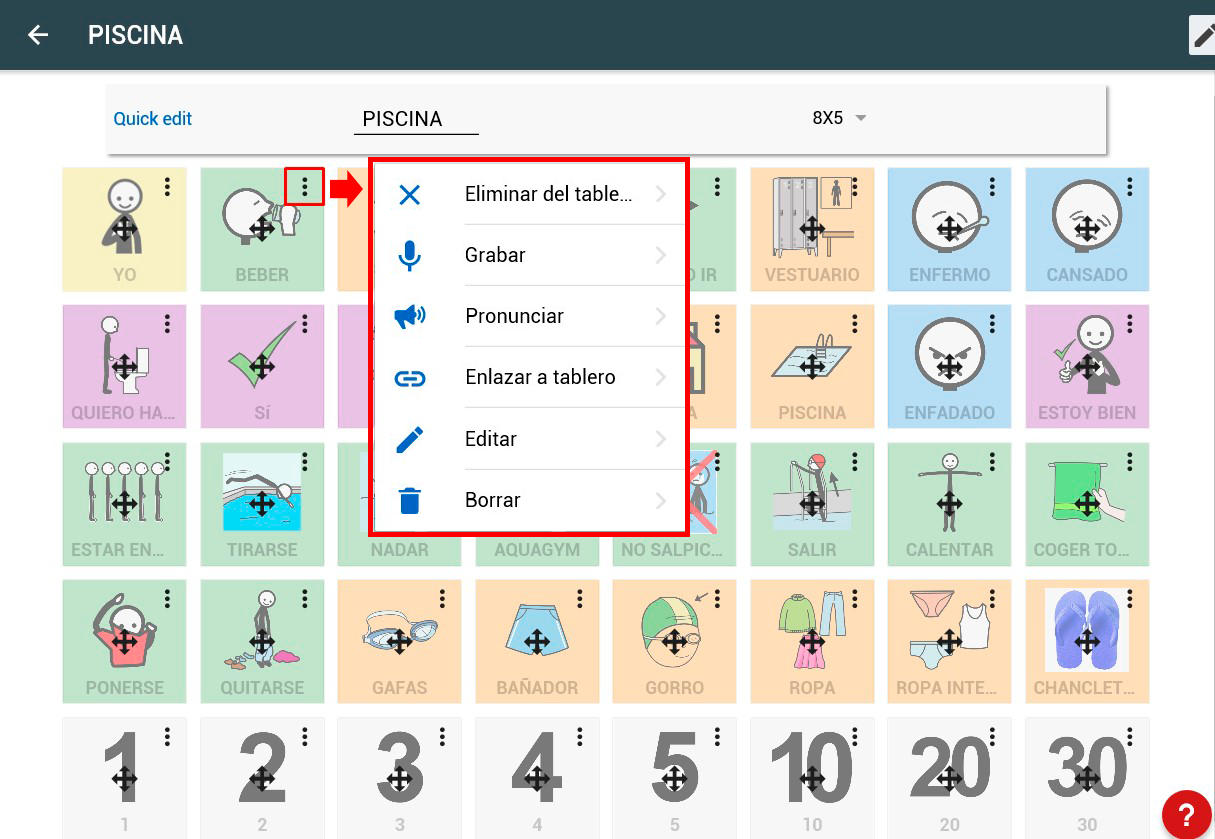
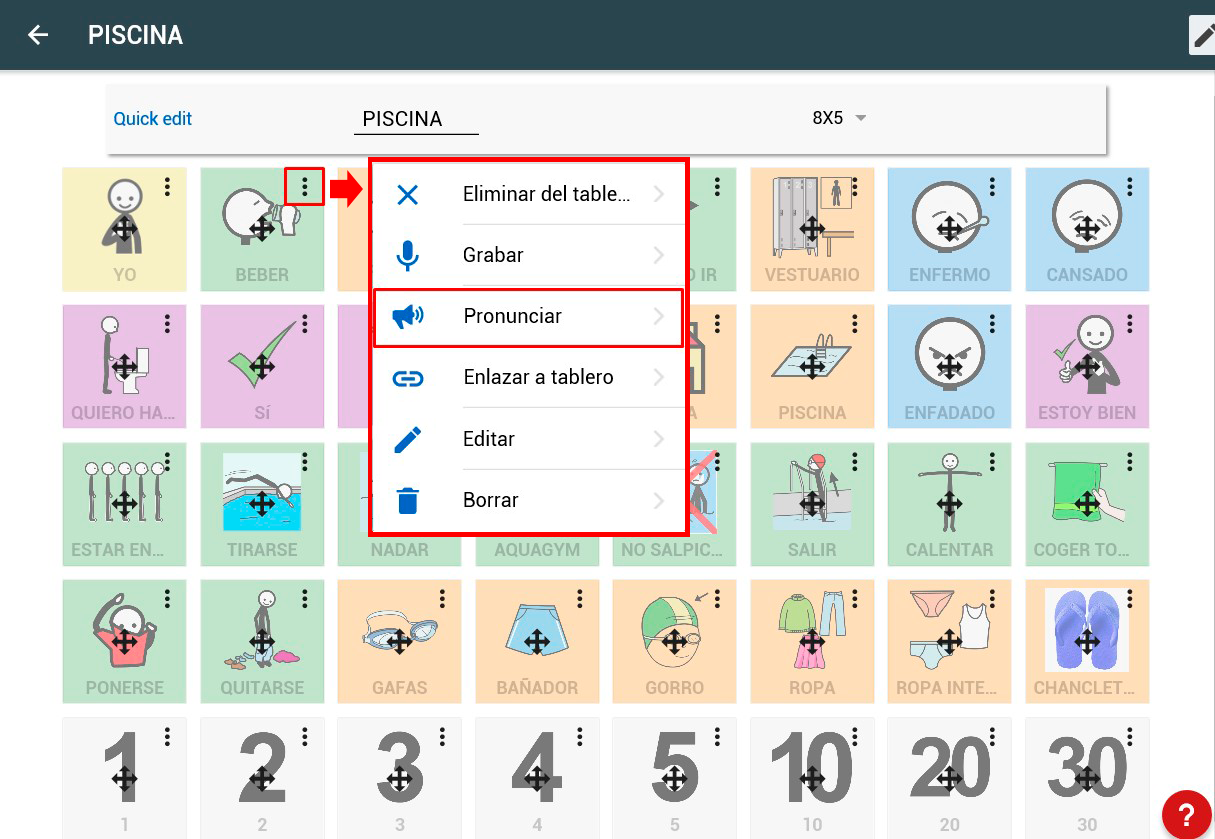
Once we have our first board assembled and linked, we are going to see some of the advanced options offered by the pictogram menu.
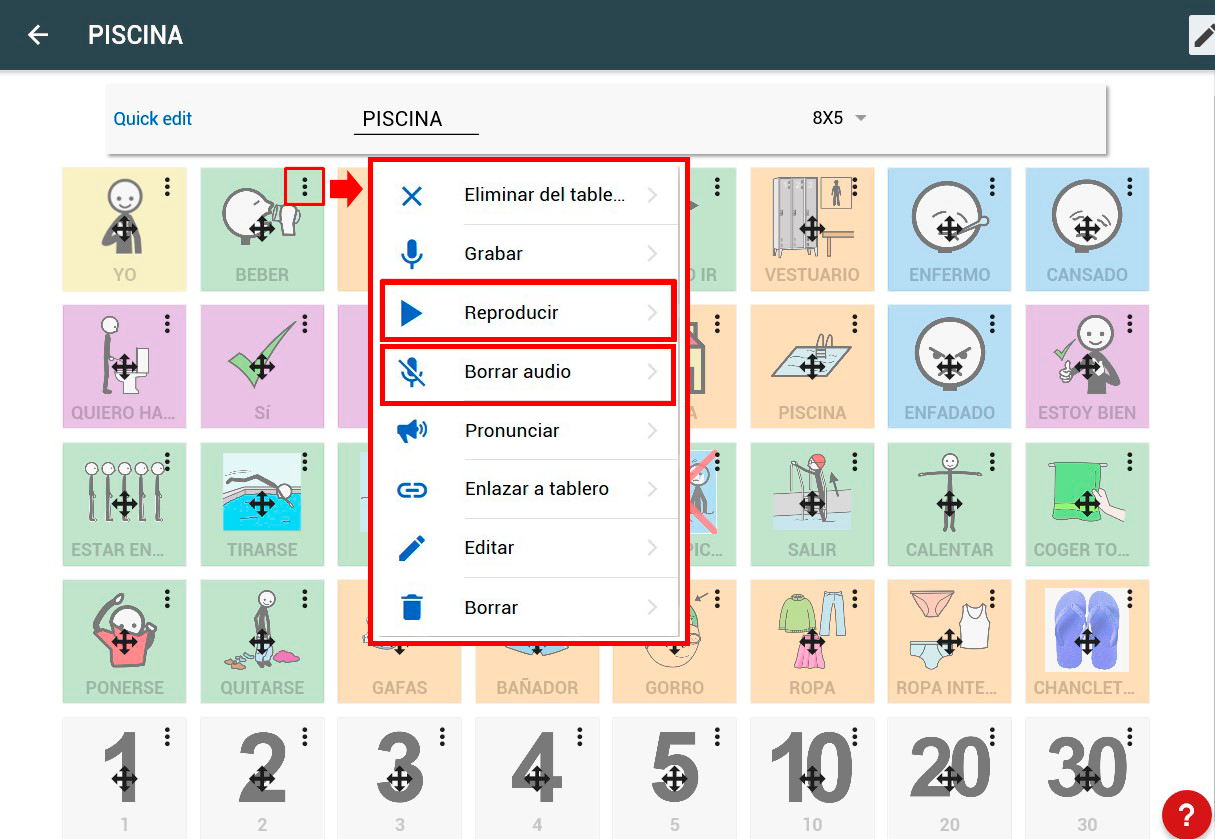
To access this menu, we have to activate the editing of the board (by clicking on the pen located in the upper right part of the board) and then click on the three points located in the upper right corner of the pictogram that we want to edit.
DELETE
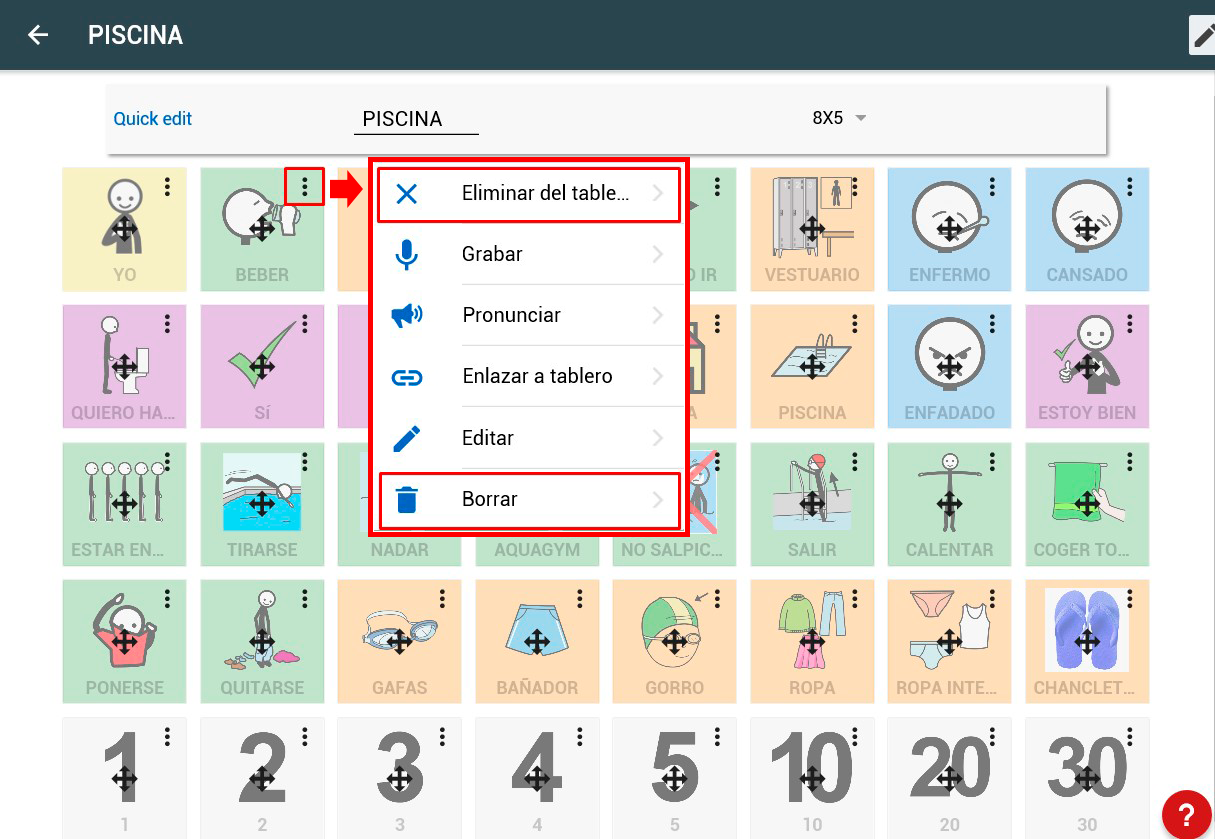
The first option we find is “Remove from the board”. To explain how it works, we have to contrast it with the last one, which is “Delete”.
The main difference between the two is that “Remove from board” removes the glyph from the cell but does not remove it from the favorite glyph database. On the other hand, “Delete” does not remove it from the board but also removes it from the database of favorite or used pictograms.
In the “FLIP FLOPS” pictogram on our board we have inserted a photo of some flip flops. That photo, from the moment we insert it in a board, becomes part of the favorite images and will appear in the results of the pictogram search engine. If we click on “Remove from the board” the image will be removed from the board but it will still appear in the results of the image search to insert it in this or another board. On the other hand, if I click on “Delete” the image will be deleted from this and any board in which it was inserted and from the favorite pictograms database (so to use it again it would have to be uploaded again). The same applies to pictograms. If I click delete on the “DRINK” pict this pict will be removed from any board it is being used on and it will no longer appear as a favorite in searches.
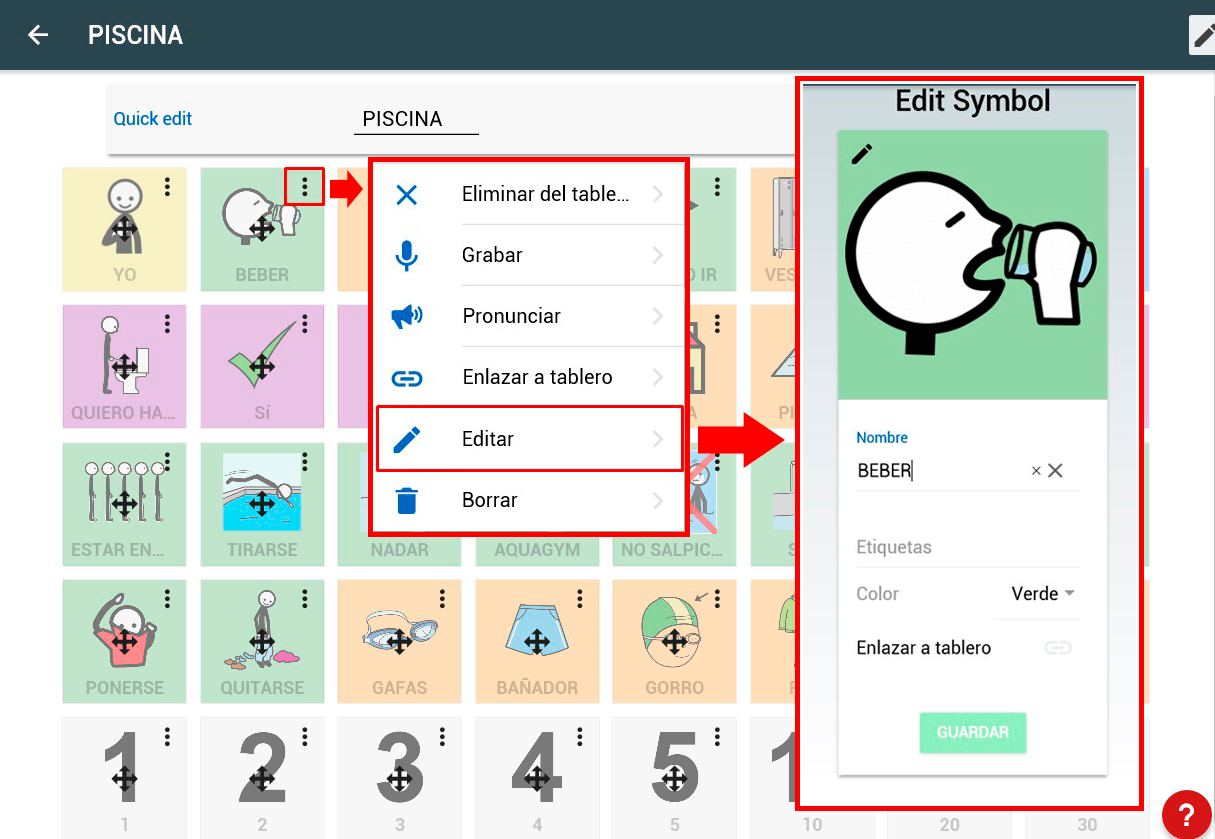
EDIT
The “Edit” option will allow us to modify the name, labels, background color or linked board as we explained in the previous chapter. Clicking on “Edit” on the selected pictogram will give us access to the file where we can modify any of these parameters. To save the changes, click on “Save”.
PRONOUNCE
The “Pronounce” option only allows us to listen to the word assigned to the pictogram through the synthesized voice of our device (Android or iOS) or browser (PC).
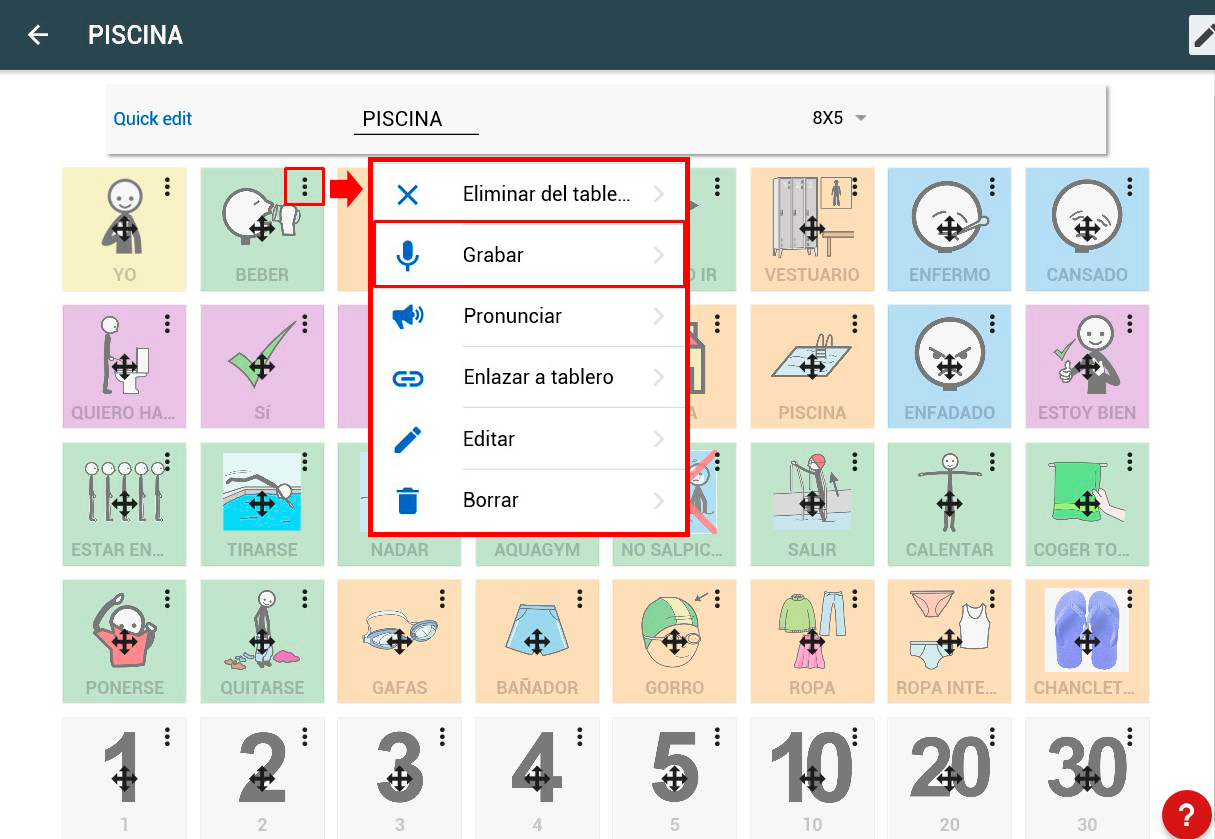
RECORD
If what we want is to record our own voice or that of the child to replace the synthesized voice, we will use the “Record” option that appears in the contextual menu of the pictogram to which we want to assign the recorded sound.
The first time we use this option, if we are working from a PC with a browser, the system will ask for authorization to access the microphone.
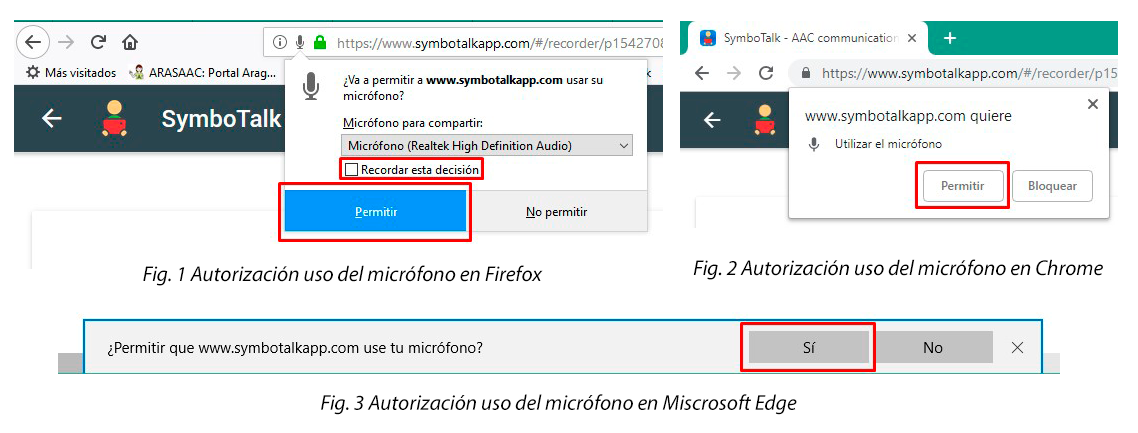
In the case of using SymboTalk from a mobile device, we will be asked for authorization to access the device’s microphone when installing the application.
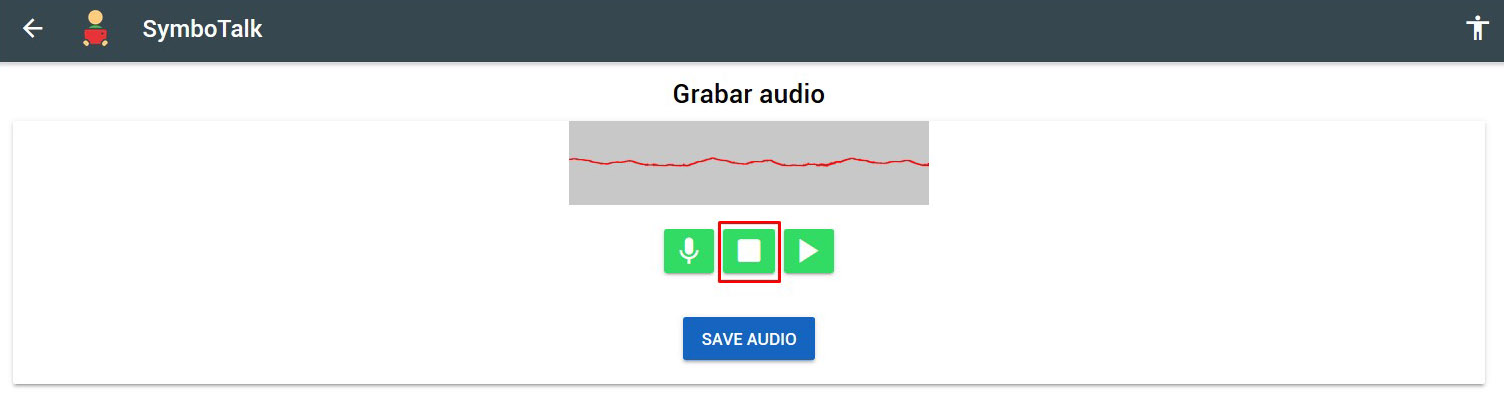
Once the use of the microphone is authorized or if we are using Symbolalk from a mobile device, we will access the recording window. Pressing on the microphone we can record the word.
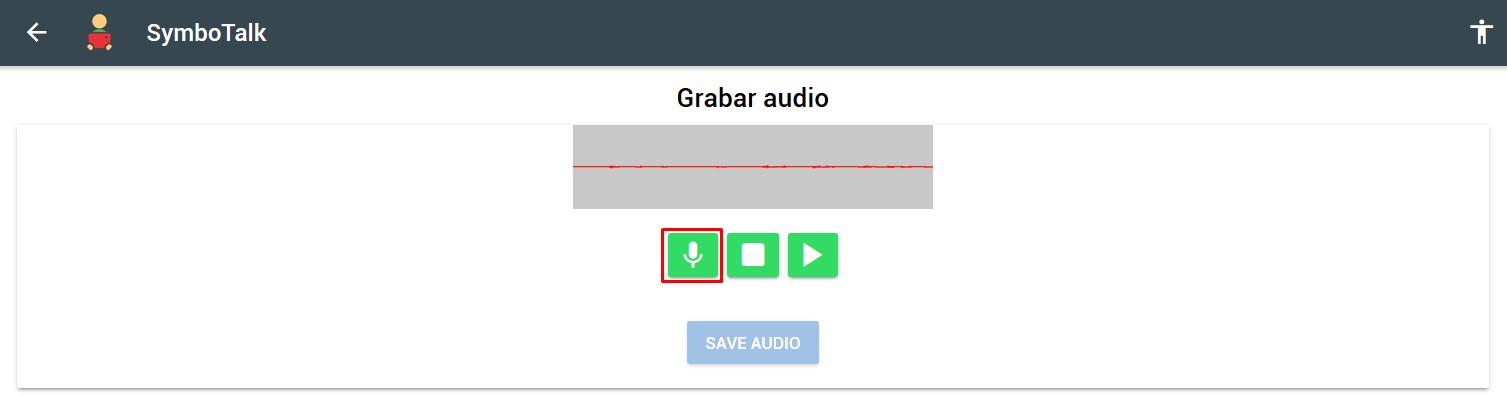 Pressing on STOP we stop it
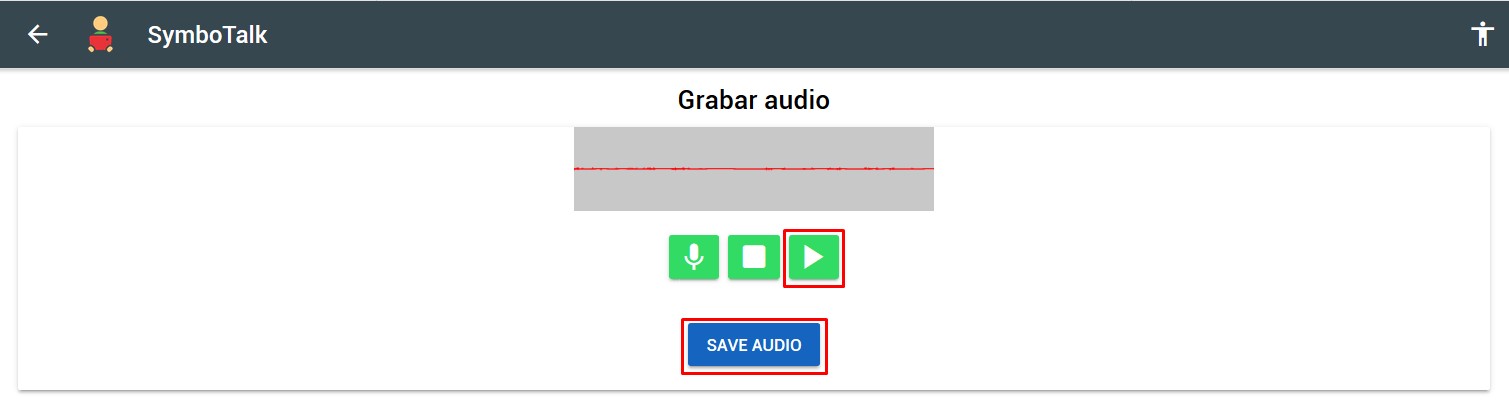
 And by clicking on Play we can listen to it and save it by clicking on “SAVE AUDIO”.
Back on our board, if we click again on the contextual menu of the pictogram to which we have assigned a recorded sound, we see how two new ones appear among the options: “Play” (to listen to the recorded sound) and “Delete Audio” (to delete it and return to the synthesized voice).
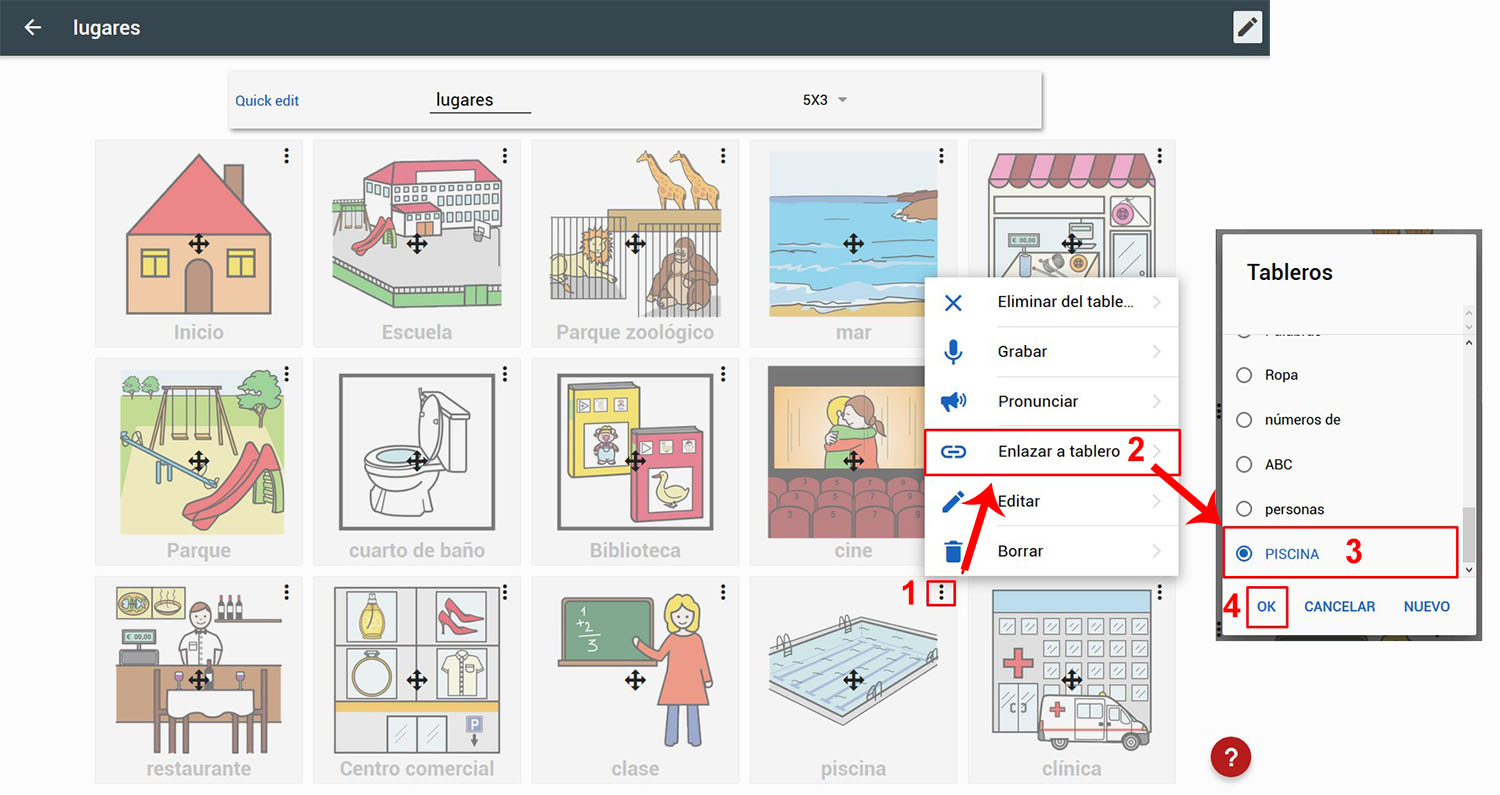
LINK TO DASHBOARD
As we saw in the previous chapter, the “Link to board” option allows us to create a link between the selected pictogram and the board that we select from the list. In this way, clicking on the SymboTalk pictogram will open the selected board.