 This work is licensed under a Creative Commons Attribution-NonComercial-ShareAlike 4.0 International license.
To learn how to create a new board and link it to a cell, we’ll start with the communication boards that SymboTalk offers preloaded.
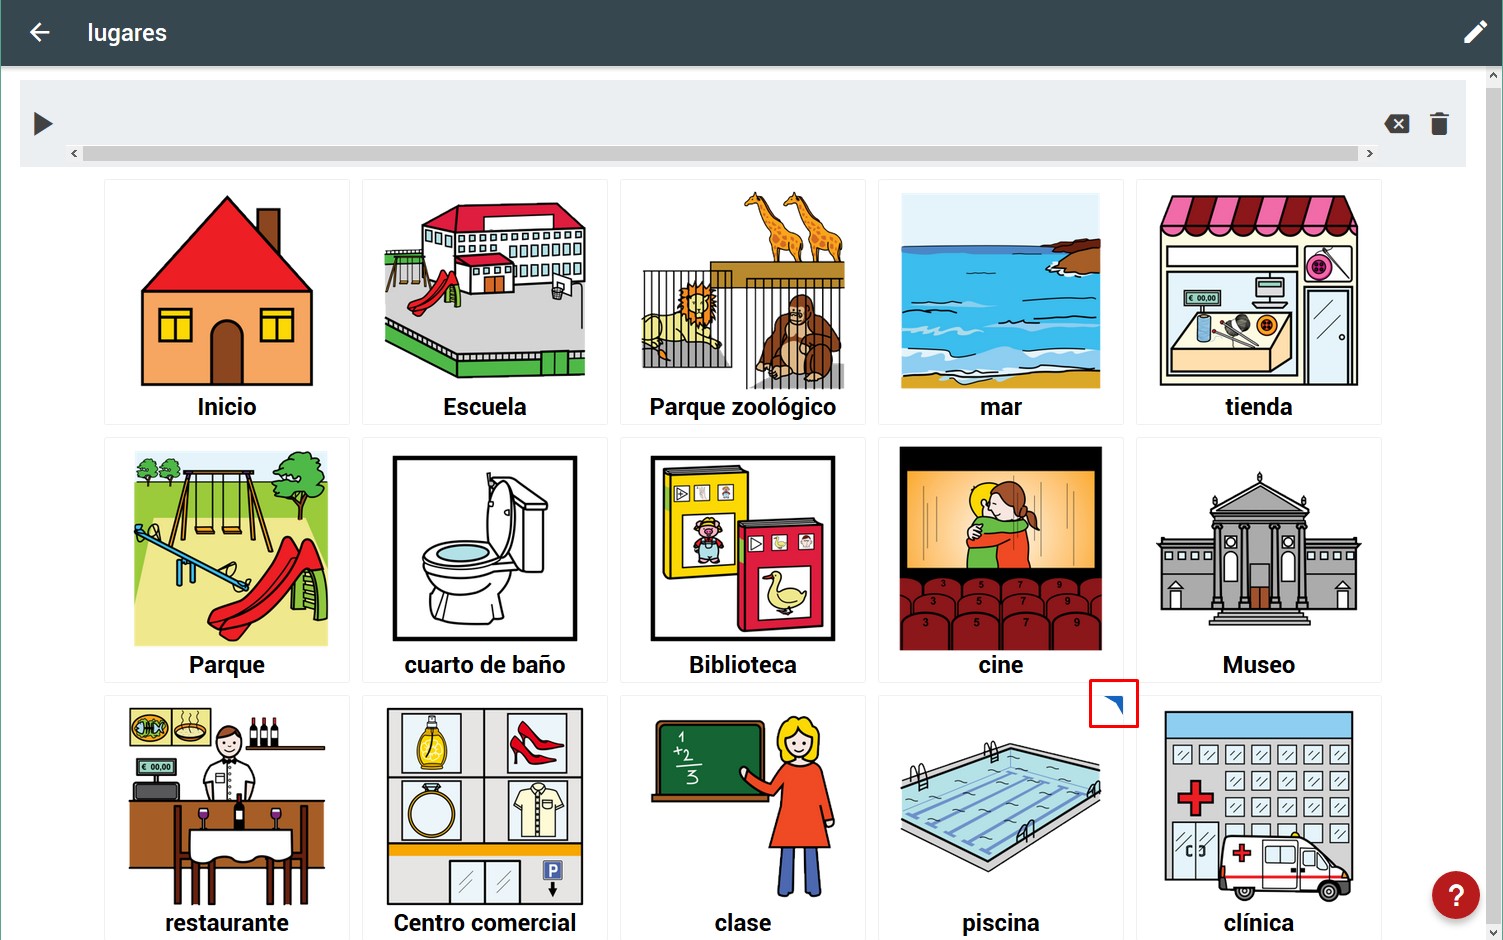
Our goal will be to link a new communication board specific to the pool whose route will be: Main- > Places- > Pool.

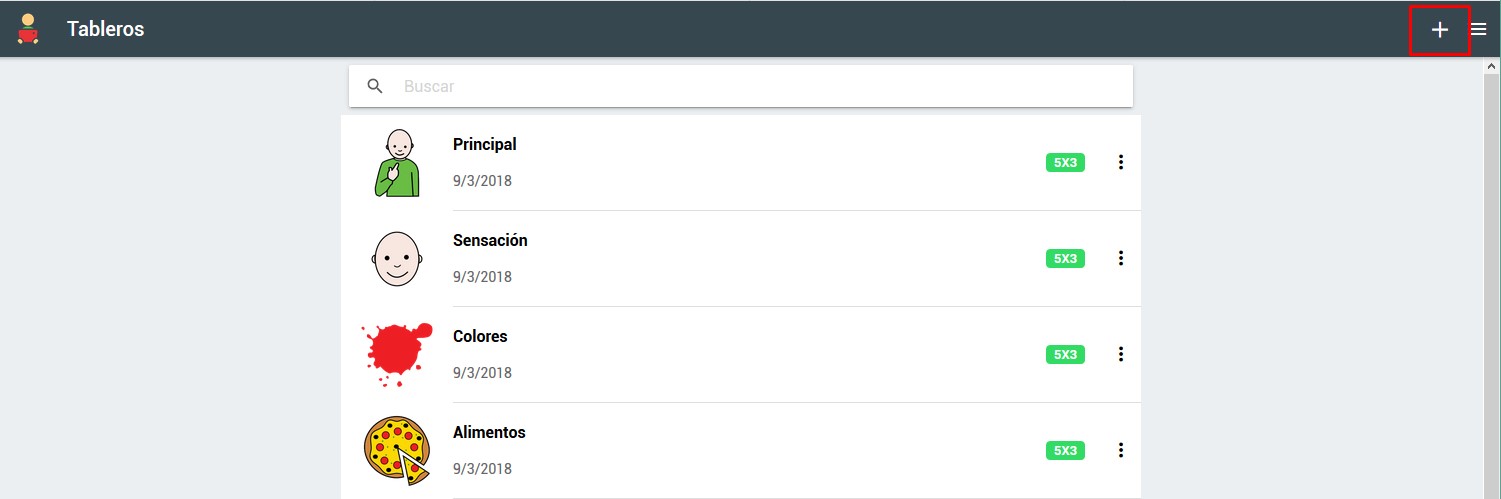
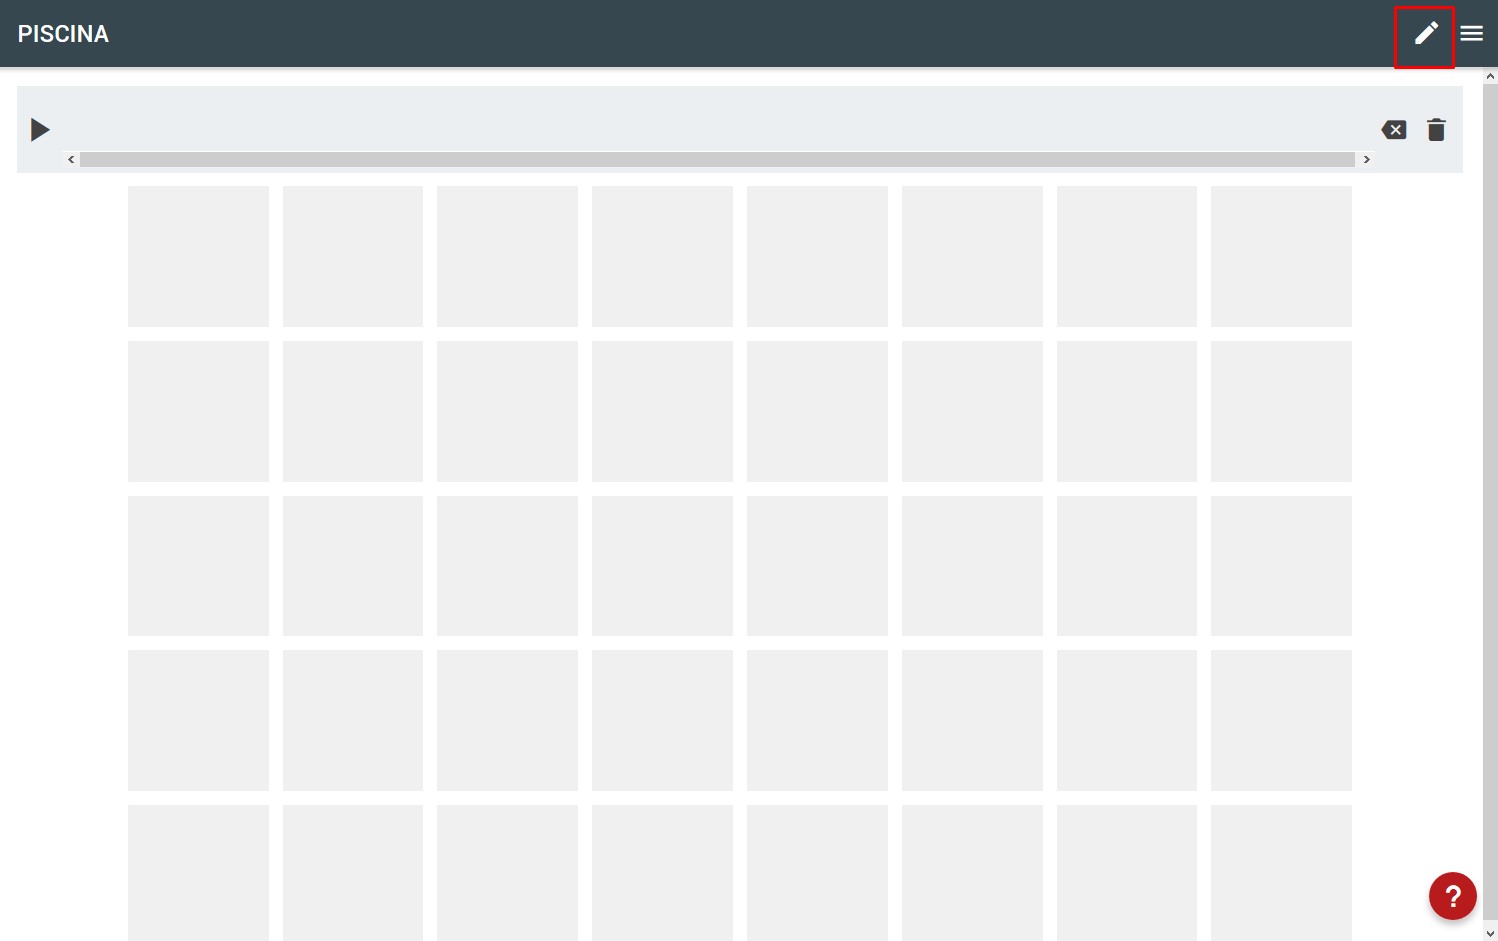
To create a new communication board, we go to the list of boards by clicking on “14 boards” in the main window.

Click on the “+” sign that we will find in the upper right corner.
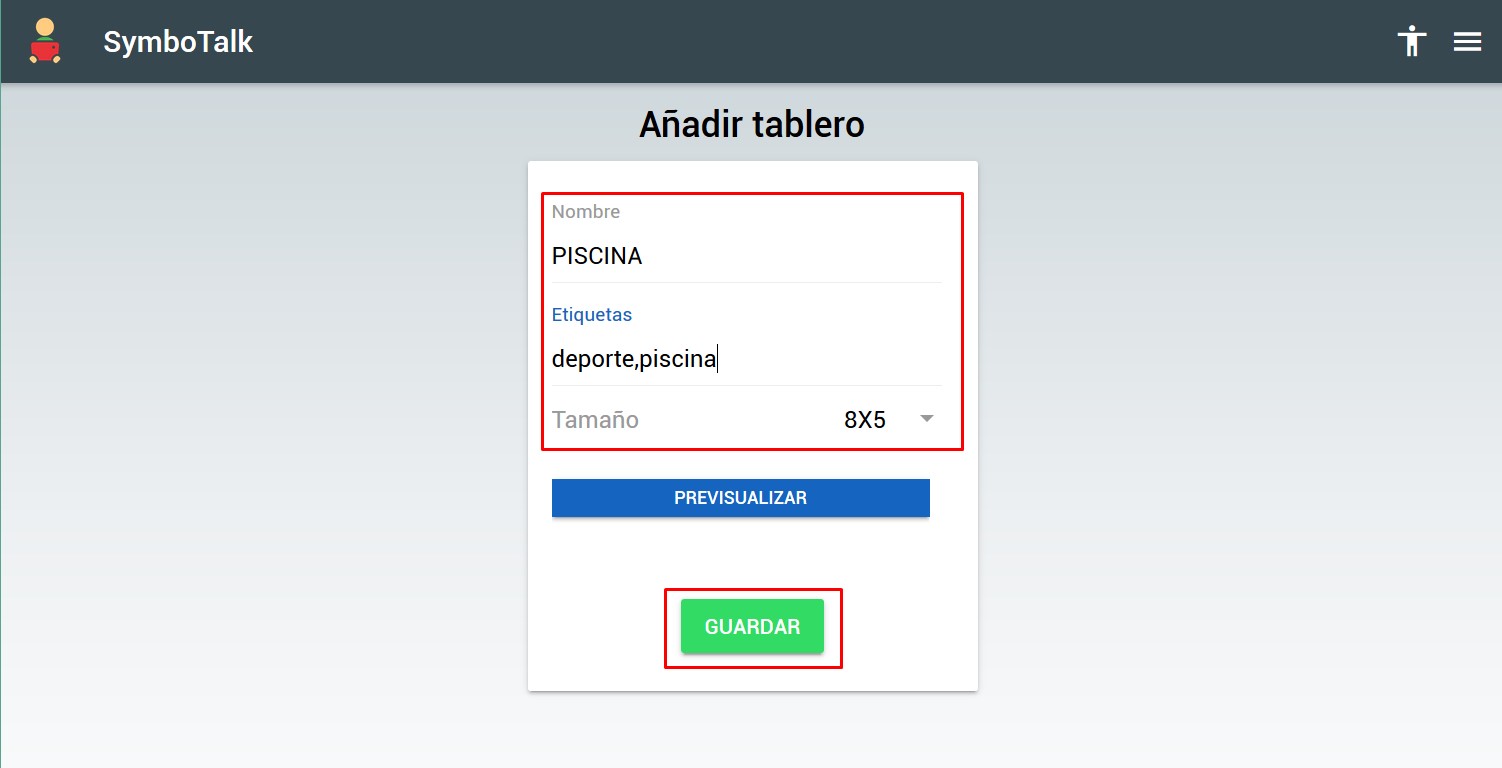
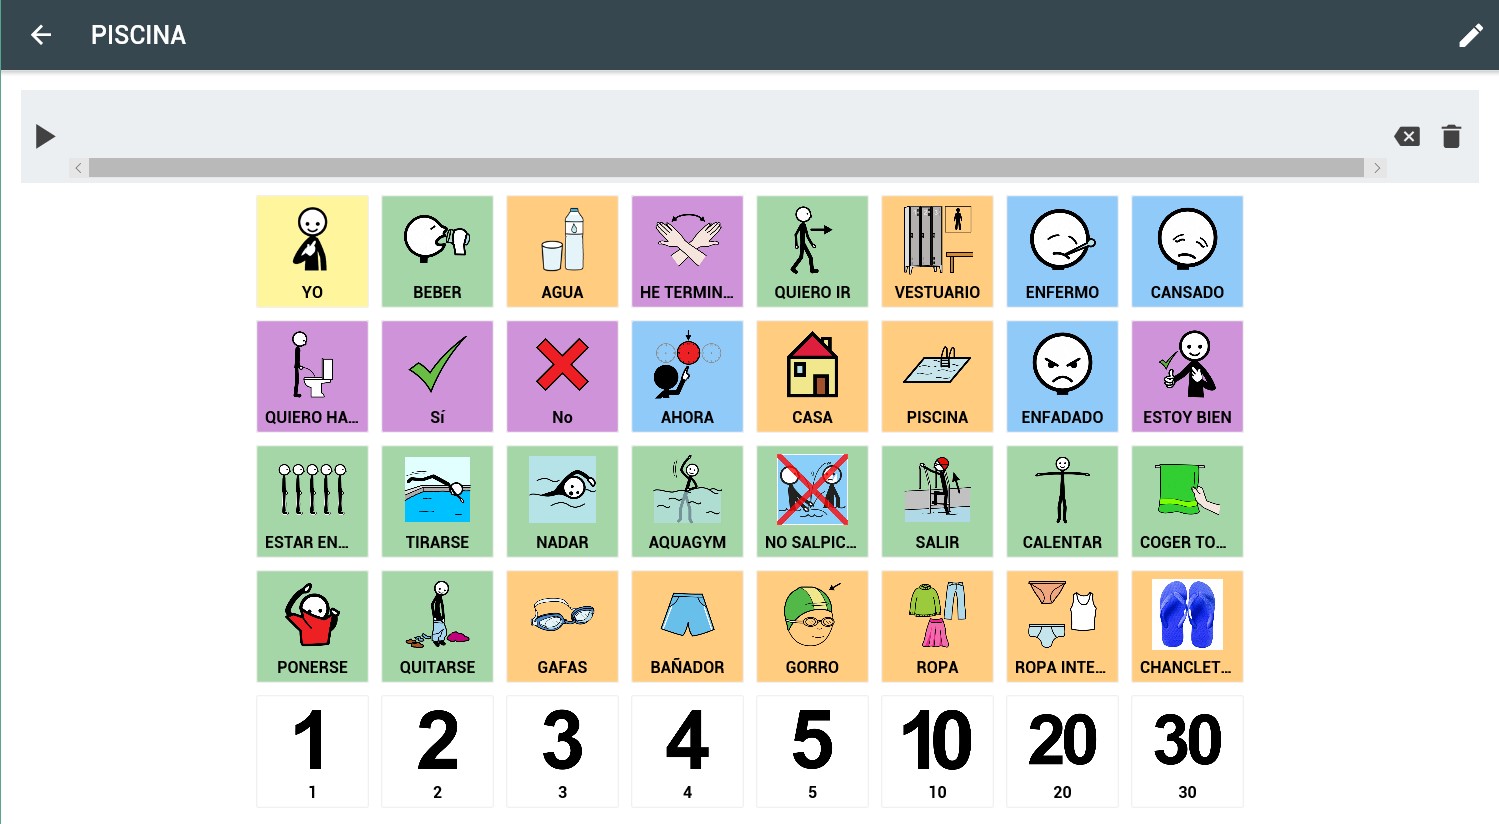
In the dialog box that appears, we complete the name of the board (SWIMMING POOL), we assign some labels (sports and swimming pool that will allow us to find it more easily when we have many boards created), we select the size of the panel (in this case 8×5) and Finally, click on “SAVE”.
On the blank panel, we have to activate the editing mode by clicking on the pen that we find in the upper right corner.
As we can see, we can change the name of the board and the number of cells although, in our case, we are interested in assigning pictograms to the cells. To do this, click on the first cell.
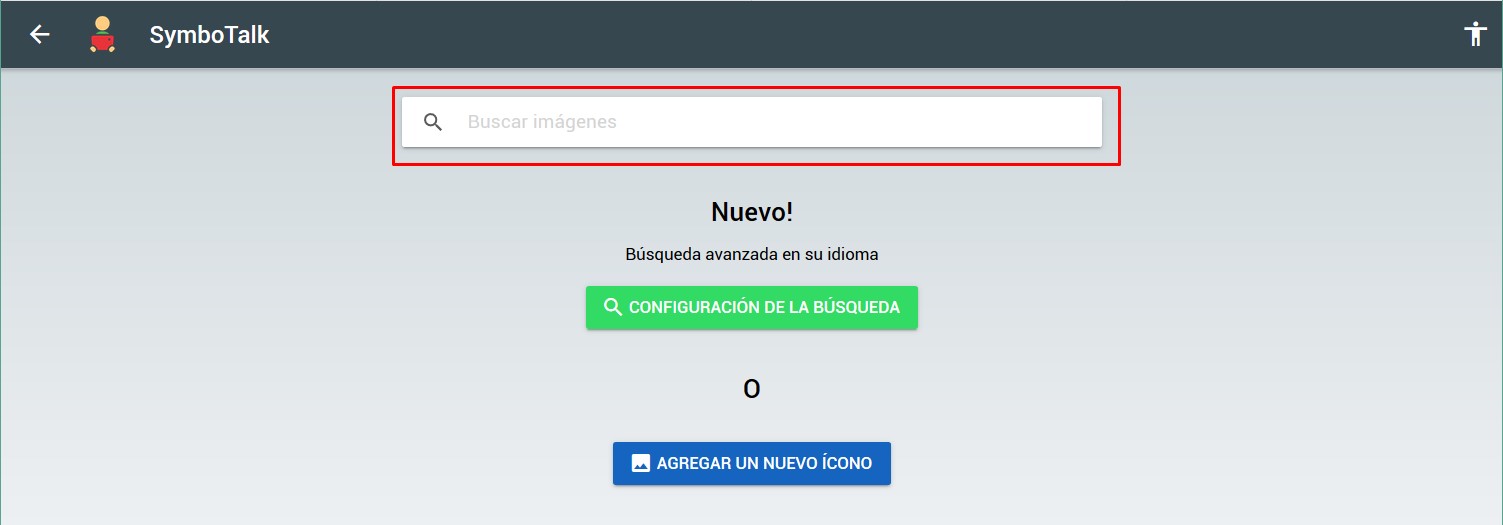
 In the dialog box that appears we are going to search directly in the ARASAAC database with the search box.
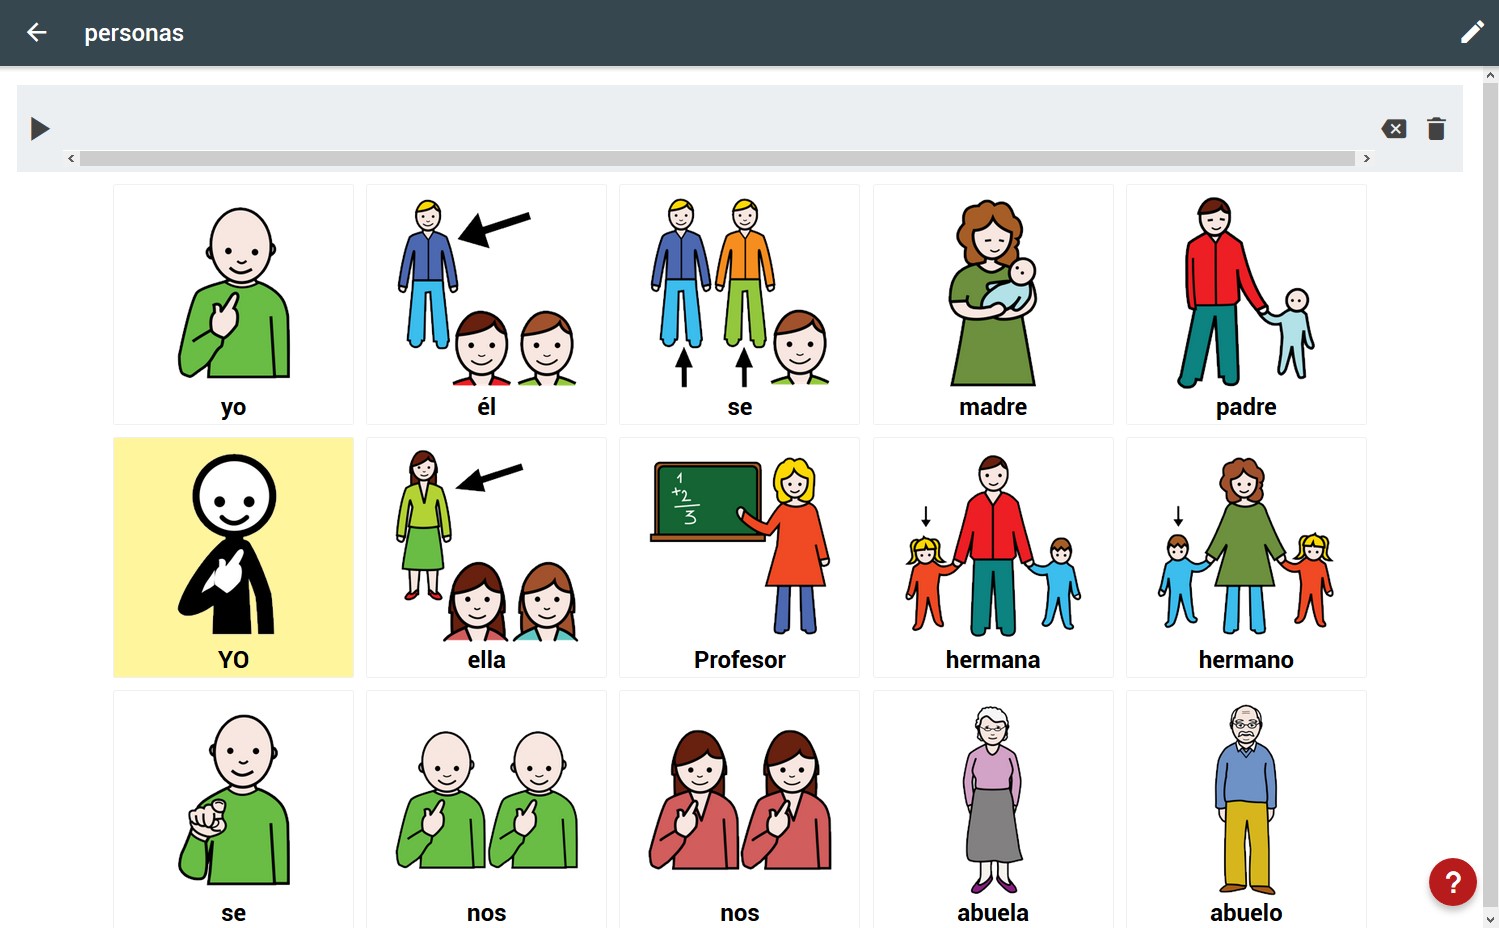
If we type “me”, we will get several results in the search. To the right of each pictogram we will have a star ![]() or a
or a ![]() cloud. The star indicates that the pictogram is available in the local database, that is, that it has already been downloaded and used in another board. If we choose it, it will take the configuration that we had established (name, labels, color,…) previously. If the cloud appears, it means that you have found it in ARASAAC and that it has to be downloaded.
cloud. The star indicates that the pictogram is available in the local database, that is, that it has already been downloaded and used in another board. If we choose it, it will take the configuration that we had established (name, labels, color,…) previously. If the cloud appears, it means that you have found it in ARASAAC and that it has to be downloaded.
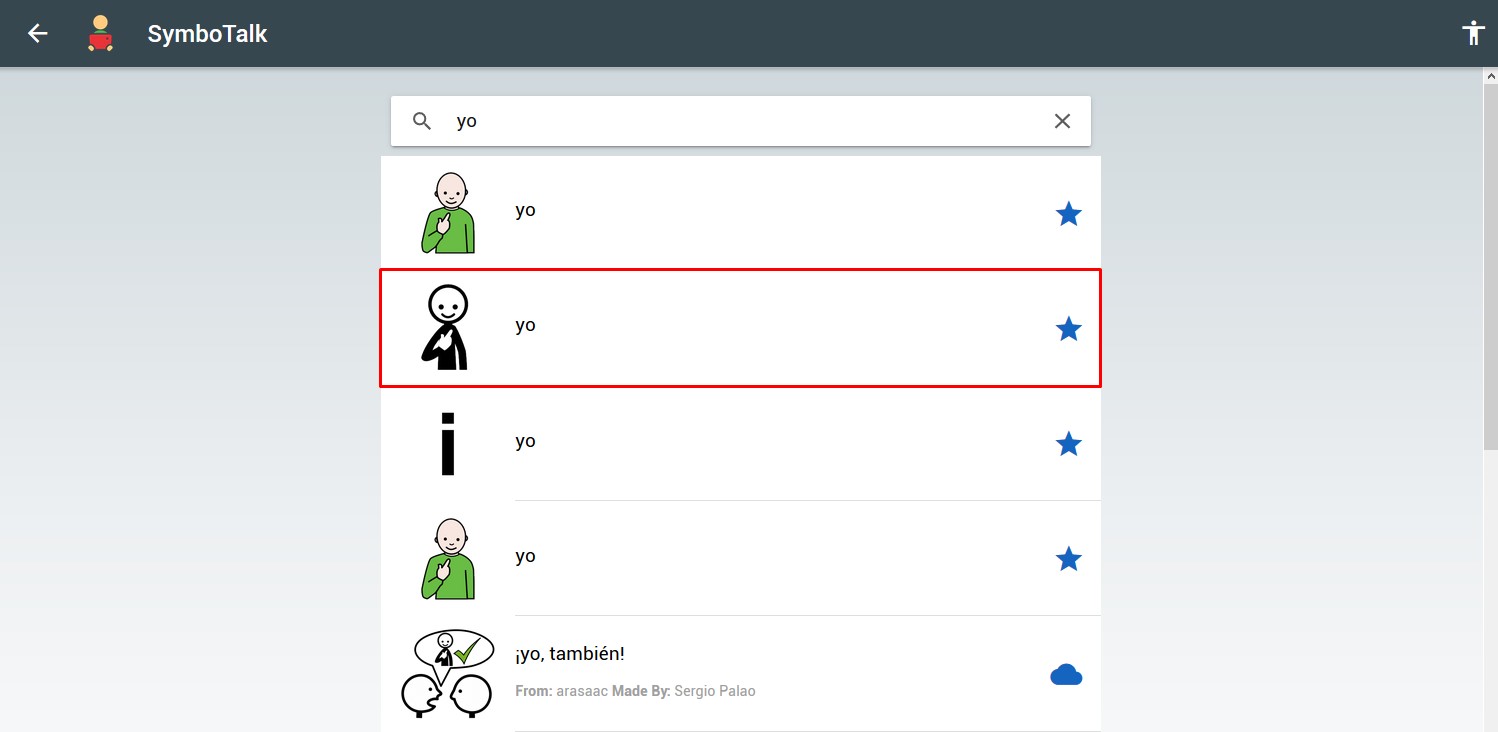 In our case, we are going to choose the “me” with the star (*) and click on it. We return to the board and see the pictogram inserted in the first cell. Next, we are going to edit it to modify the text and the background color. To do this, we click on the 3 points that appear in the upper right corner of the pictogram (1) and click on Edit (2). In the pictogram window we write YO in capital letters in the name field and assign the labels “subject” and “pronoun” (3). To be able to assign a background color to the pictogram that allows us to identify the type of word, click on color (4) and in the pop-up window we select “Yellow” (5) and press OK (5). Finally, in the pictogram window, click on “Save” (6).
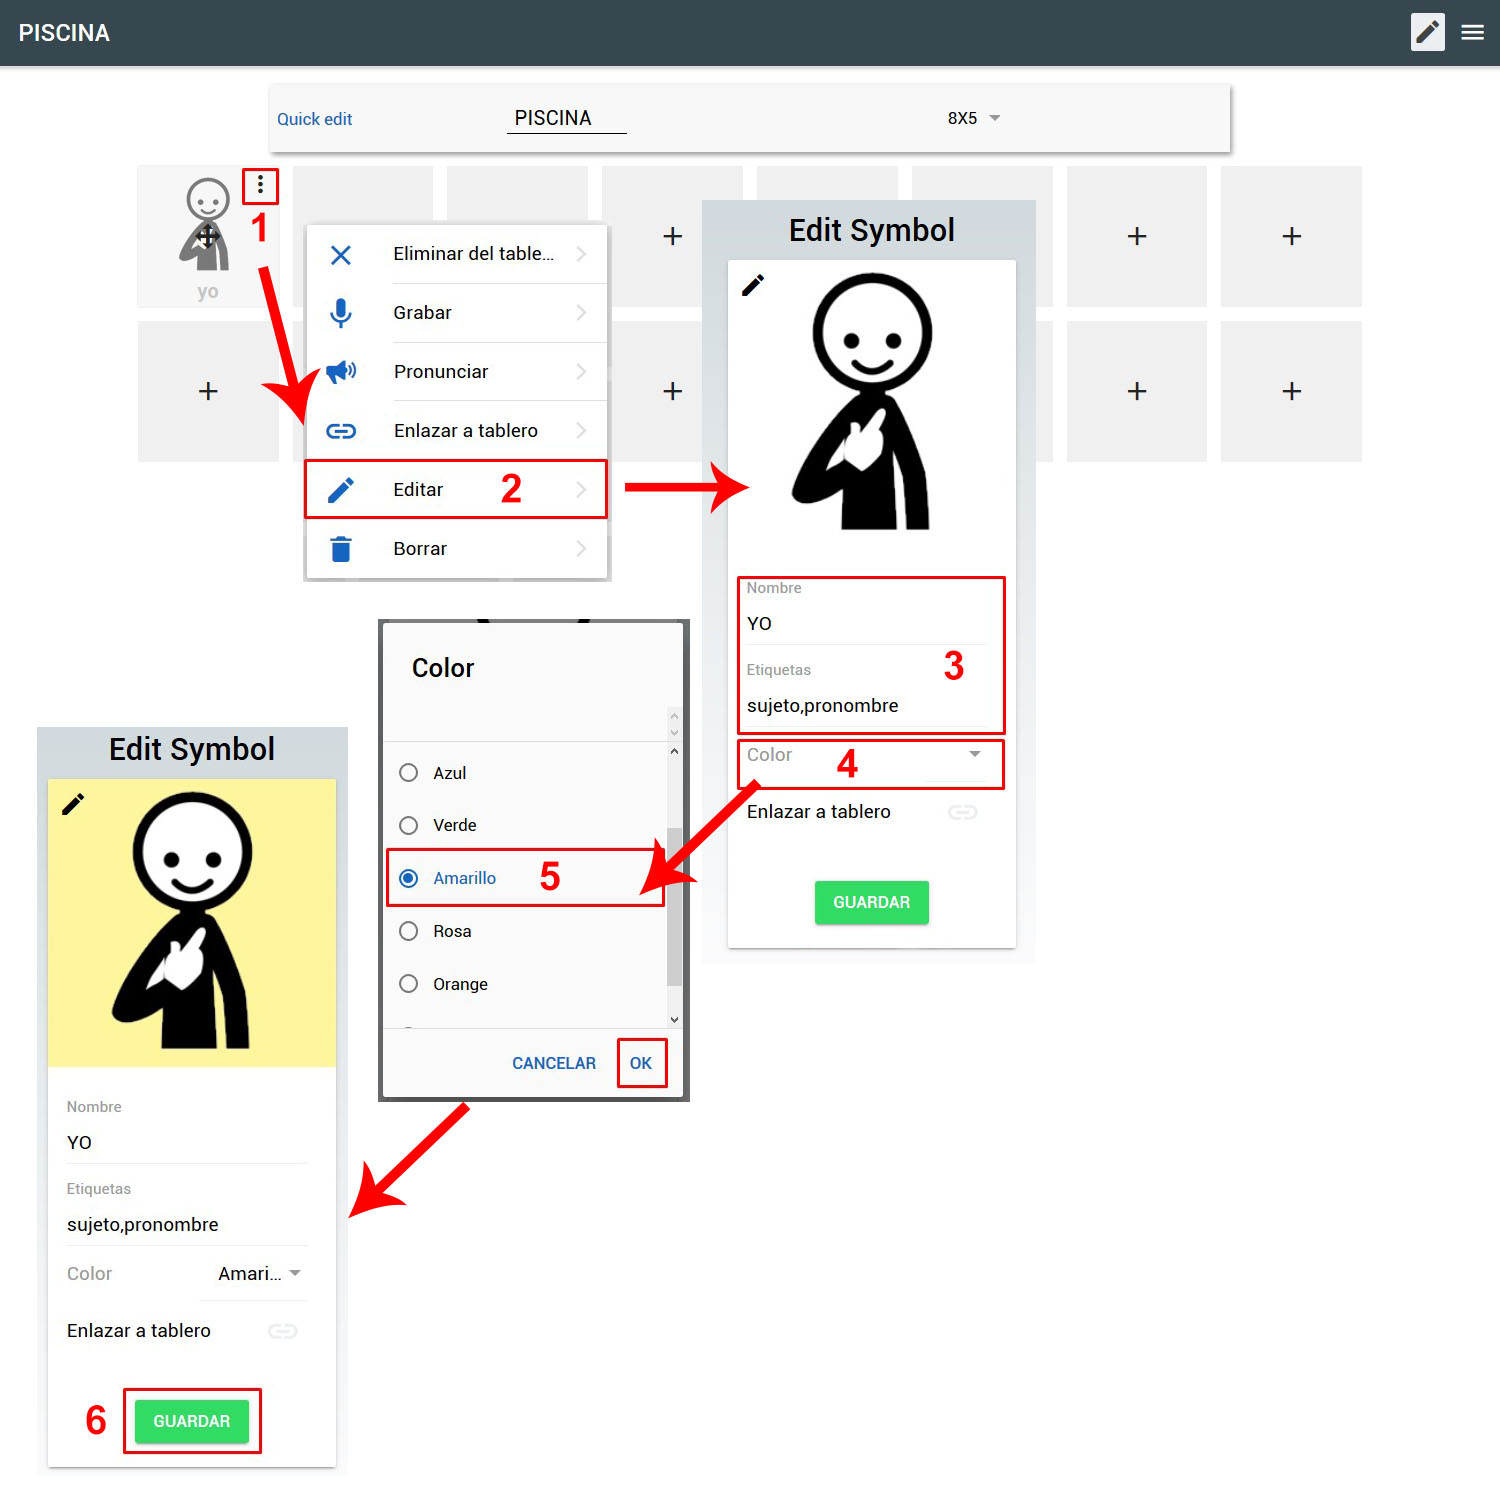
(*) Having modified a pictogram (color and text in capital letters) already downloaded and used previously (star) it is important to know that these changes will affect all the boards where it is used (in this case the “I” pictogram is also on the People board). If we do not want to alter a pictogram already inserted in other boards, we will have to download it again, choosing one with “cloud”.
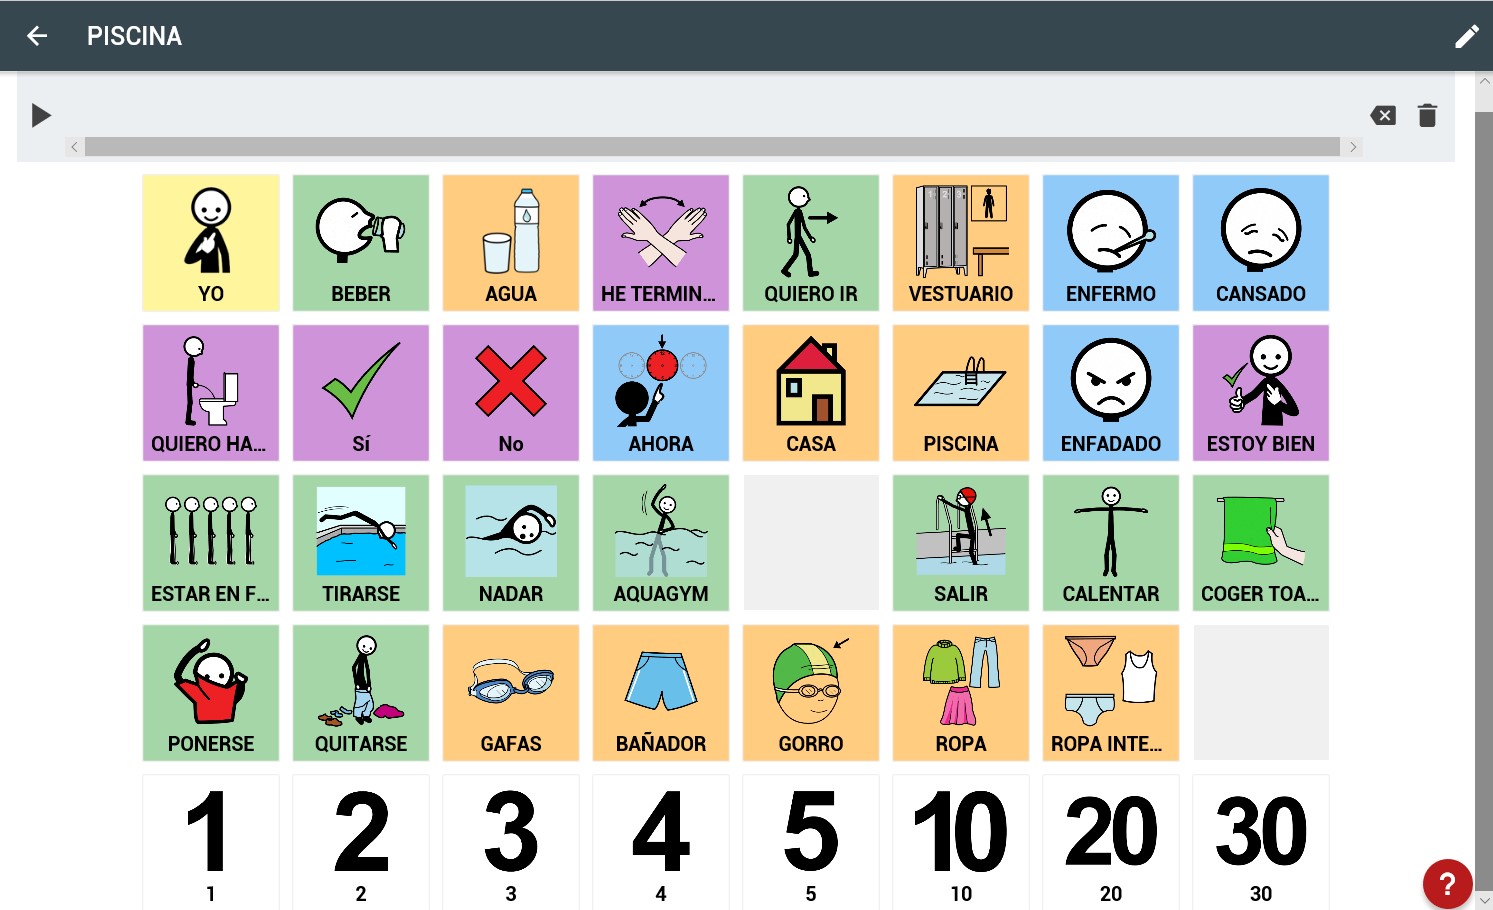
Once the pictogram has been modified, we continue filling the entire board as we can see in this screenshot.
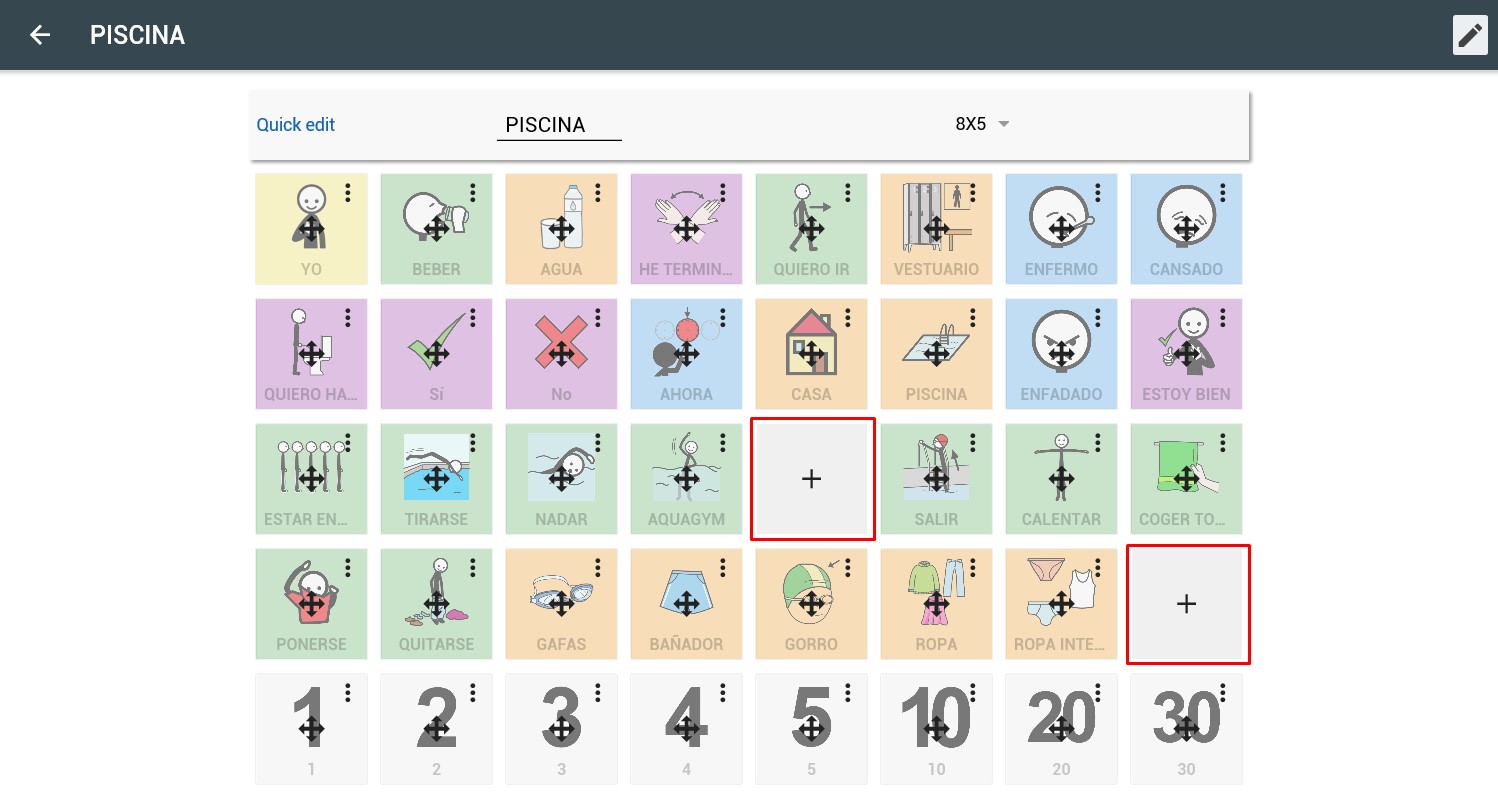
In the two cells that do not yet have pictograms assigned, we are going to see how to insert photographs or modified pictograms that we have saved on our computer or device.
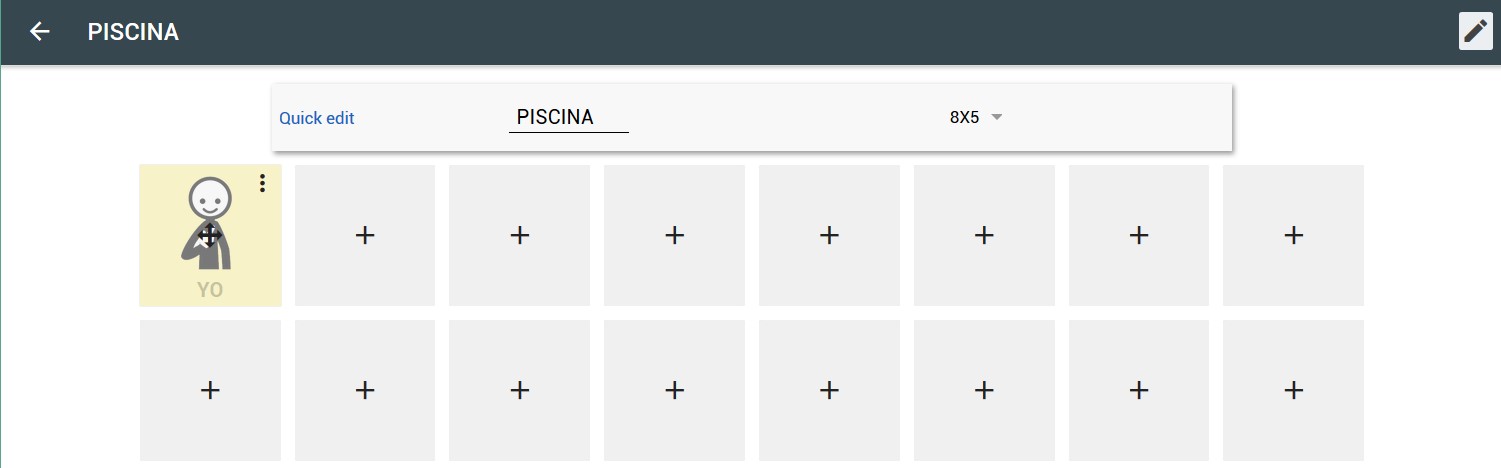
Activating the editing mode of the board we click on the first empty cell of the third row.
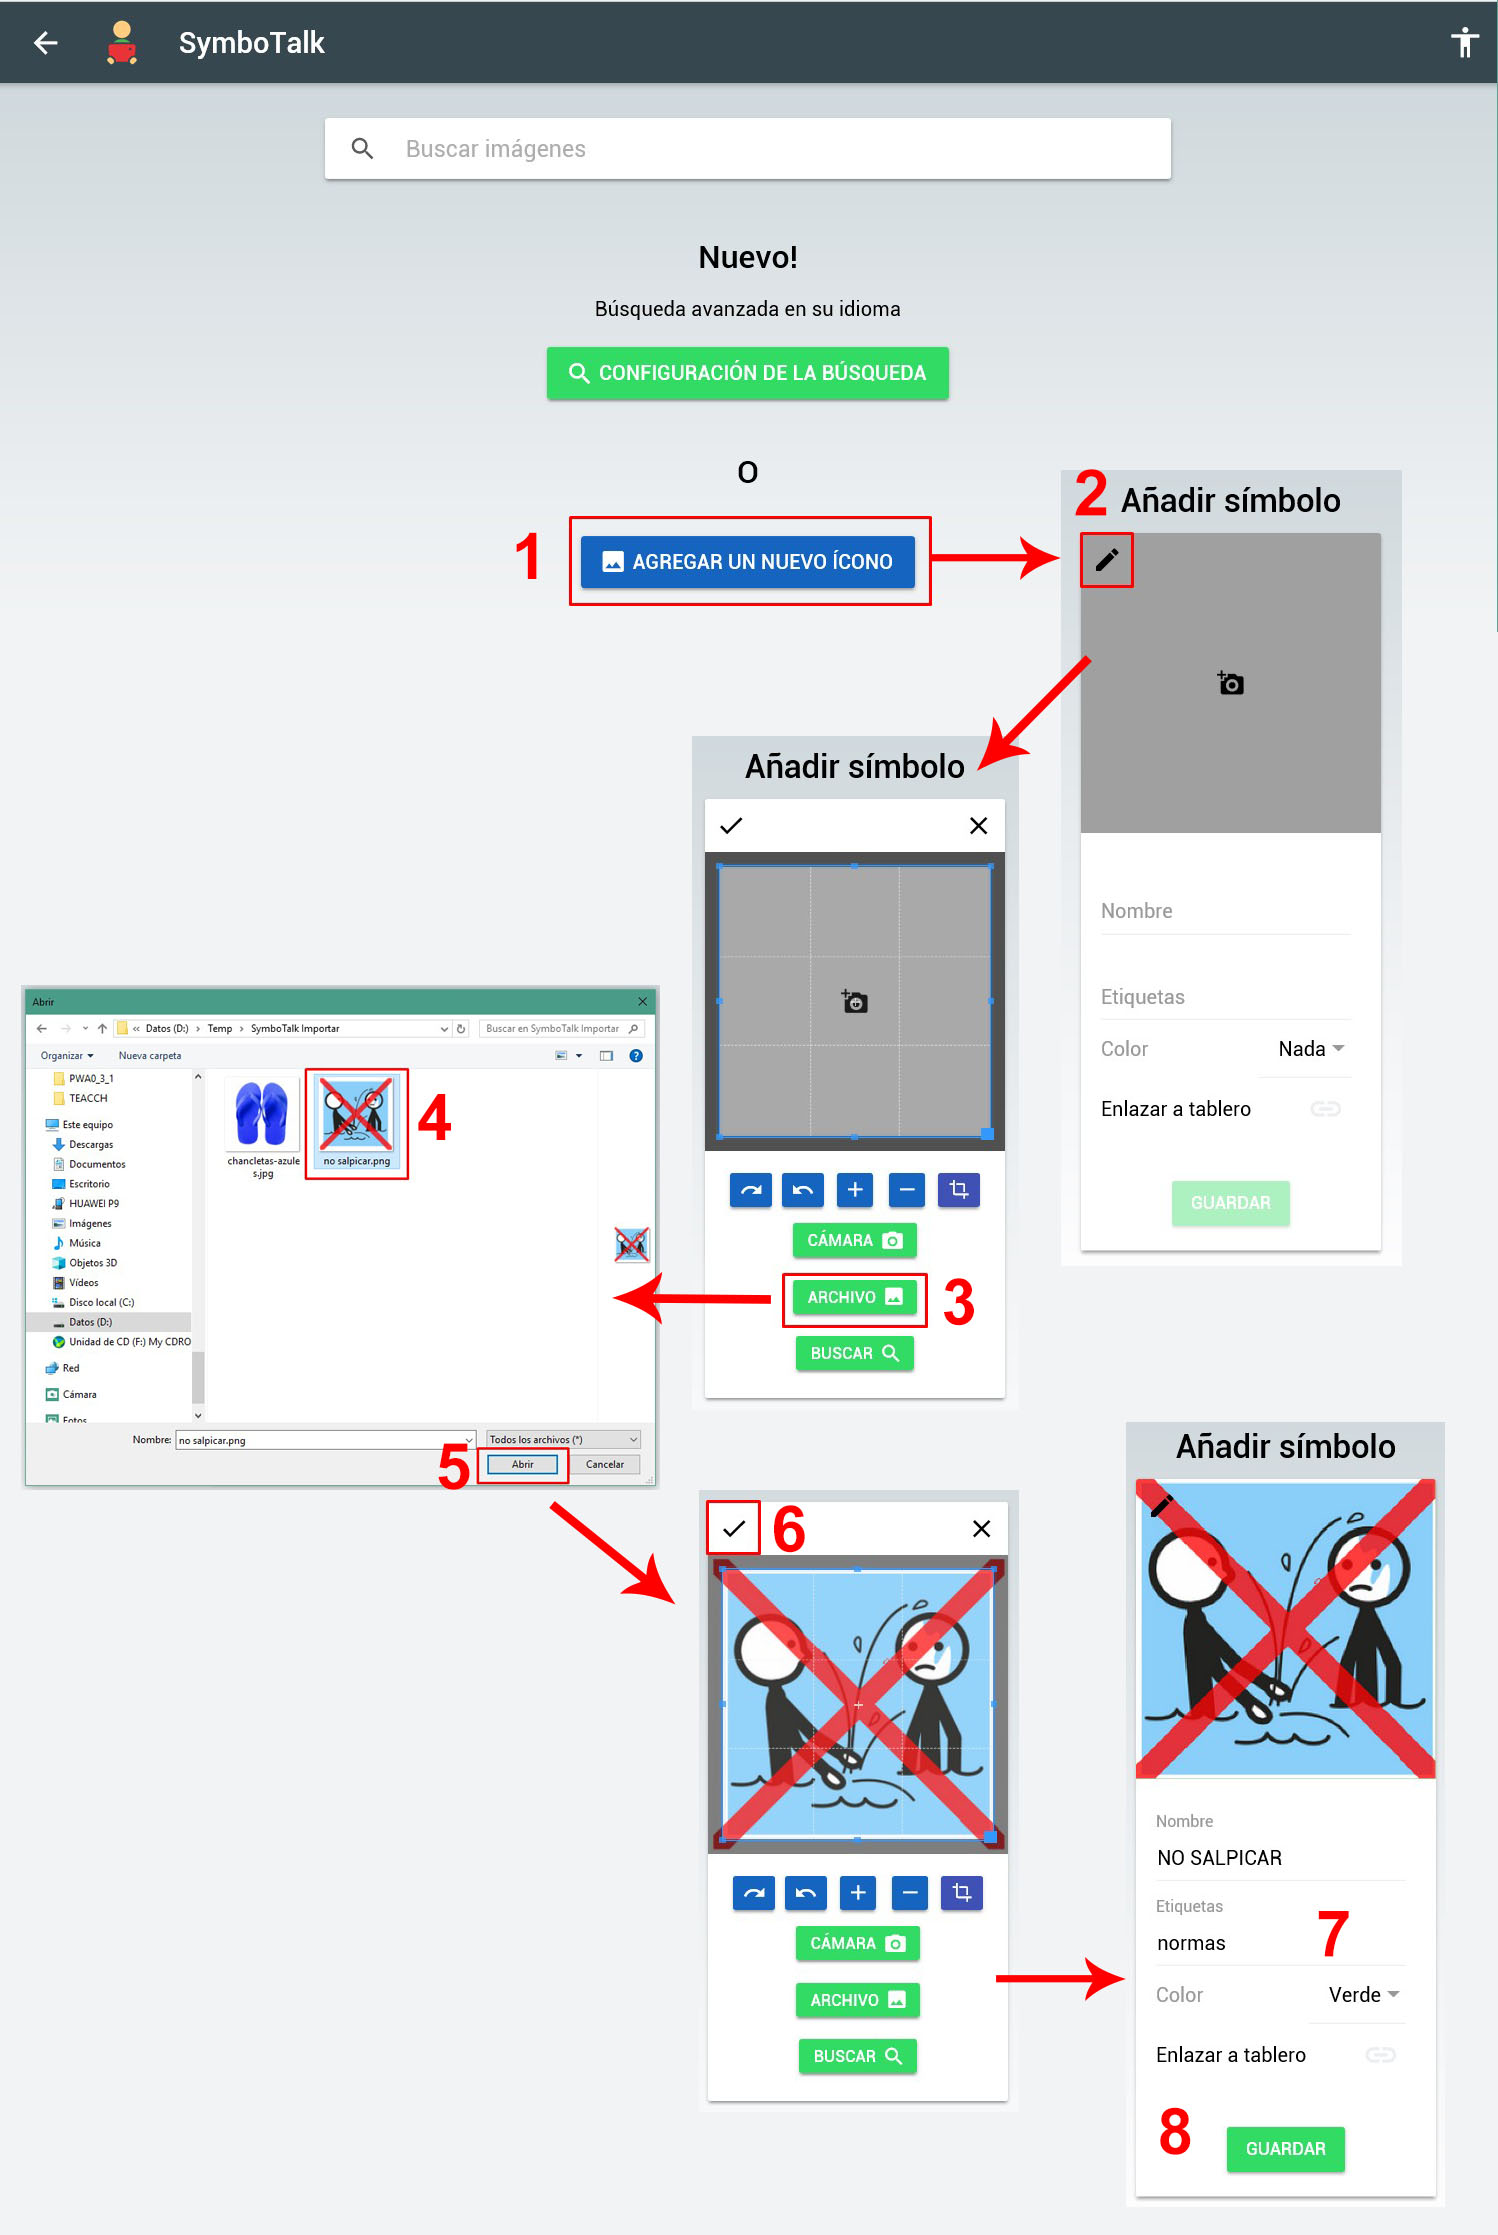
In the pictogram search window we click on “Add a new icon” (1). Then in the new symbol window we click on the pen (2) that is in the upper left corner of the blank image and “File” (3) to search for the image on our computer or device.
We could also use the camera of the device or the webcam of the computer to take a picture.
Once the file (4) is selected, click on Open (5). In this case, we used a custom pictogram that we created with PictoSelector by crossing out the splatter pictogram and saving it as a PNG.
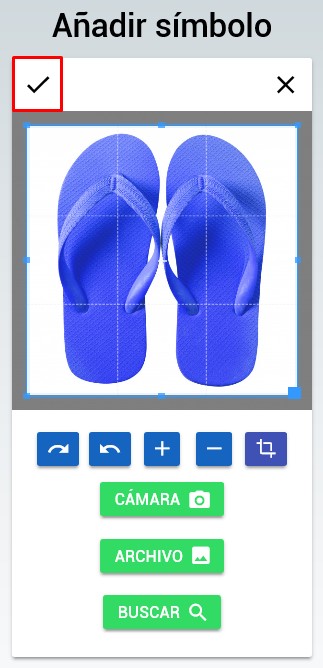
Back in the new pictogram window we can adjust the framing of the image if it is not square, crop it, rotate it,…. Once we have the image adjusted, click on the verifier that is in the upper left part of the image (6).
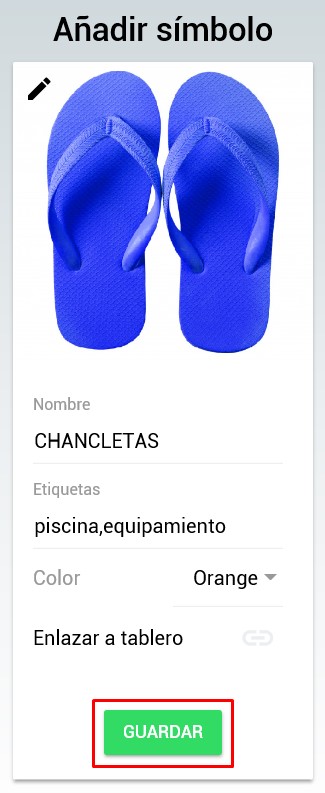
Finally, we complete the name and labels of the new pictogram (7) and click on “Save” (8).
We will now have our pictogram added to the board.
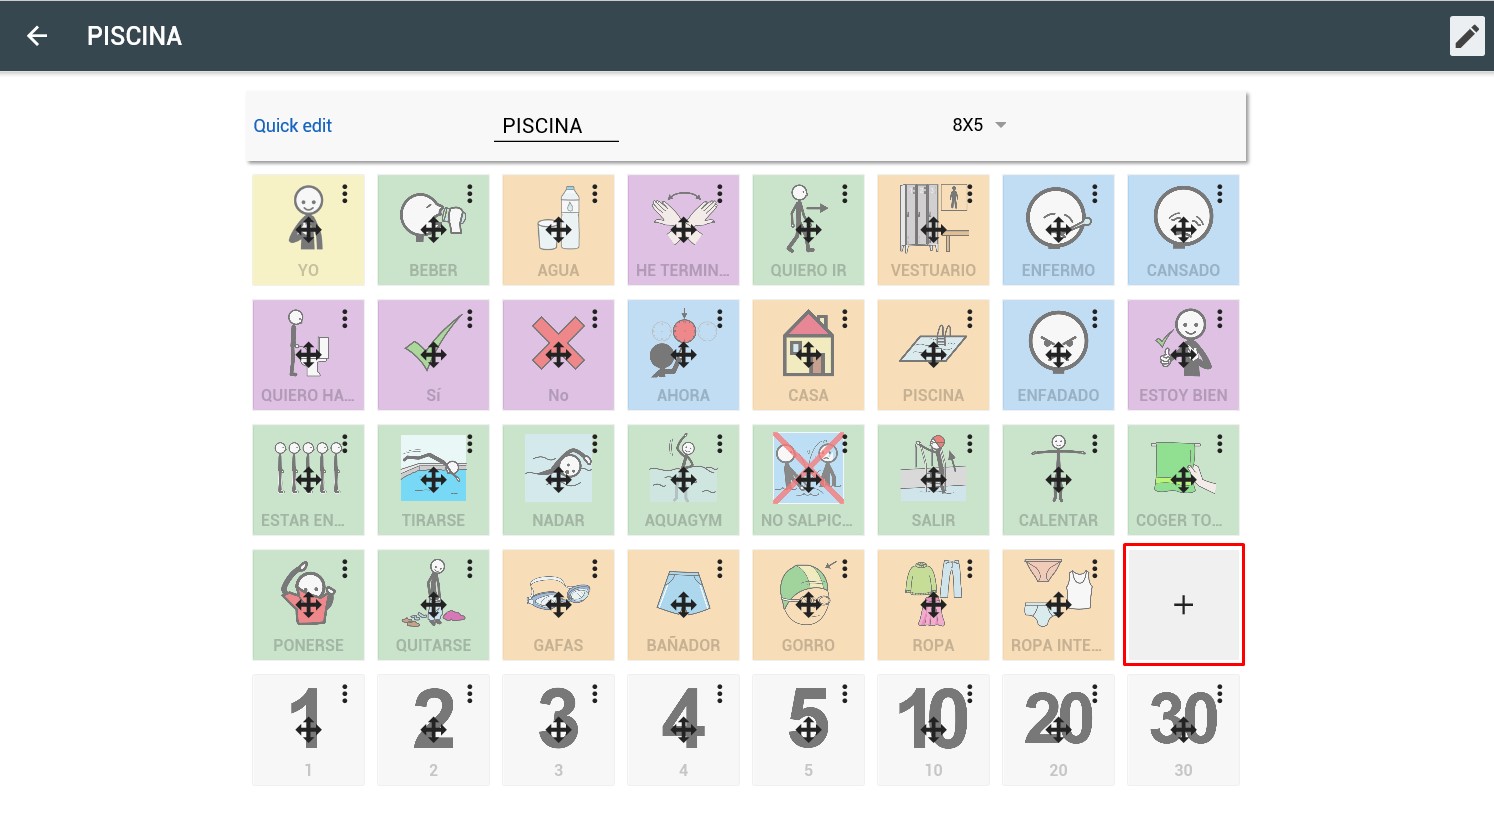
Repeating the same procedure we will add the photo of some flip-flops in the box on the fourth line that is empty.
With the flip flops added our board would be complete.
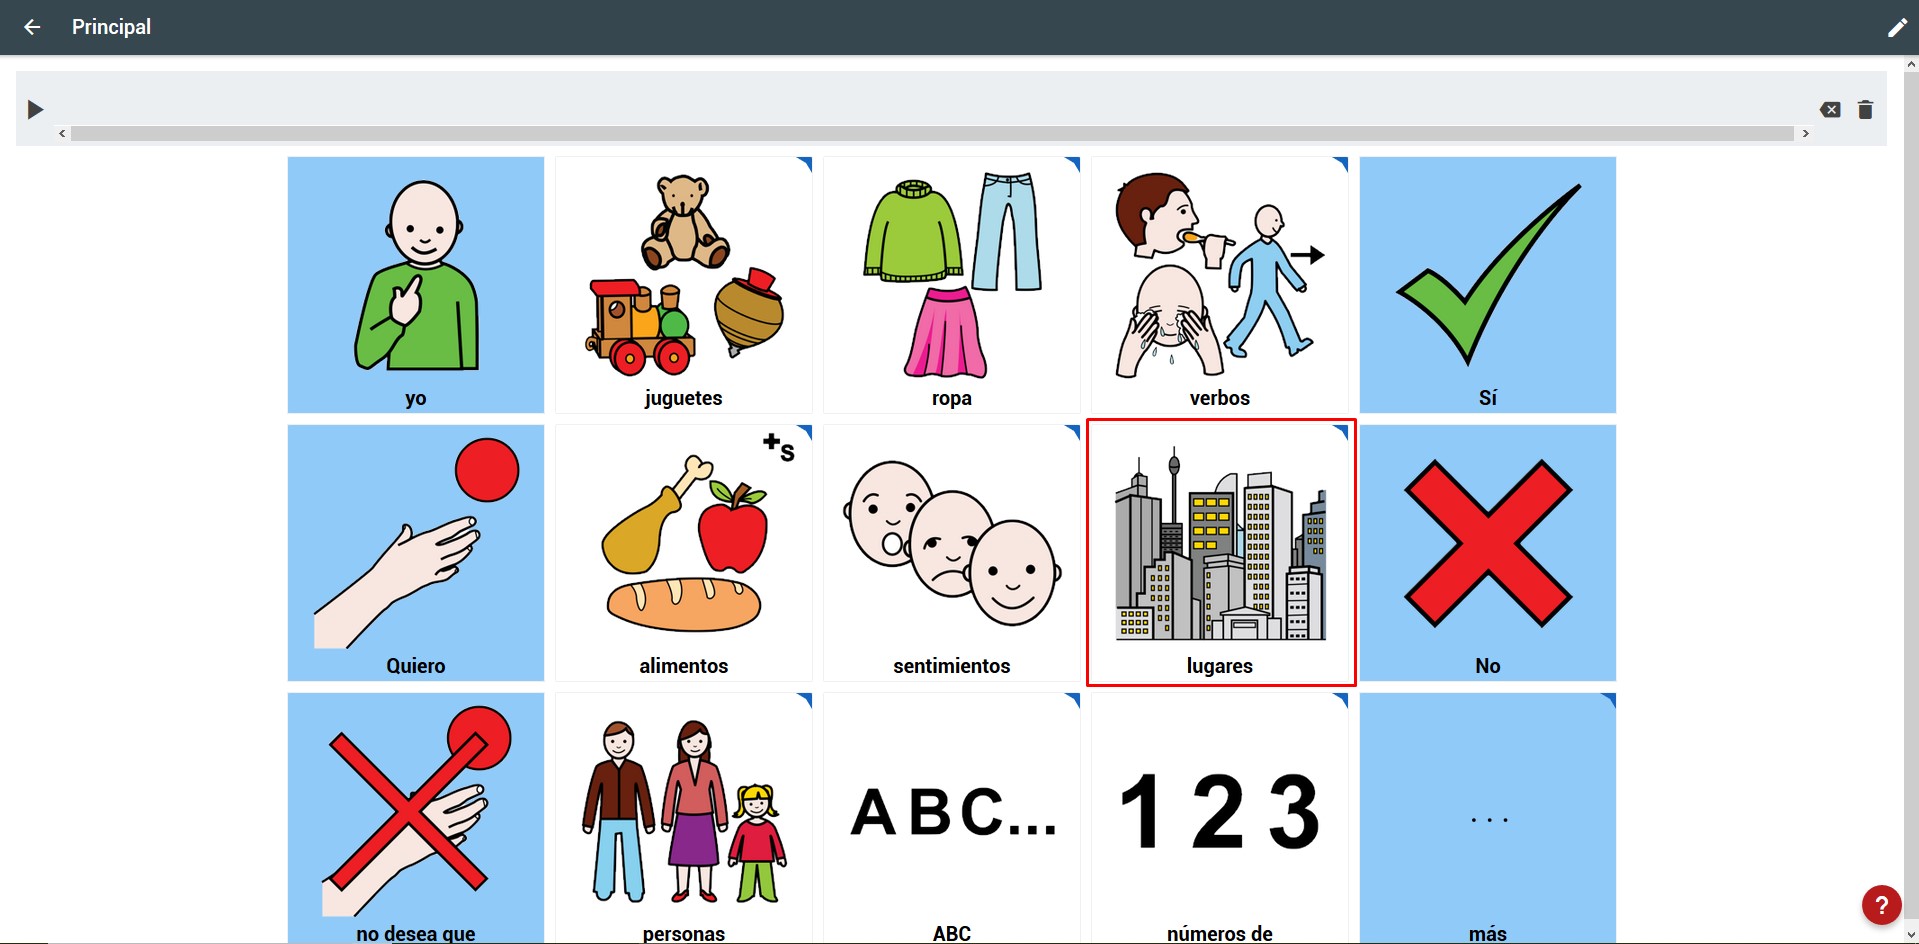
Once we have the board finished, we are going to link it to the pool cell that we mentioned at the beginning of the chapter.
From the board list we access the “Places” board.

We activate the Edit mode and click on the 3 points in the upper right corner of the pool pict (1). Then we click on “Link board” (2) and select the POOL board (3).
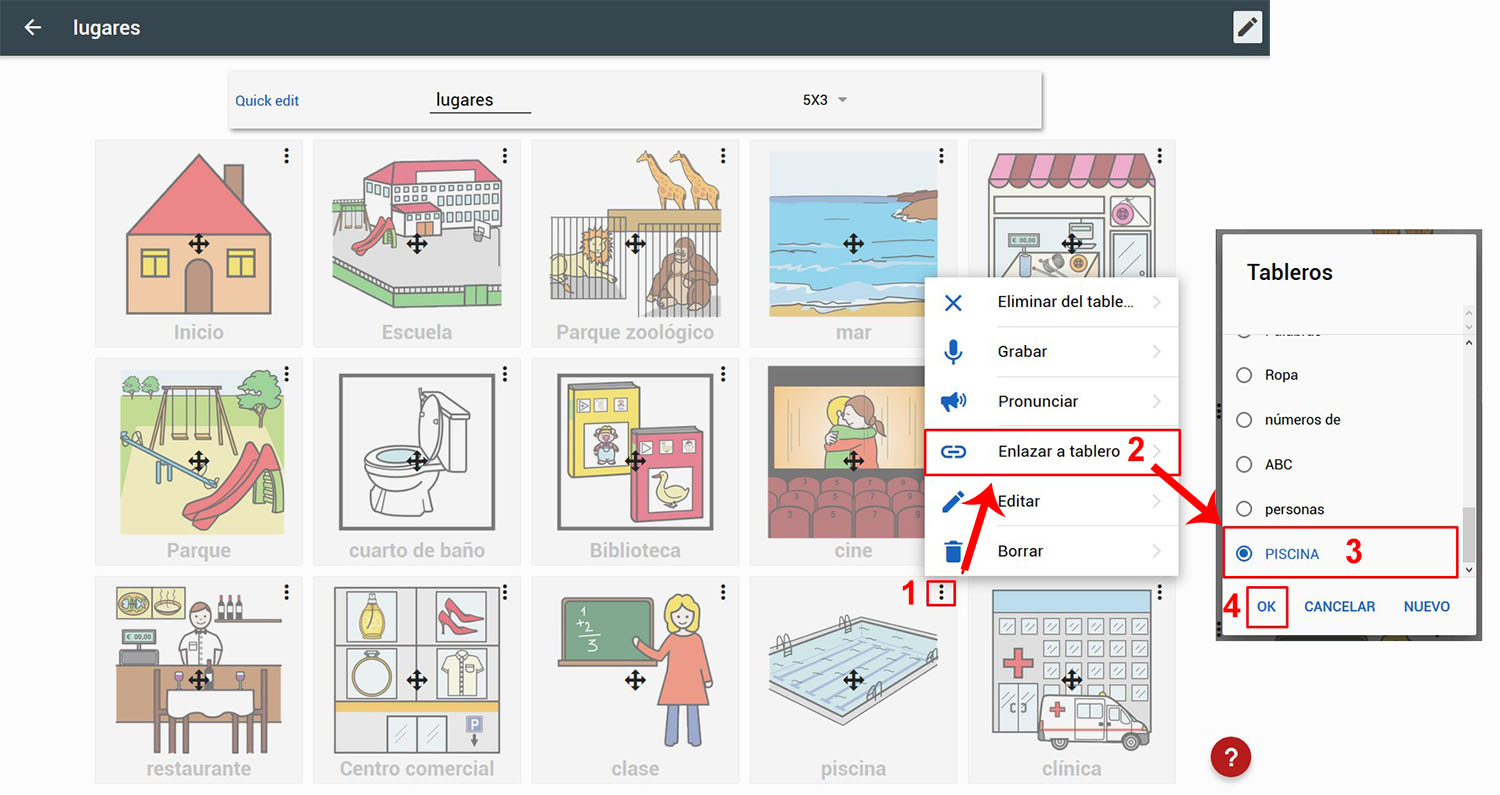
Once we click on “OK” (4) we can see how in the pool cell the tab appears that indicates that the cell links to another board.