


![]()
This work is licensed under a Creative Commons Attribution-NonComercial-ShareAlike 4.0 International license.
Tutorial
When we open the application, we observe that the interface is very simple and that the toolbar has the most basic elements so that it can be used, not only by professionals or families, but also by users of augmentative and alternative communication systems. .
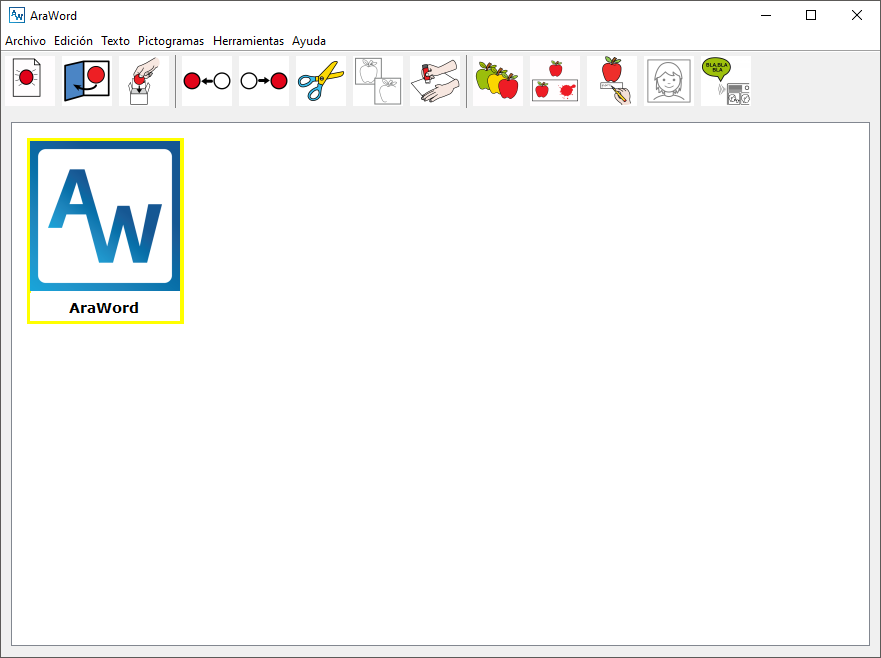
Initially, the AraWord icon appears showing us where the cursor is located. We can erase it to start writing. We are going to analyze the different options that appear in the File menu.
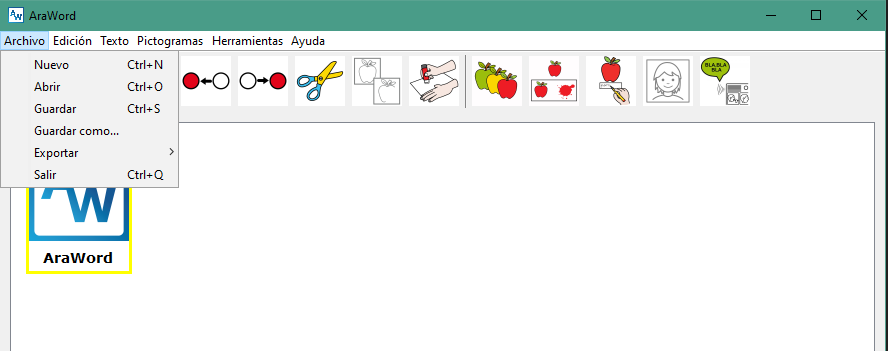
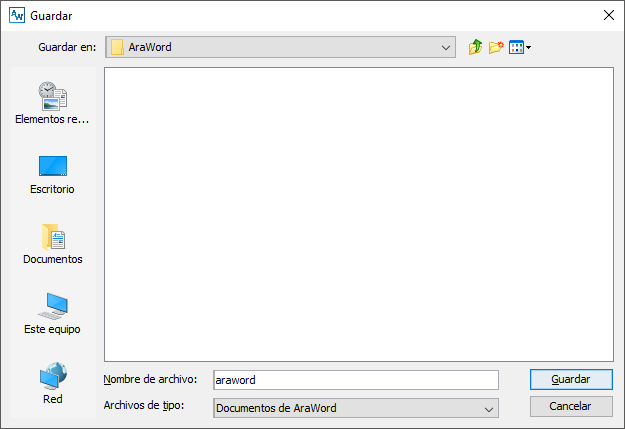
First, the New option appears, which allows us tostart writing a new text. Later we have the option of Save as … , which is used to save the text on which we are working and be able to Open it, later, to continue with the writing of the adapted texton which we are working. All those custom pictograms (which are not part of the ARASAACdatabase) that we have imported into AraWord and used in the document are also stored. In this way, regardless of which computer we open the document on, we will be sure that all the pictograms are displayed. The files are saved with the.awd extension, so in order to open them, we will have to do it directly with the Open option, from the application itself.
The Export As menu… offers, two possibilities: Export as image or Export as PDF
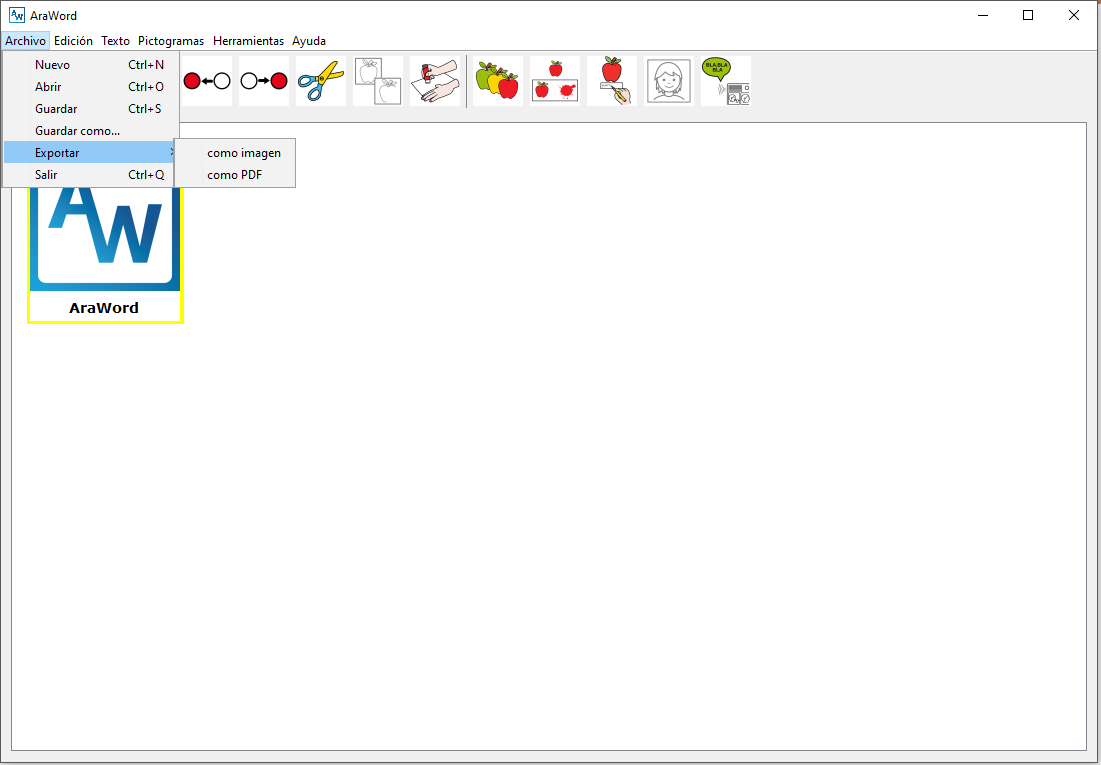
Within the Export as … Image option, we recommend using the JPG format. If you use this option, once the document is saved as an image, you can insert the image into any document or presentation.
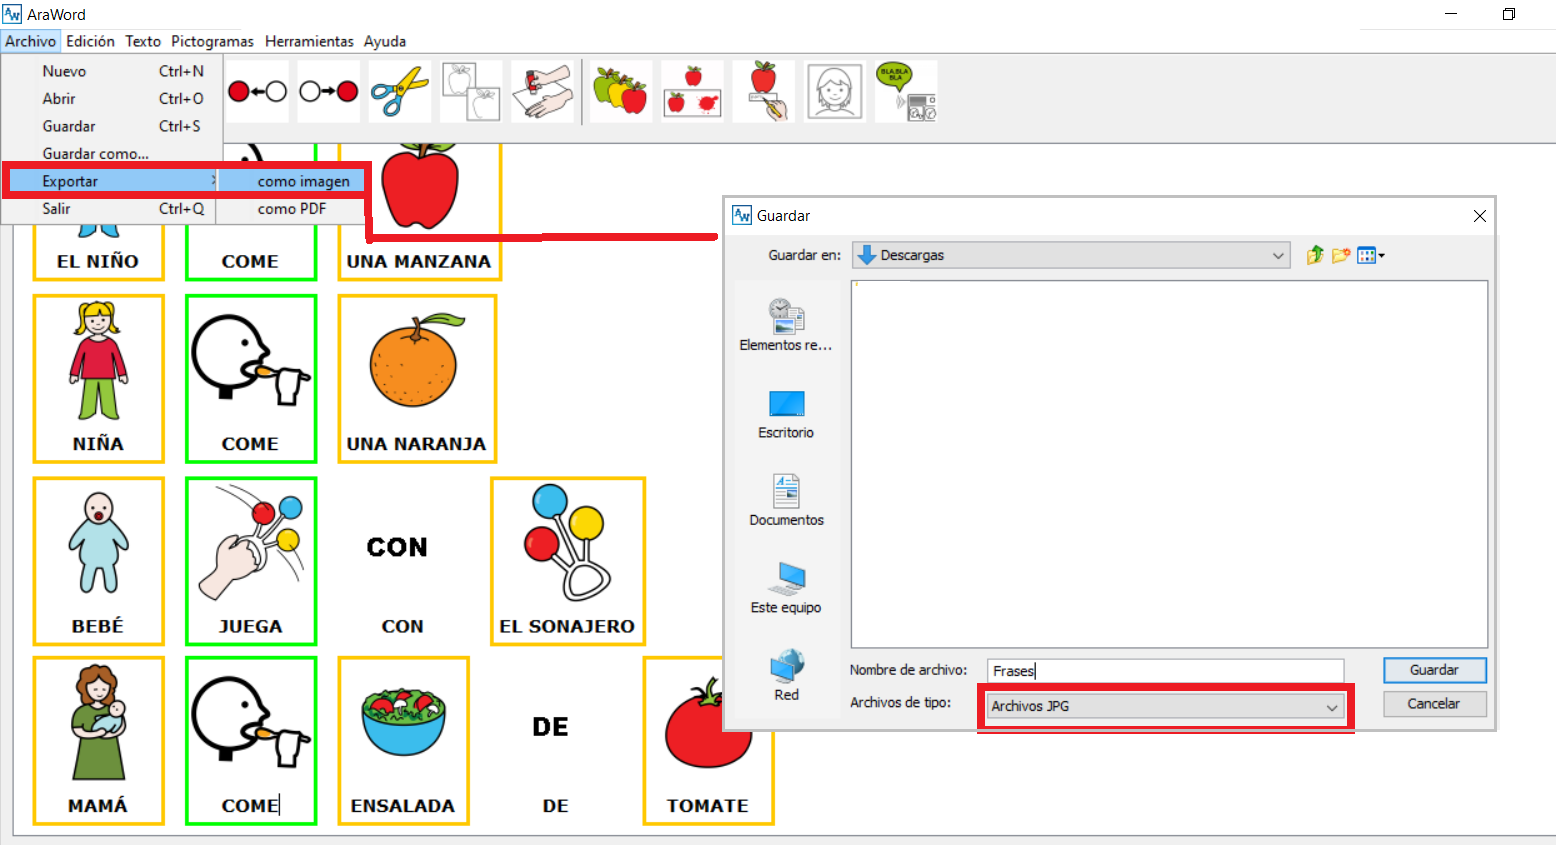
In some occasions, when saving the image and inserting it, it may happen that we notice that the image contains empty space around it. To do this, the different text editing and presentation creation applications incorporate image cropping functions, which we can use to make it optimized.
The other option that we will find and that allows us to Print the documents is through the Export as …. PDF option.
The PDF export menuoffers us different possibilities, which as we configure, are shown in the Preview window:
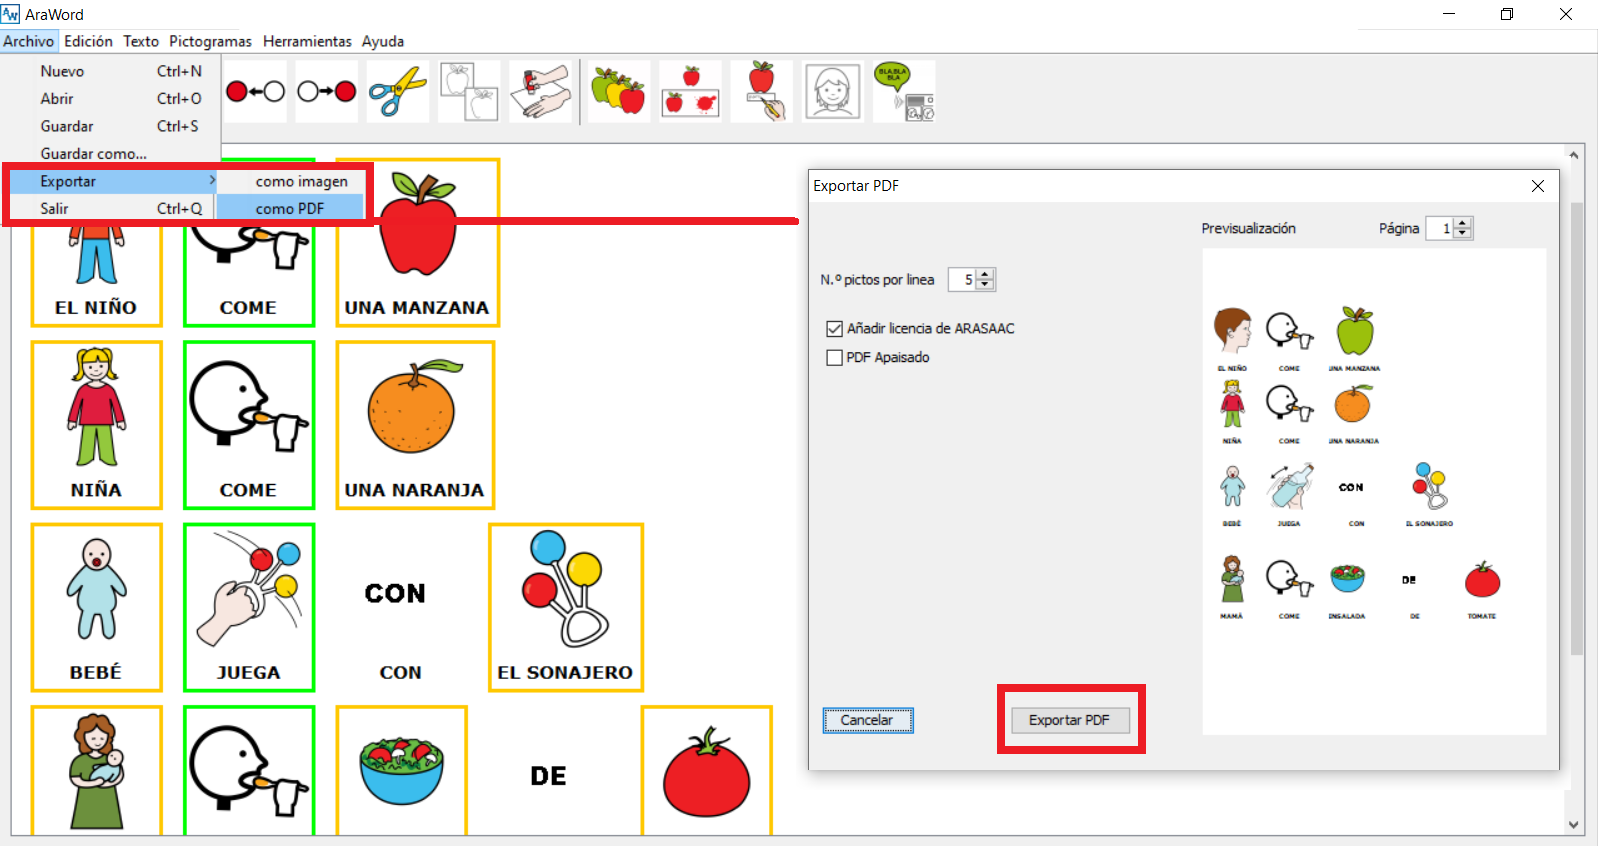
- Number of pictograms per line: this option allows us to adjust the number of pictograms that are inserted in each line. As we adjust the number of picts per line, the necessary lines are added to accommodate all the text.
- Add ARASAAC license: this option is activated by default and adds the ARASAAC license terms to the footer of the document, guaranteeing us the ability to distribute the document freely.
- Landscape PDF: When activating this option, the document changes its orientation to Landscape (Landscape).
Once the options that interest us have been defined and the final appearance of the document customized, we will press the “Export PDF” button, which will open a dialog box to save the PDF on our computer.
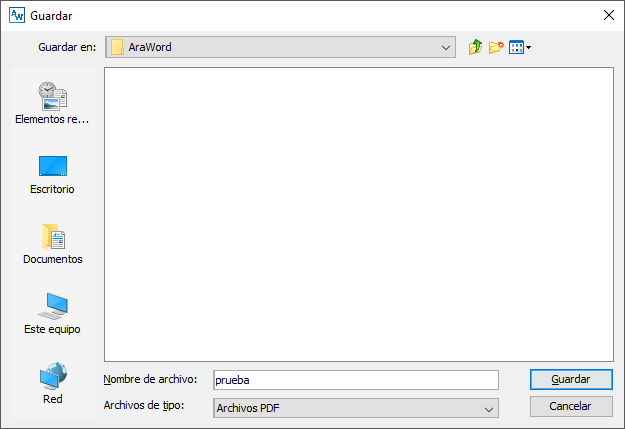
Once saved we can open it with any reader of this type of format and print it from there.


