


![]()
This work is licensed under a Creative Commons Attribution-NonComercial-ShareAlike 4.0 International license.
Tutorial
This is undoubtedly one of the most important menus in the application.
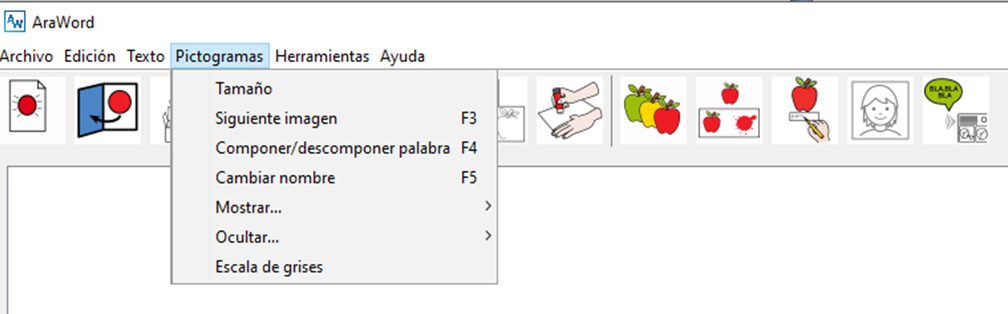
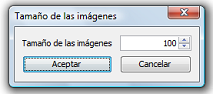
From this menu, we can configure the Size of the pictograms adapting them to the desired size.
Next, we can use three of the most important options to adapt any text to pictograms: Next image, Compose / Decompose word and Rename. We can activate these options in several ways, using the tools menu, the function keys or the icons on the toolbar.
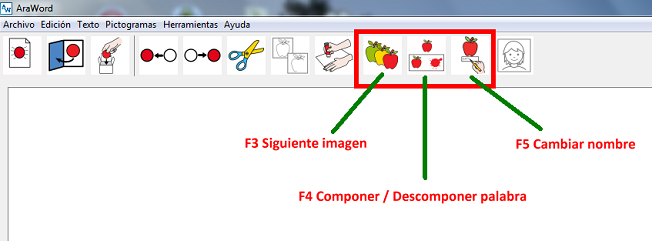
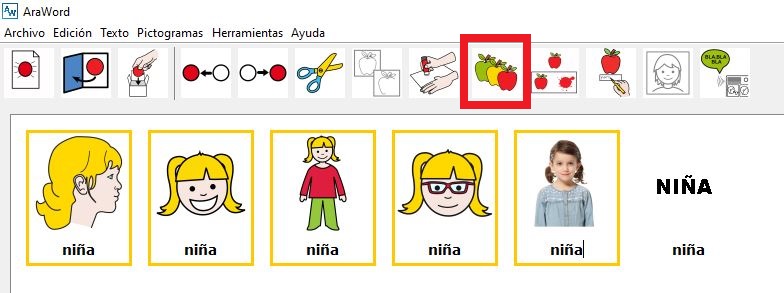
We write the word “girl” in our text and leave the cursor inside this cell. As in the application database, we have several pictograms associated with the word “girl”, we have the option to select the one that interests us the most, including the photographs or images that we have uploaded to the application and even select the written text . To perform this action, we go to the Pictograms menu and select Next image, click on the F3 key or click on the corresponding icon, in this case that of the three apples.
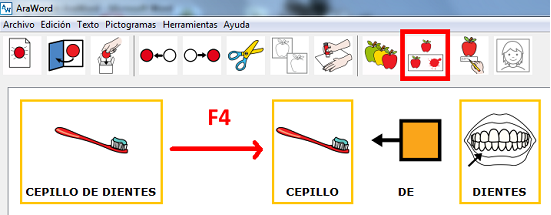
By default, AraWord joins those word compositions that are associated with a single pictogram, as in the case of “toothbrush”. It may happen that we are interested in showing this word as a single pictogram or as the set of three pictograms that compose it. To join or separate the different pictograms that make up the word, we will use the option Compose / Decompose a word,the F4 key or click on the icon indicated in the lower capture. We will observe that, automatically, the three pictograms that make up this word appear. To return to using a single pictogram, we go to the text of any of the three pictograms and use any of the options that we have mentioned above to return to having a single pictogram.
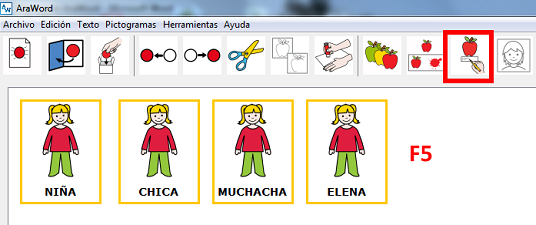
It may happen that we want to change the name of a pictogram. To do this, we will place ourselves in the text of the cell and use the Renameoption, the F5 key or the corresponding icon. As an example, we write the word “girl” several times. We place the cursor inside each of the corresponding pictograms and select one of the three options that we have discussed. We will observe that we can delete the content text and write the desired word. In the case that we write a compound name, for example María Elena, we must write it all followed by and. once written, separate it with the Space key.
Within this menu, we also have the options of Hide/Show Image or Hide/Show Border of An Item/All Items. We recommend that you do a few small tests to familiarize yourself with these options and see what happens.
In the latest version of AraWord, the ability to convert glyphs to Grayscale has been added, which undoubtedly makes it easier to create easily printable grayscale documents.
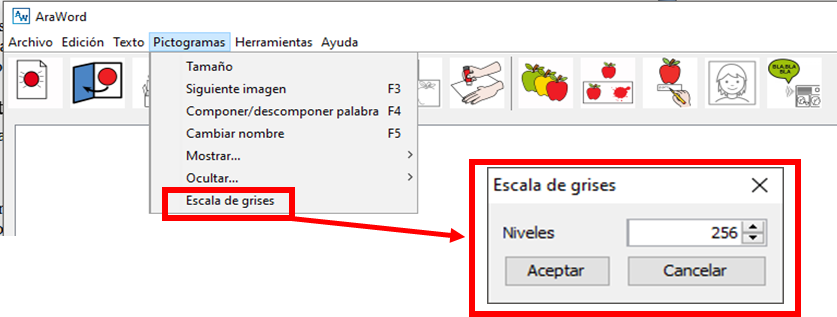
When clicking on this option, a pop-up window appears in which 256 is set in Levels. By clicking on Accept, the pictograms that we have so far will be converted to grayscale and the new ones that appear when writing will also be converted.
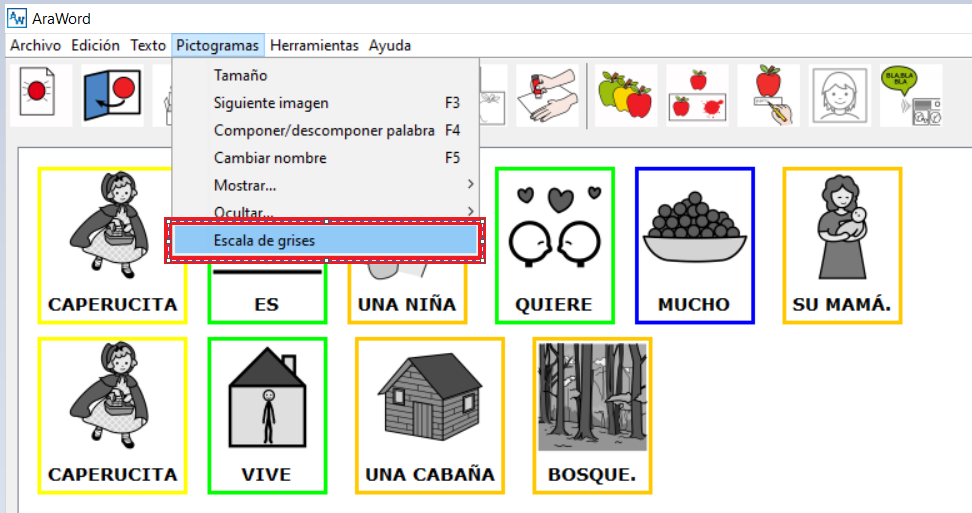
If we want to see the pictograms in color again, we will select this option again and in the pop-up window we will put the number 0 instead of 256. We only have to click OK.
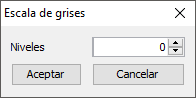
If you want to convert them back to grayscale, you will have to write 256 again.


