


 This work is licensed under a Creative Commons Attribution-NonComercial-ShareAlike 4.0 International license.
Video tutorial
Tutorial
At the end of the previous chapter, we follow, step by step, the entire wizard to create our pictogram sheet with Picto Selector and configure the format of our first pictogram sheet.
Apparently, when we get to the end of the wizard and accept the settings, our rows and columns don’t appear on the creation screen, but they are there.
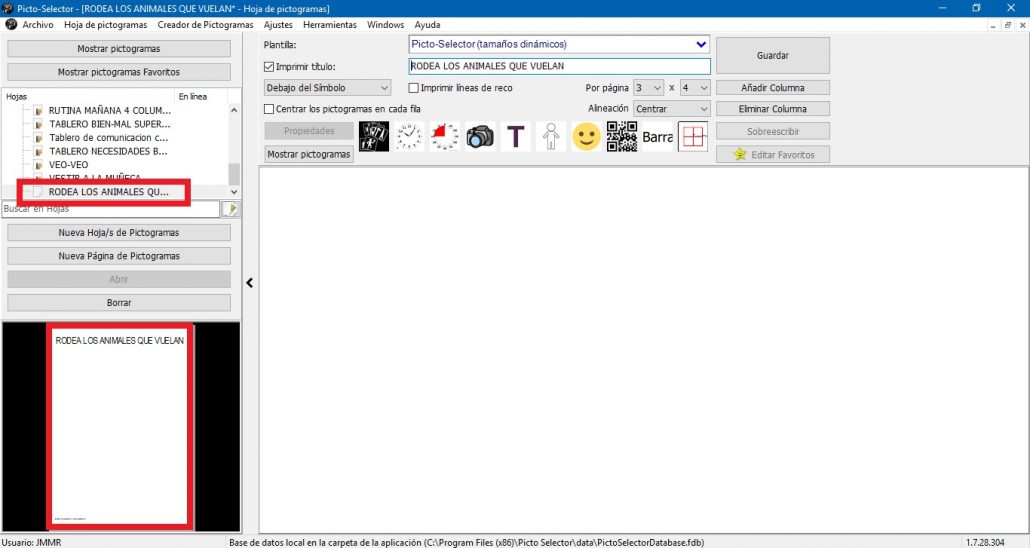
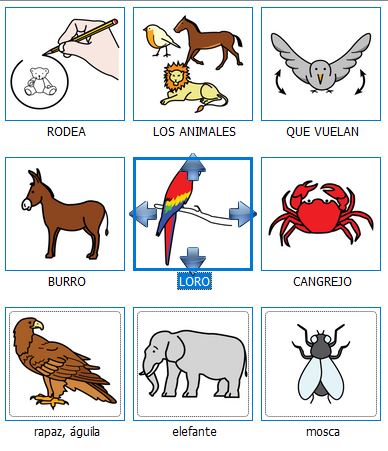
Let’s create our first sheet of pictograms: “Surround the animals thatfly“, following the following steps that we detail below:
1. Pictogram search in the Pictogram List window
To do this we click on Show pictograms so that the pop-up window List of pictograms appears,from which we are going to drag the pictograms to our sheet.
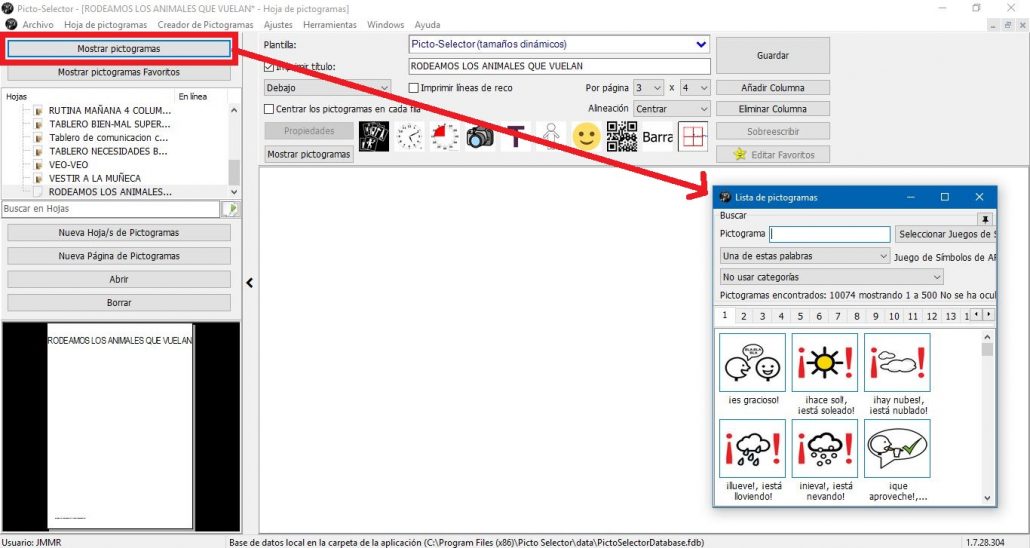
We can resize the pictogram window to make it smaller and have greater visibility of our pictogram sheet.
Now in the search box of the window, we begin to write the name of the glyphs that we are going to use. First, we search for “Surround“. Remember: when we search for verbs in Picto Selector, we will do it using the infinitive, although we can change the name later.
To move pictograms to the sheet,we can use two actions: drag the pictogram by pressing the mouse on it or double-click on the pictogram. Either of the two options will insert the chosen pictogram in our sheet.
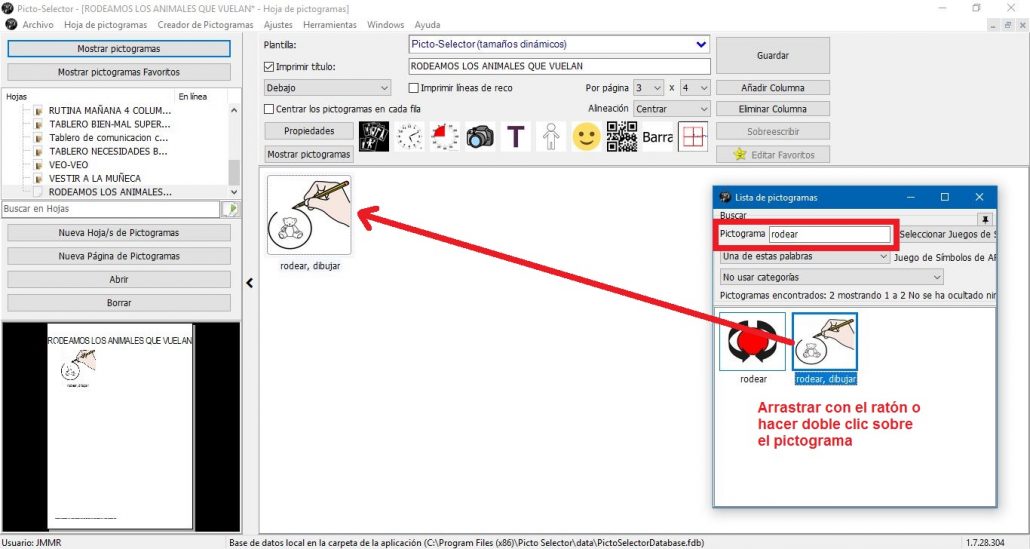
You can check that we already have our first pictogram and we can even preview how our sheet is looking in the Preview window.
2. Modification of the name of the pictogram
When we move a pictogram from the List of Pictograms to the sheet, we will find that, on some occasions, the pictogram appears with several associated words. This is because Picto Selector moves the pictogram with all the meanings it has associated in the ARASAACdatabase. To modify the name of the glyph and some of the associated options, we double-click on it and the Pictogramwindow appears. Now, we can change the name of our pictogram “draw, surround” to“SURROUND”.
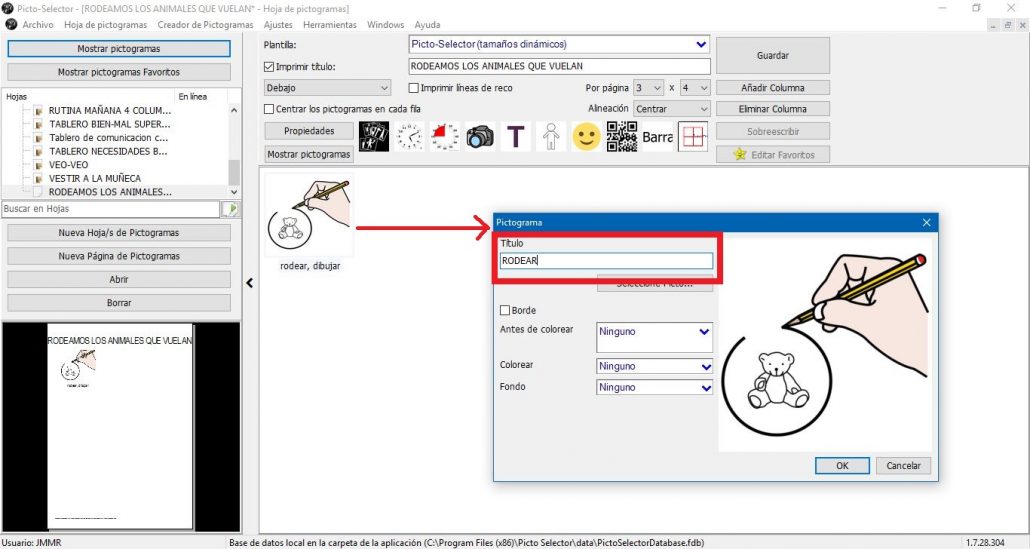
You can also see that the author provides us with other options that we have deactivated in the wizard. The border is one of these options that we can return to again from this window. If we activate it, the border will be assigned to this specific pictogram.
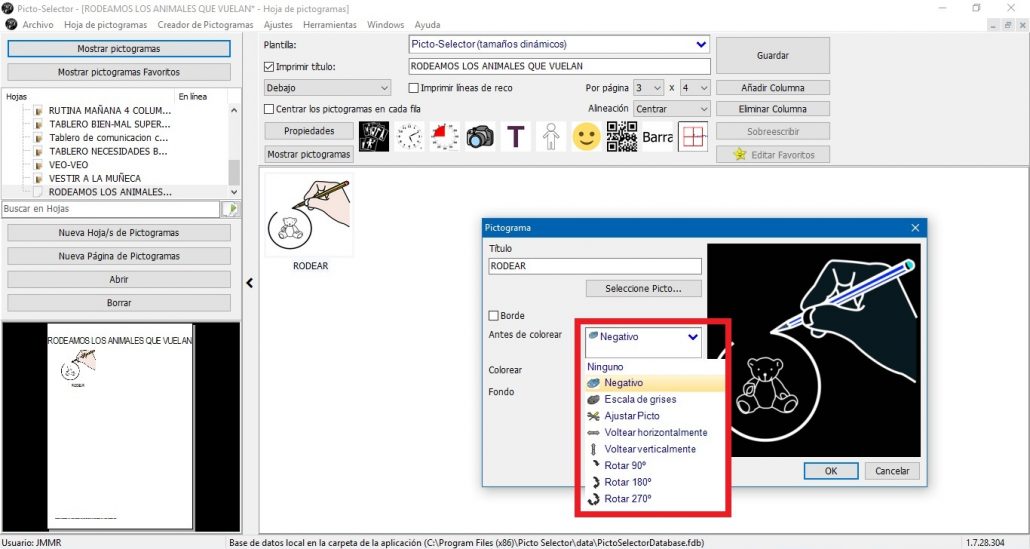
3. Change the appearance of our pictogram
We can also change the graphic format of the pictogram by clicking on the Before Coloringtab. In this way, we have several options that can be very interesting: pictogram in negative,pictogram in grayscale, flipping and rotation of the pictogram. You can do tests to see how the appearance of the pictogram changes.
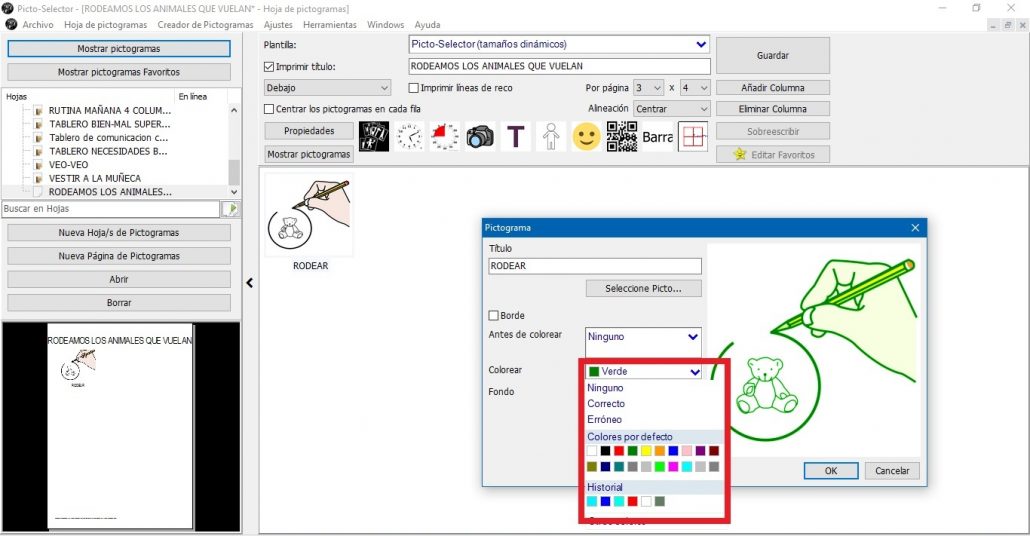
We can also use the Color the pictogram option, choosing from the range of colors on our computer.
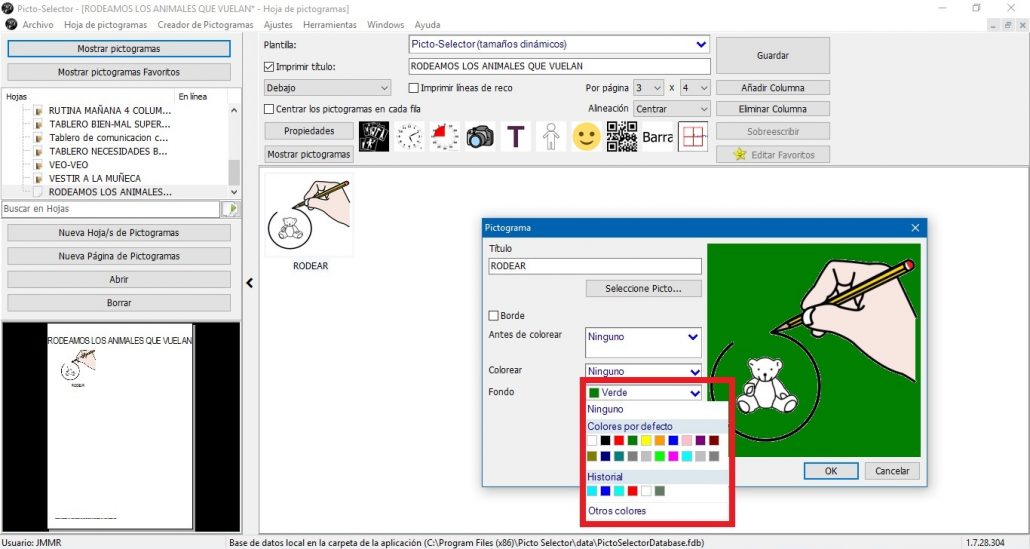
And finally, we can change the background of the pictogram. To do this, select the desired color in the Backgroundoption.
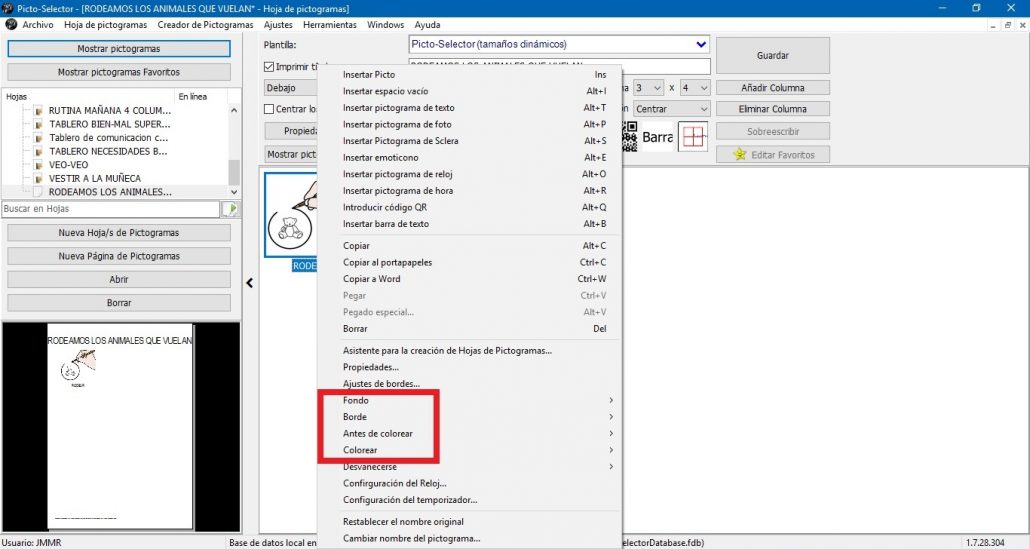
We can access all these options and many more, by placing the cursor on the pictograms and pressing the right mouse button. As we have already told you and we will repeat to you once again, the author duplicates the options on many occasions so that you can access them as quickly as possible.
4. Adding the pictograms to create our sheet
In our example, we are not going to modify any of these features to simplify the process, but you can do all the tests you want.
Now we just have to go looking for and dragging the pictograms that will make up our sheet of pictograms.
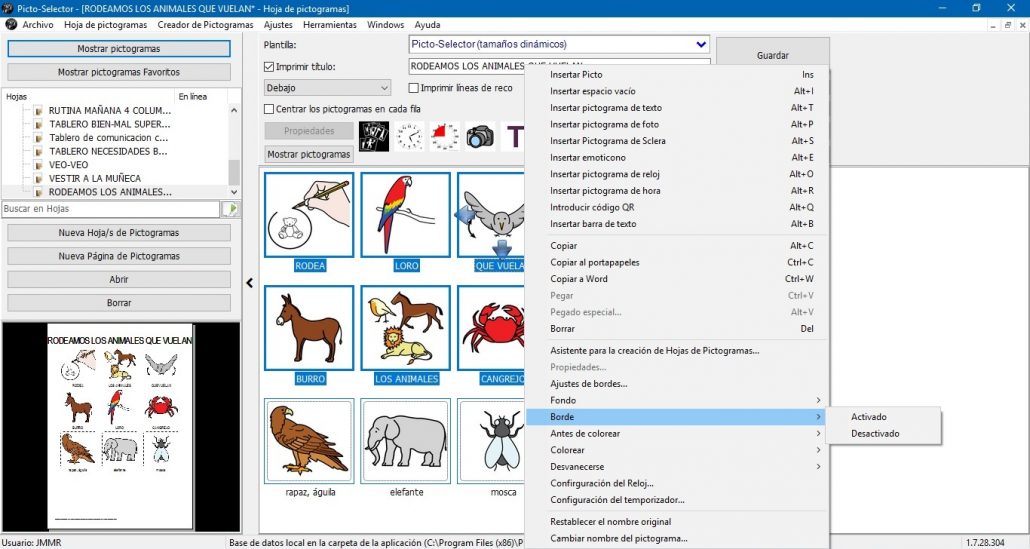
Picto Selector orders the pictograms from left to right following the order of the rows and columns that we have established. On occasion, we want to change the position of the pictogram on the sheet. To do this we have two options: drag the pictogram with the mouse to the desired position and release it or we can select it and use the directional arrows to move it to the desired position, as you can see in the following screenshot.
If we want to remove any of the pictograms from our sheet,we just have to place ourselves on top and press the Delete key. If you look again at the previous capture, we can also use the Delete option by right-clicking on the pictogram. We can delete one by one or if we select several, we can delete them all at once.
The joint selection of several pictograms also allows us to modify any of the options together, which can save us a lot of work.
We can also select one or more pictograms to Copy and Paste on our sheet if we are working, for example, on a visual discrimination activity.
After searching, entering and modifying the pictograms, the sheet has been left like this:

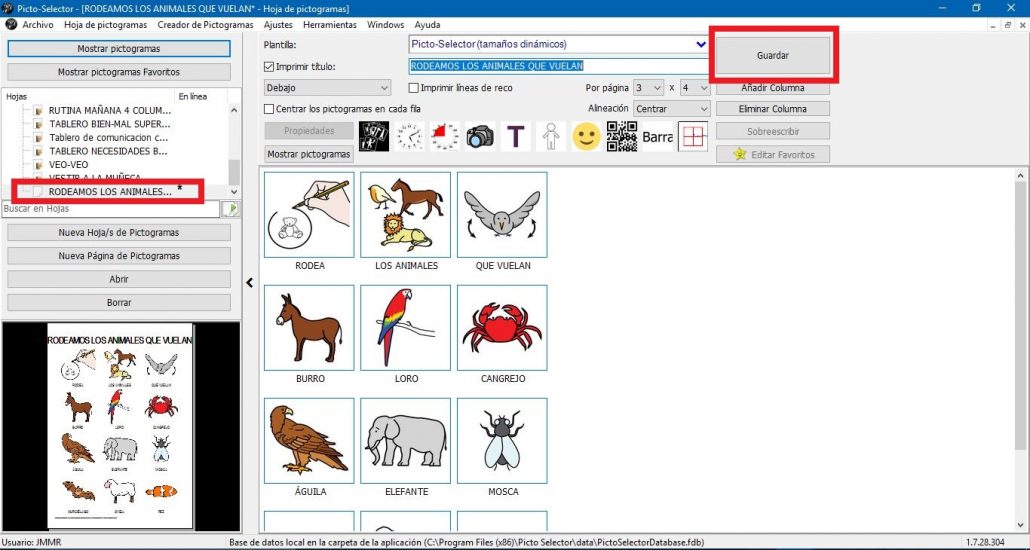
We only have to Save our pictogram sheet so that the next time we open Picto Selector,it appears among the sheets that we already have saved. You will notice that our new sheet appears in the Sheets window with an asterisk * next to it. This means that it is not yet stored in the application.
5. Save our pictogram sheet
We go to the upper right side and click on the Savebutton. Automatically, the asterisk disappears*. The asterisk appears when we create a new sheet of pictograms or when we make changes to one that we have saved and it warns us that the new or modified sheet has not been saved yet. This type of saving implies that the pictogram sheet is stored within the application itself and for the active user. If we want to save it on our device to open it in a different one or send it to someone else, we must follow the instructions in step 7. Export and Import pictogram sheets, which you will find below.
6. Preview, save as image/pdf and print our pictogram sheet
Now we are going to carry out several options that the application provides us. To do this, select in the File menu the option of Print.
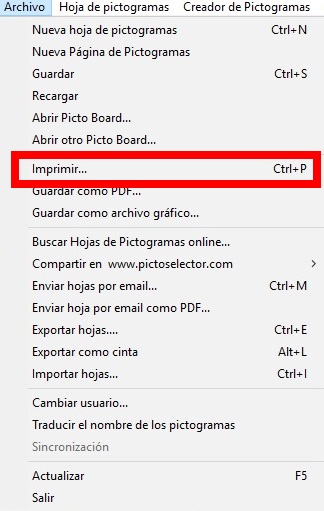
In this Print Previewscreen, we can Save the file as PDF, Save as graphic file to insert into a document or slideshow and Print directly from our printer.
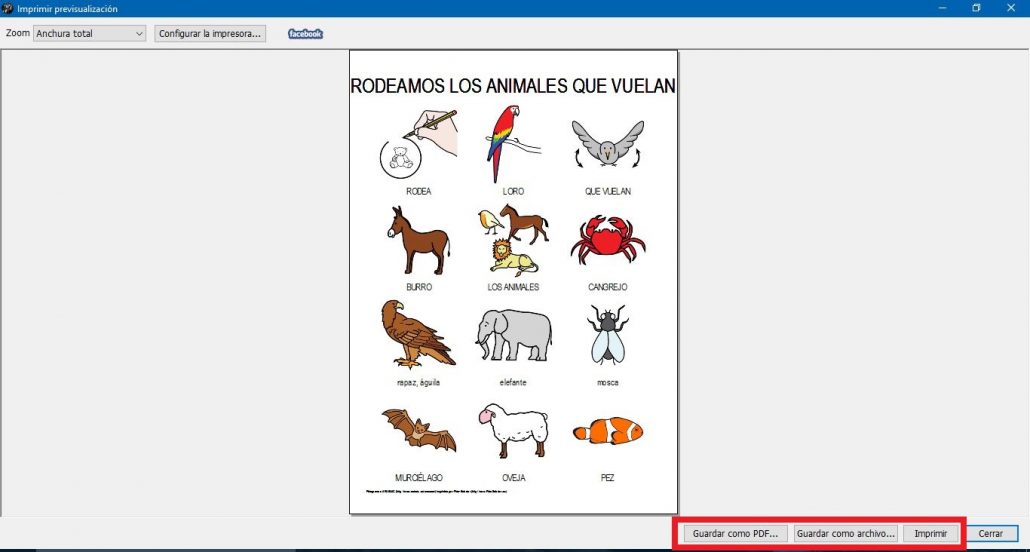
This window can also be used to preview the progress of our pictogram sheet. If we use it for this, we will only have to click on the Close button again and we will return to the edition of our sheet of pictograms.
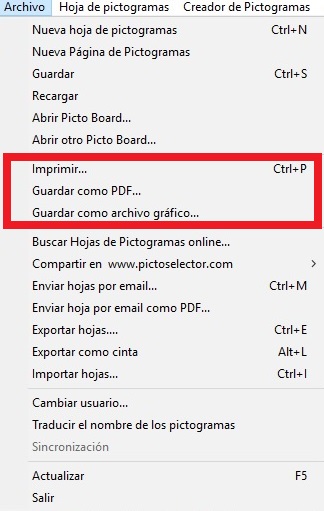
We can also access the options of Save the file as PDF,Save as graphic file and Print from the options of the Filemenu.
Our recommendation is that you build several sheets following the instructions that we have indicated, above all, to familiarize yourself with all the menus, options and functionalities that this fantastic tool offers us.
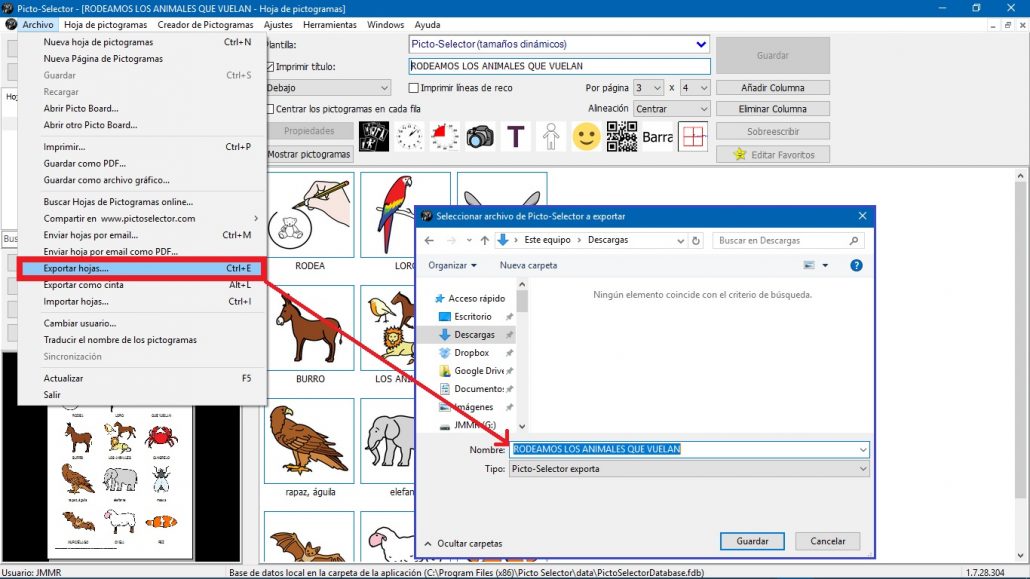
7. Export and import glyph sheets.
If we want to save the pictogram sheet on our computer or on a storage device,we must use the Option Export sheets …, which you will find within the Filemenu. Our sheet will be saved with all the content and format that we have entered.
When we want to open this sheet of pictograms on another computer, we will go to Import sheets … in the Filemenu. We look with the browser for the place where we have stored the file, select it and click on Open.
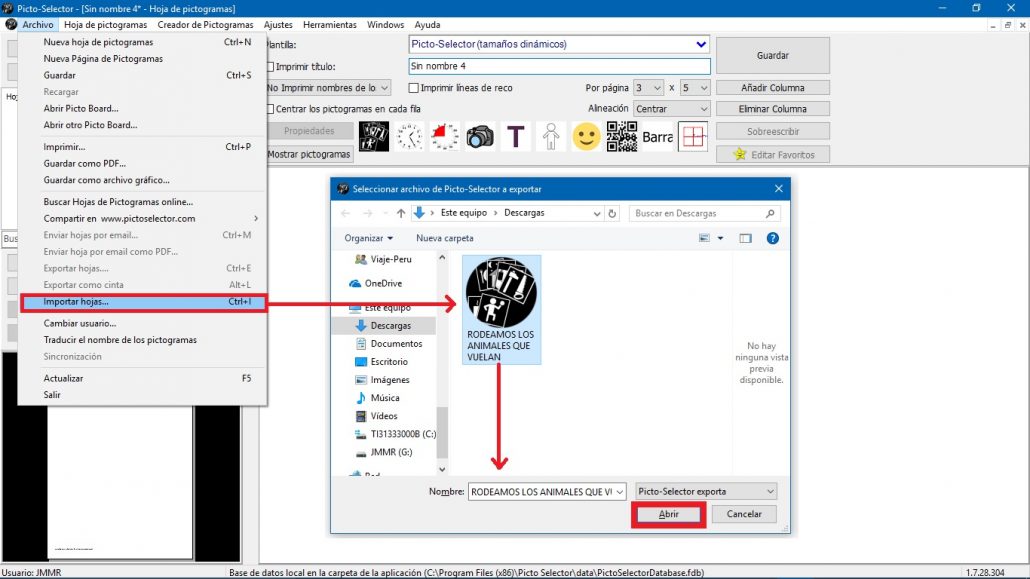
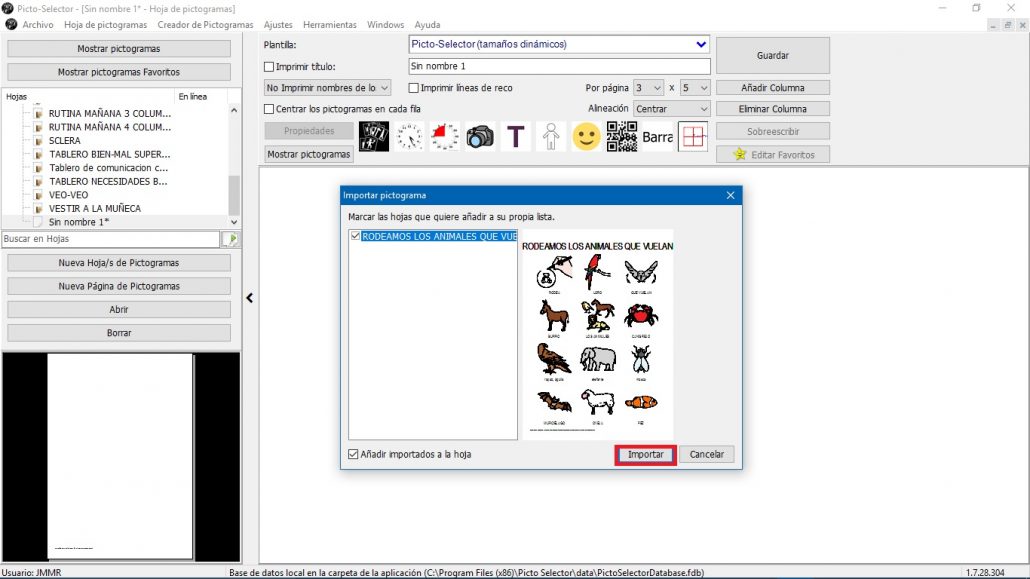
Before importing the sheet, a pop-up window will be displayed with a preview of it. We just have to mark at the bottom Add imported to the sheet so that all the saved elements are transferred and click on Import.
Finally, we have already imported the pictogram sheet to the new device. We just have to click on the Save button to be stored in our next session and we have finished the import.


