


AsTeRICS Grid Dynamic Communicator
6 – Editar tableros
Para acceder a la edición de un tablero podemos hacerlo o bien desde la ventana de visualización del comunicador pulsando en Editar….

… o bien desde la sección Gestionar Tableros. Dentro de esta página podemos crear un nuevo tablero pulsando en Nuevo tablero. Si ya tenemos creado el tablero podemos pulsar en Editar, bien sea en el tablero actualmente seleccionado o en el menú contextual de cada tablero (3 puntos abajo a la derecha de cada tablero).
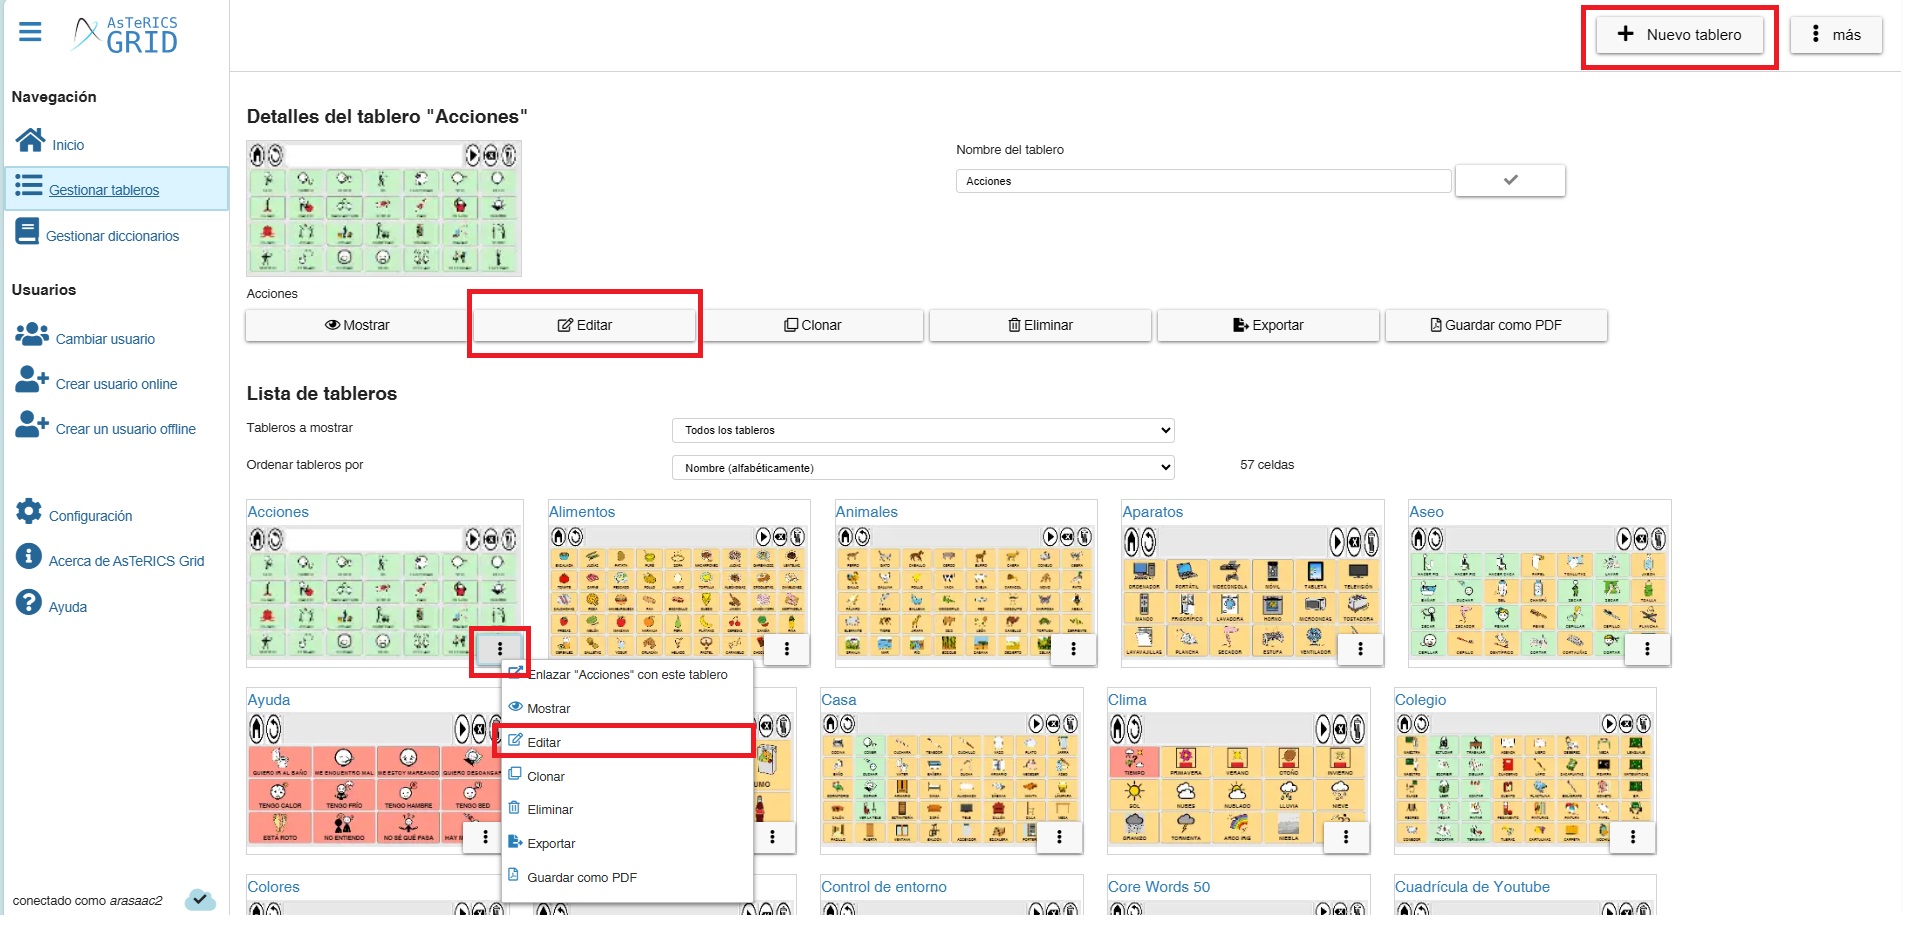
Dentro de la ventana de Edición disponemos de un menú Más que nos ofrece distintas opciones de edición.

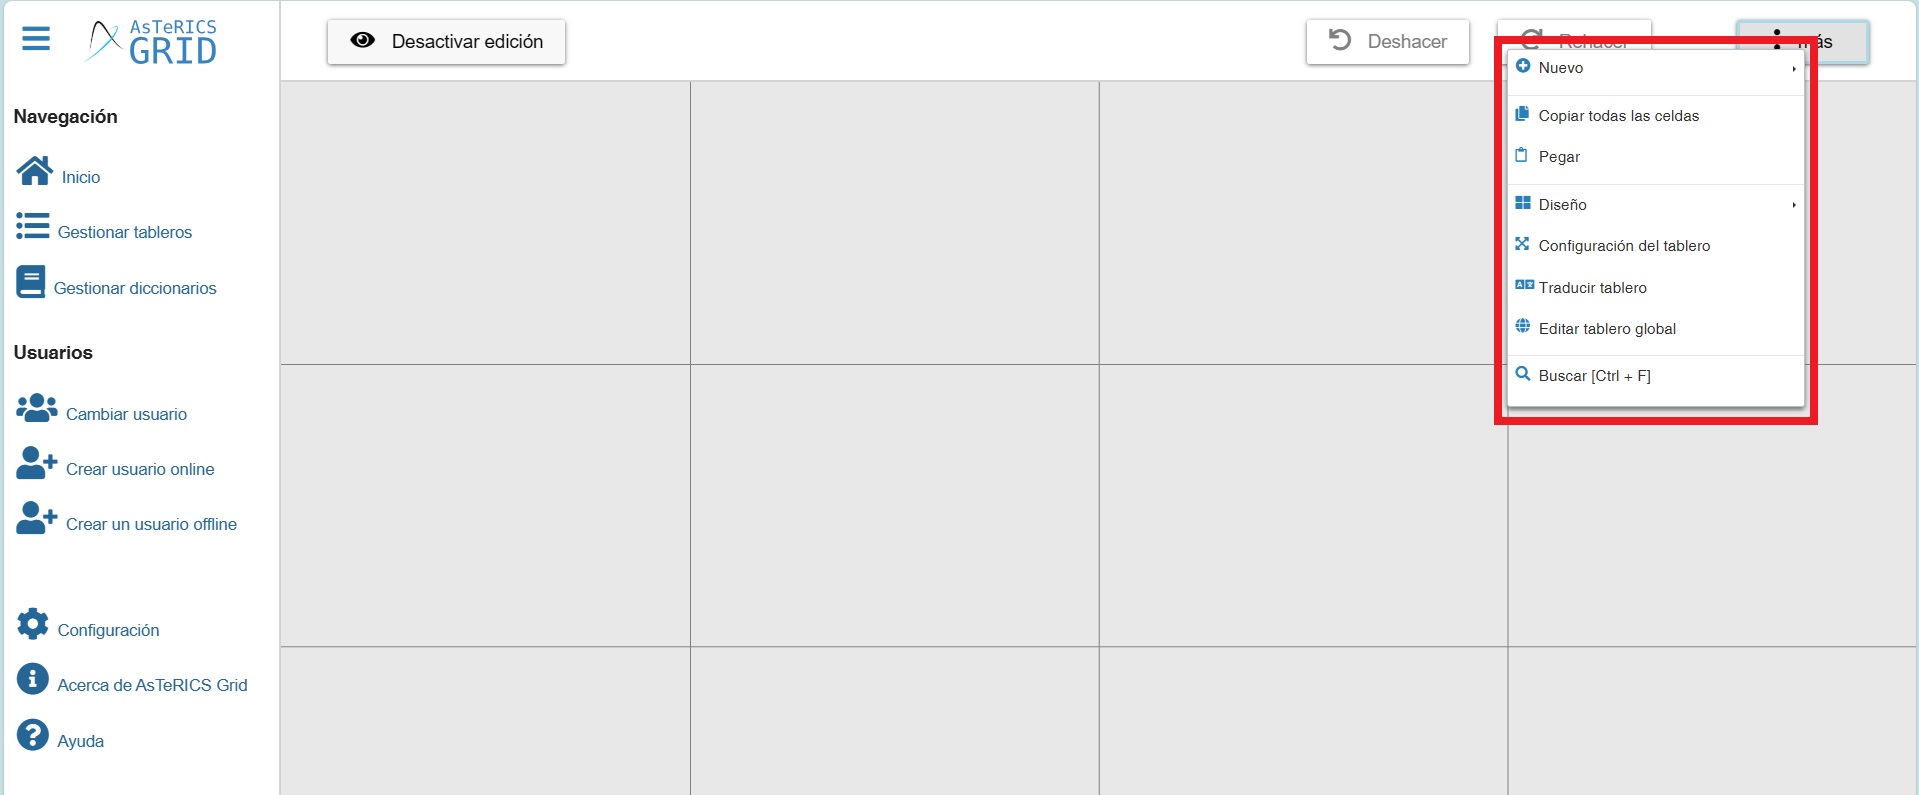
La opción Nuevo permite crear nuevas celdas o crear celdas especiales (Youtube, frase acumulada, elementos dinámicos, celdas de predicción, etc,). En el próximo capítulo veremos como crear nuevas celdas.
Rellenar celdas vacías, permite crear celdas sin contenido en cada uno de los huecos definidos para nuestro tablero. Posteriormente podemos editar cada una de ellas y configurar su contenido.
La opción de Copiar todas las celdas es muy interesante, ya que permite copiar en el portapapeles del dispositivo todas las celdas del tablero con el fin de pegarlas en otros tablero que tengamos o bien en el propio usuario, en otro usuario o incluso en un usuario que tengamos conectado en otro navegador.
Una vez pulsado en Copiar todas las celdas, si abrimos otro tablero del comunicador (o creamos uno nuevo) y hacemos clic con el botón derecho del ratón sobre una celda vacía, veremos que aparece la opción Pegar.
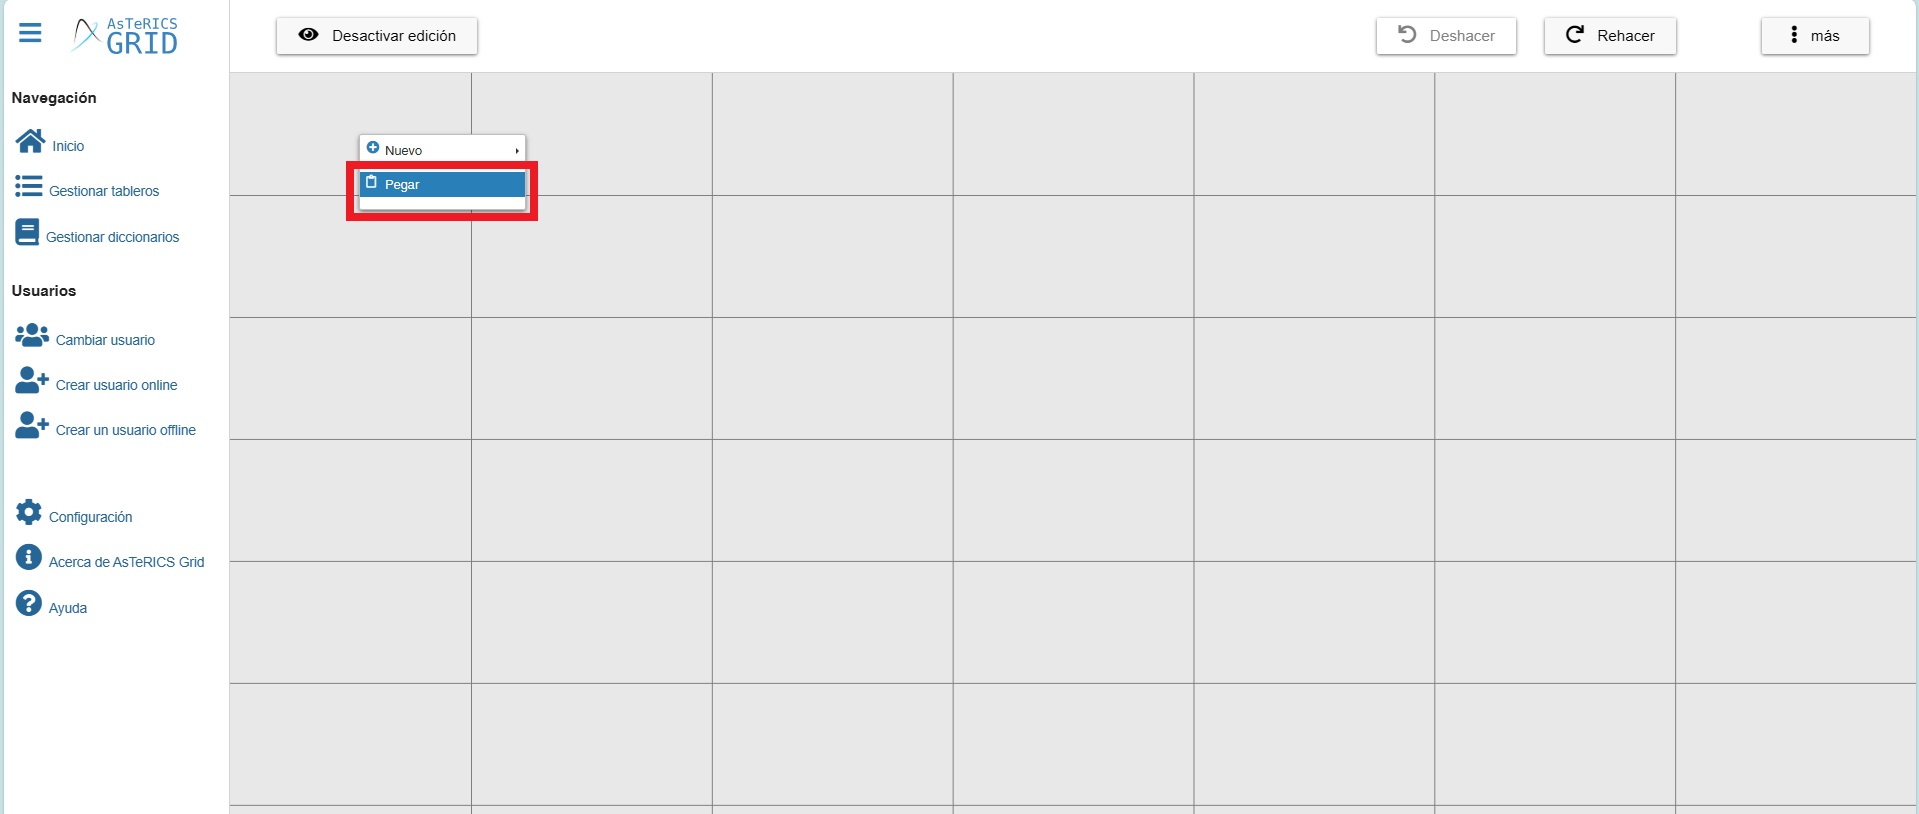
Al pulsar nos pegará todas las celdas en el tablero.
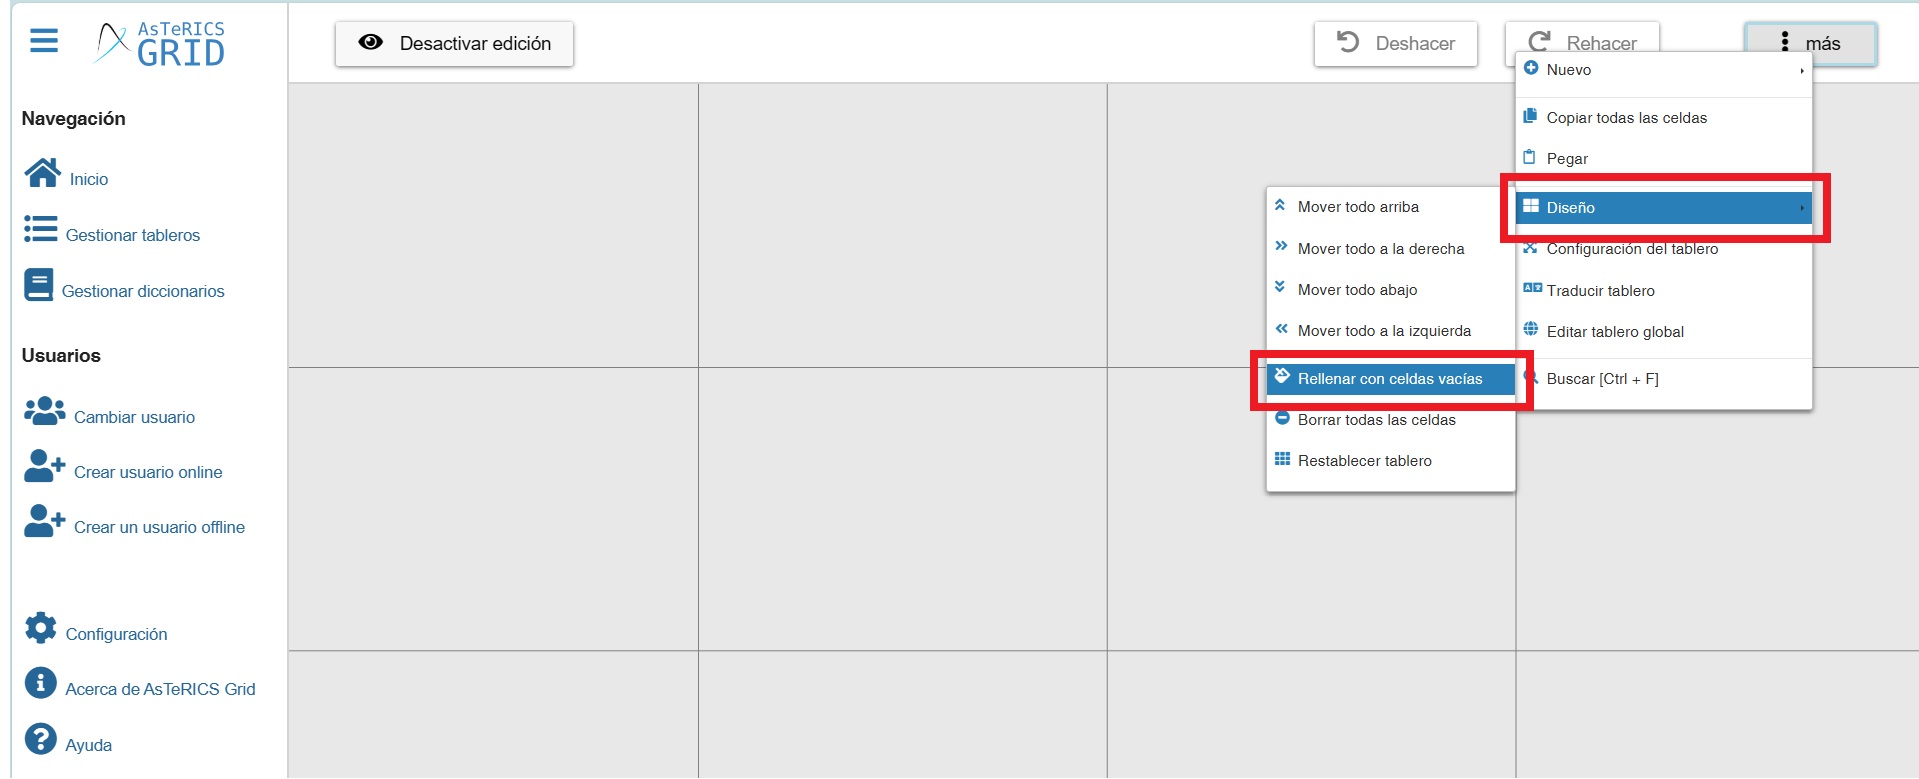
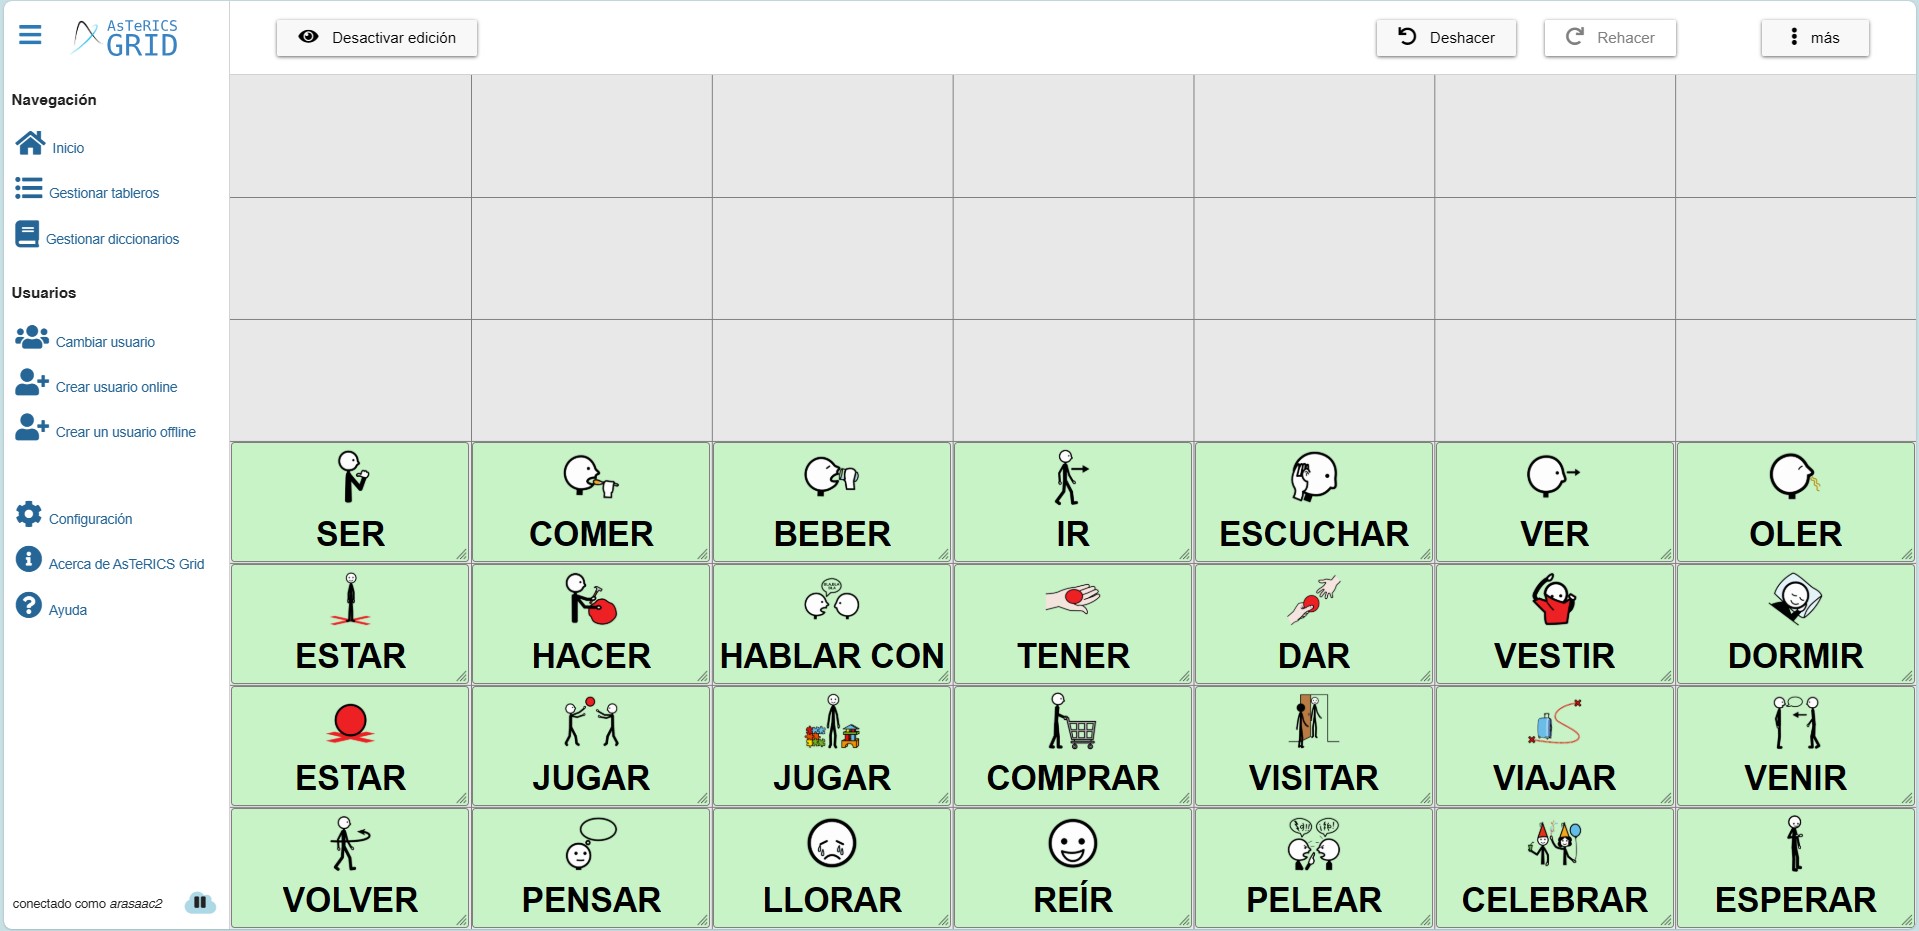 Por defecto, suele pegarlas en la parte inferior, dejando celdas vacías en la parte superior. Para poder ajustarlo vamos a hacer uso de la opción Diseño disponible en el menú de edición de tableros.
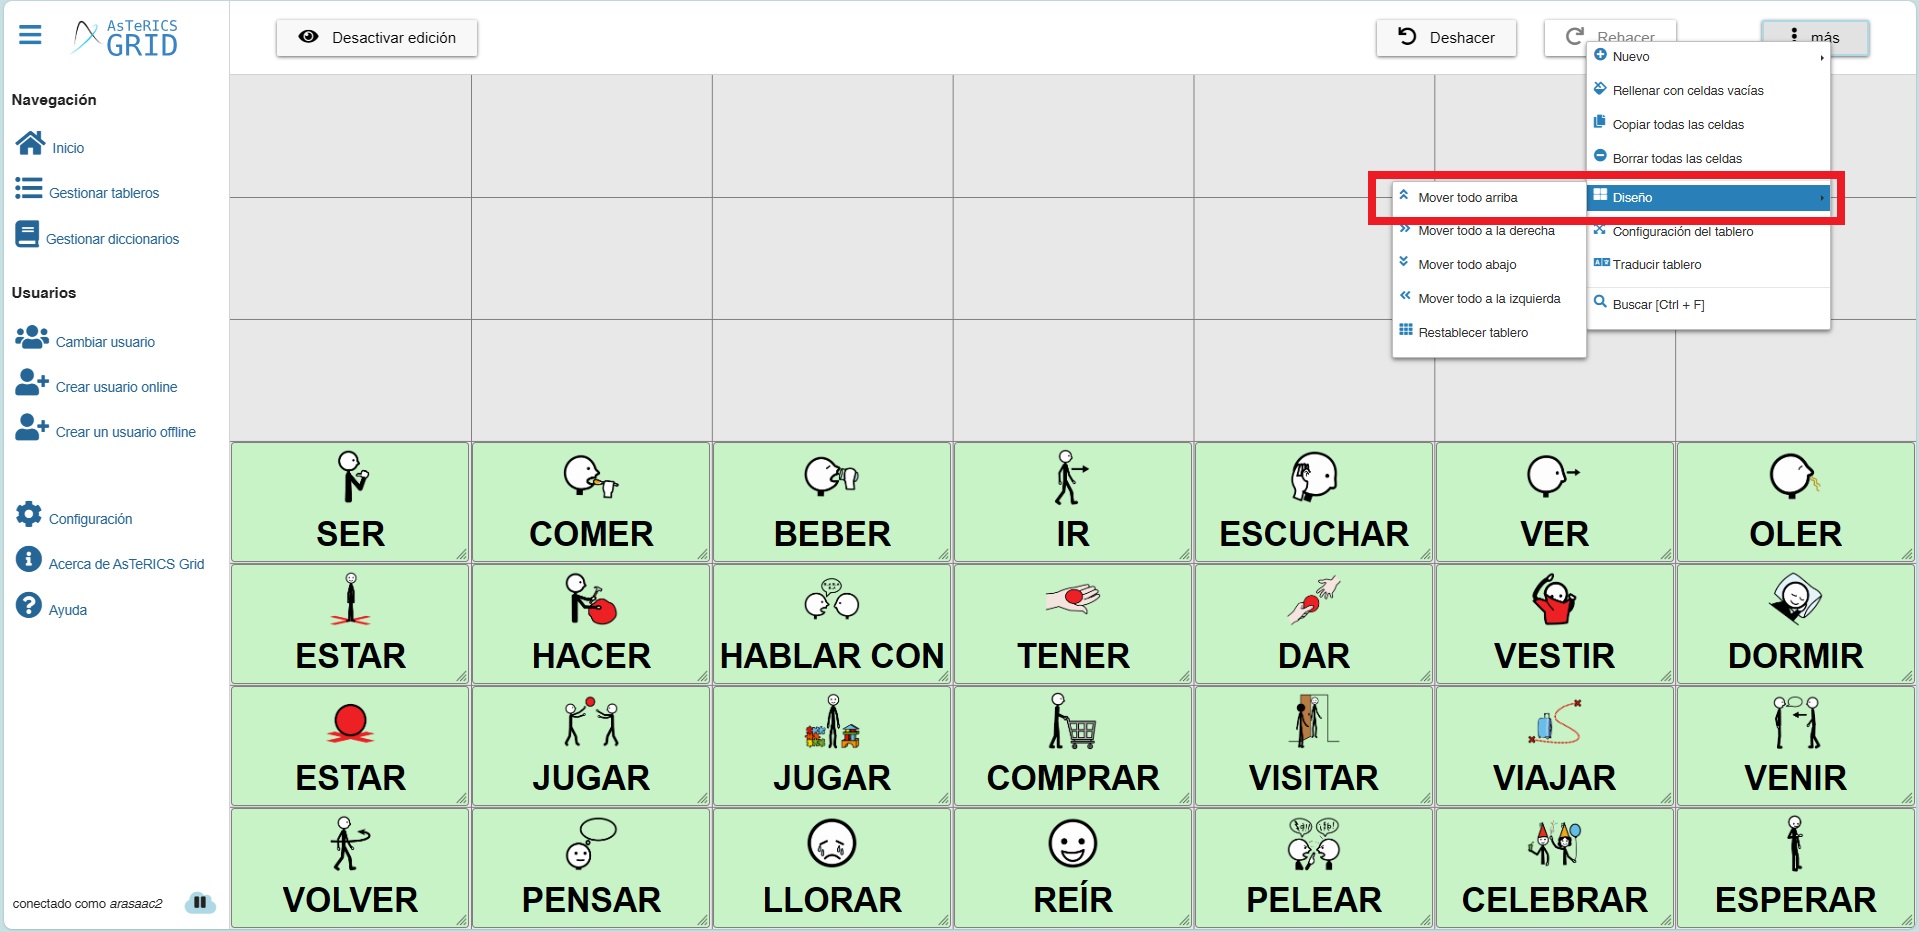
Dentro de las opciones que nos ofrece el submenú Diseño seleccionaremos la opción Mover todo arriba. En otros casos nos puede interesar las otras opciones que ofrece para mover todas las celdas abajo, a la derecha o izquierda o restablecer el tablero (alinea todos los pictos a la izquierda en la fila en la que estén colocados).
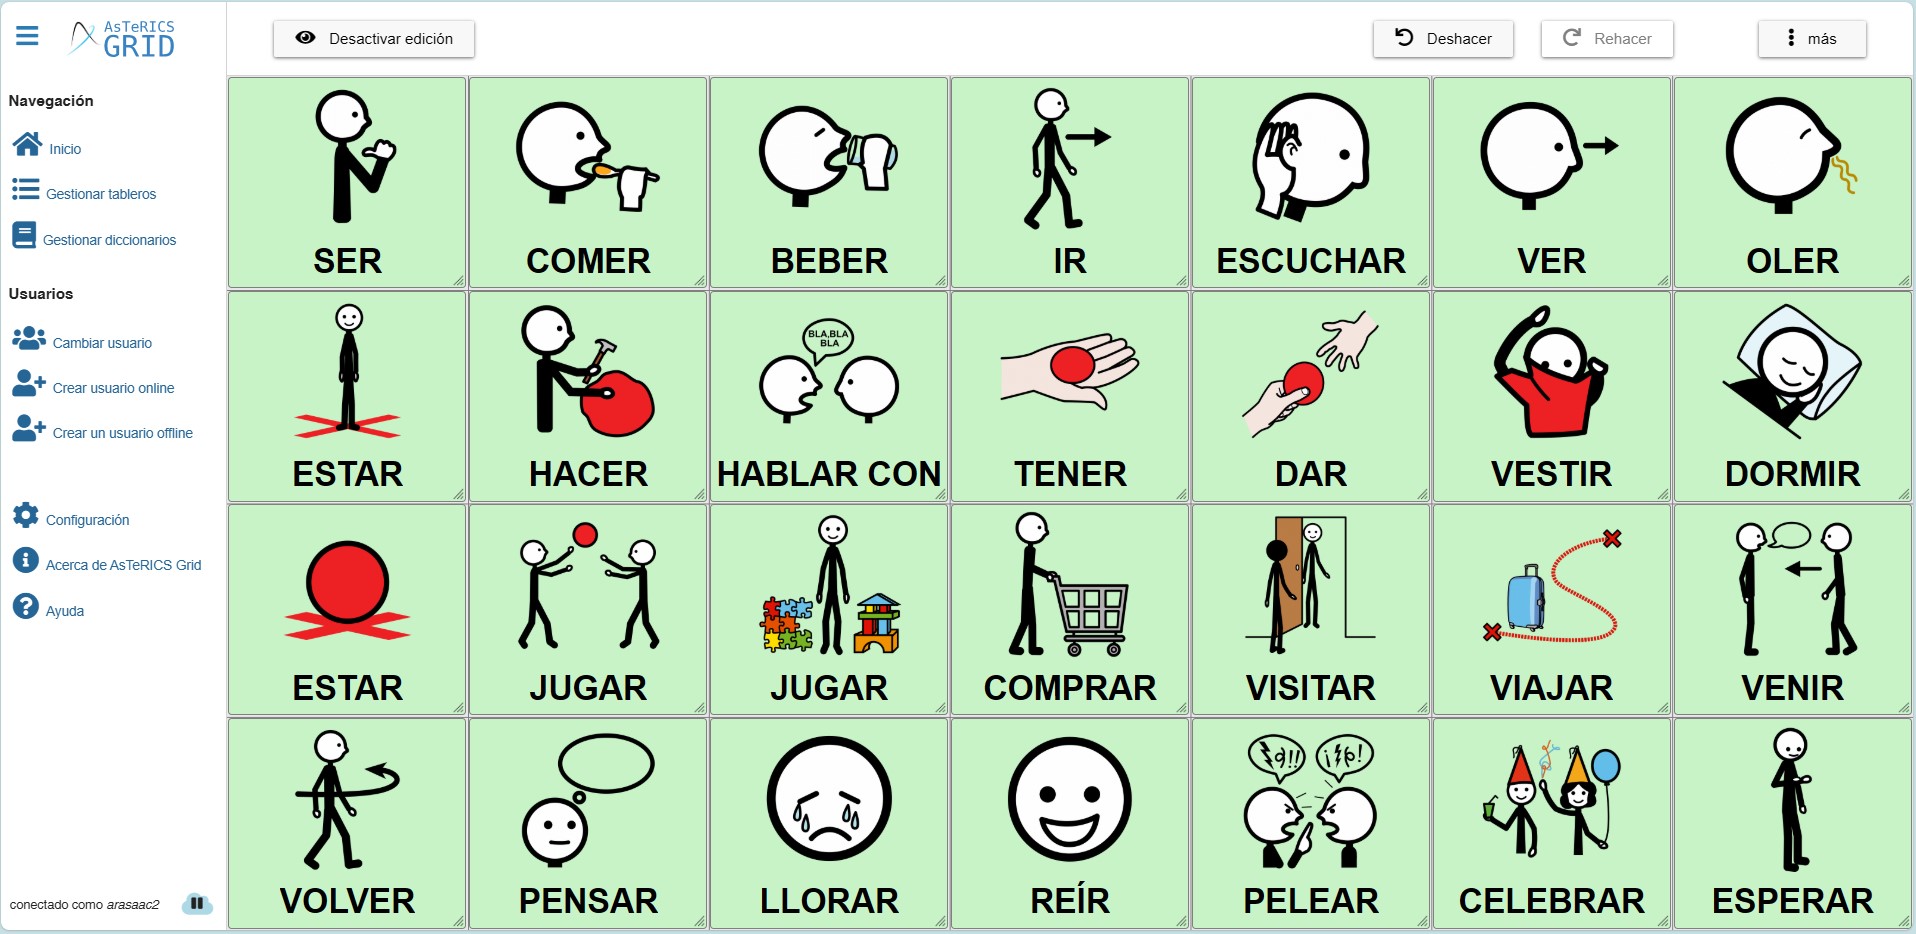
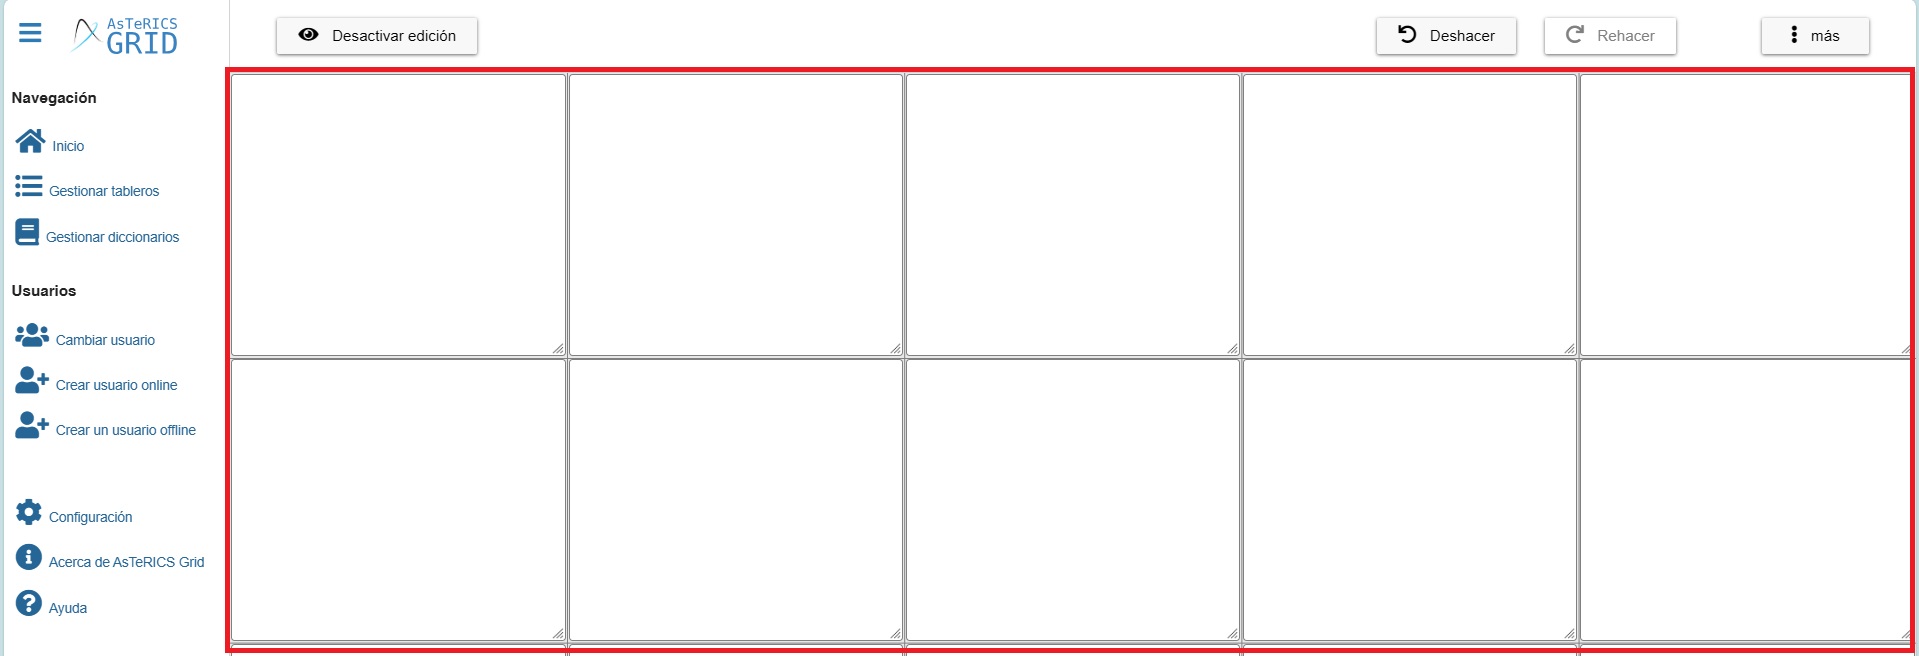
Una vez pulsado en Mover todo arriba nuestro tablero ya quedaría listo.
Siguiendo con las opciones del submenú diseño encontramos Borrar todas las celdas. Esta opción permite eliminar todas las celdas creadas y dejar el tablero vacío. Al pulsar aparece un mensaje de advertencia dado que esta opción supone el borrado de todas las celdas y debe ser usado con precaución.
La siguiente opción del menú es Configuración del tablero. Este es un apartado importante ya que en él podemos definir el número mínimo de filas y columnas del tablero. Al ser el número mínimo supone que si añadimos más celdas de las que inicialmente hemos configurado por el número de filas y columnas, el sistema añadirá automáticamente una nueva fila o columna para darle cabida.
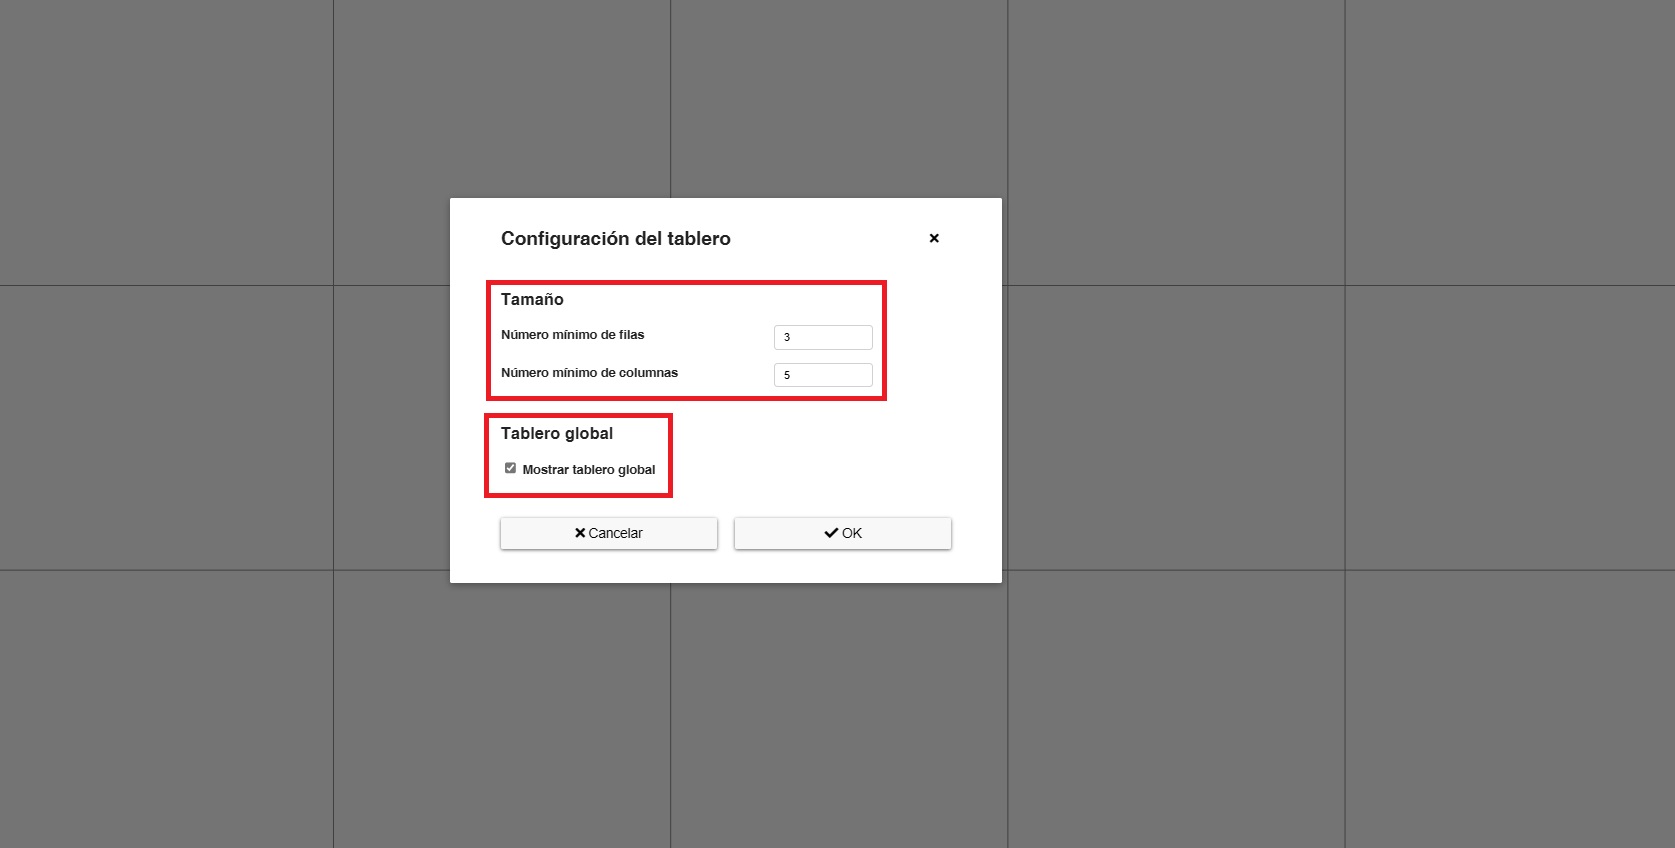
También podremos activar o desactivar la visualización del tablero global en un determinado tablero. El tablero global contiene, por defecto, celdas que se muestran en todos los tableros como el botón de inicio, retroceder, frase acumulada, reproducir o borrar.
(IMPORTANTE) Si desactivamos el tablero global para un determinado tablero, es interesante crear una celda que enlace con el tablero inicial del comunicador para que se pueda seguir navegando al resto de tableros del comunicador.
La opción de Traducir Tablero nos da acceso a la ventana de traducción de los tableros para hacer el comunicador multilingüe. Para ampliar información sobre cómo funciona os recomendamos la consulta del capítulo en el que se explica la acción de cambiar idioma del contenido.
Finalmente, la opción Buscar abre la ventana de búsqueda de palabras dentro del comunicador. Esta opción es muy útil para saber si un determinado concepto ya está creado en otros tableros y cual es la ruta hasta llegar a él. En el capítulo Ventana de Búsqueda del manual se puede ampliar información sobre su funcionamiento.


