


AsTeRICS Grid Dynamic Communicator
18 – Main menu – User management
Previously, we explained how to use AsTeRICS Grid with and without registration and we created our first online user.
In the event that the communicator
AsTeRICS Grid is used by several users on the same device, or in the event that we want to manage the devices of several users who use the AsTeRICS Grid communicator, we can perform user management centrally from a single device, for example, the school’s computer.
To do this, we must proceed to create new user accounts (online or offline) from the computer and manage them, facilitating the connection on the devices used by the users.
We have already mentioned above that it is essential to save (anotate) the Username and Password with which we register the user/s (online). The information in the AsTeRICS Grid communicator is encrypted end-to-end (as, for example, in Whatsapp) and, therefore, there is no way, at the moment, to recover the user or password. Likewise, we recommend you to make backup copies periodically to recover the configuration of a user in the event of loss of the user or password, or even loss of the device where the communicator is installed.
We will now explain how to create new online and offline users.
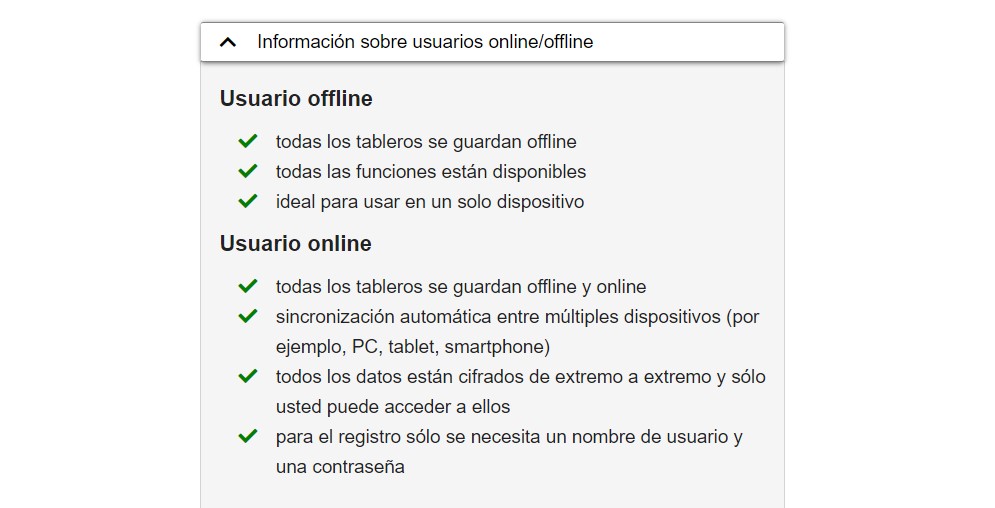
In the case of the online user, all information from our communicator is synchronized with the AsTeRICS Grid servers. In this way, if this account is connected to several devices (for example, the school’s computer and the user’s tablet), any change made in the communicator will be synchronized in all the computers/devices that are connected with the username and password of this online user.
In the case of offline users, the information from our communicator is not synchronized with the AsTeRICS Grid servers. This information is only stored on the device that is being used without registration. It should be noted that all changes made are saved on the device and can even be used in situations where there is no Internet connection. This type of account is recommended in cases where we have Internet connection problems or we cannot guarantee a permanent connection. We always have the possibility of exporting / importing backup copies that will allow us to save and recover the status of our communicator.
Adding an online user
To add a online user, we type a Username (the system will check that it does not exist in the system) and a Password, which we must repeat to make sure that we have written it correctly. Remember to write it down (save it).
If the device is going to be used by several users or we want to keep different configurations separately, we can create several users and have them connected to switch between them more easily, as we will see later.

Once the form is filled in, check the I accept the Privacy Policy checkbox.
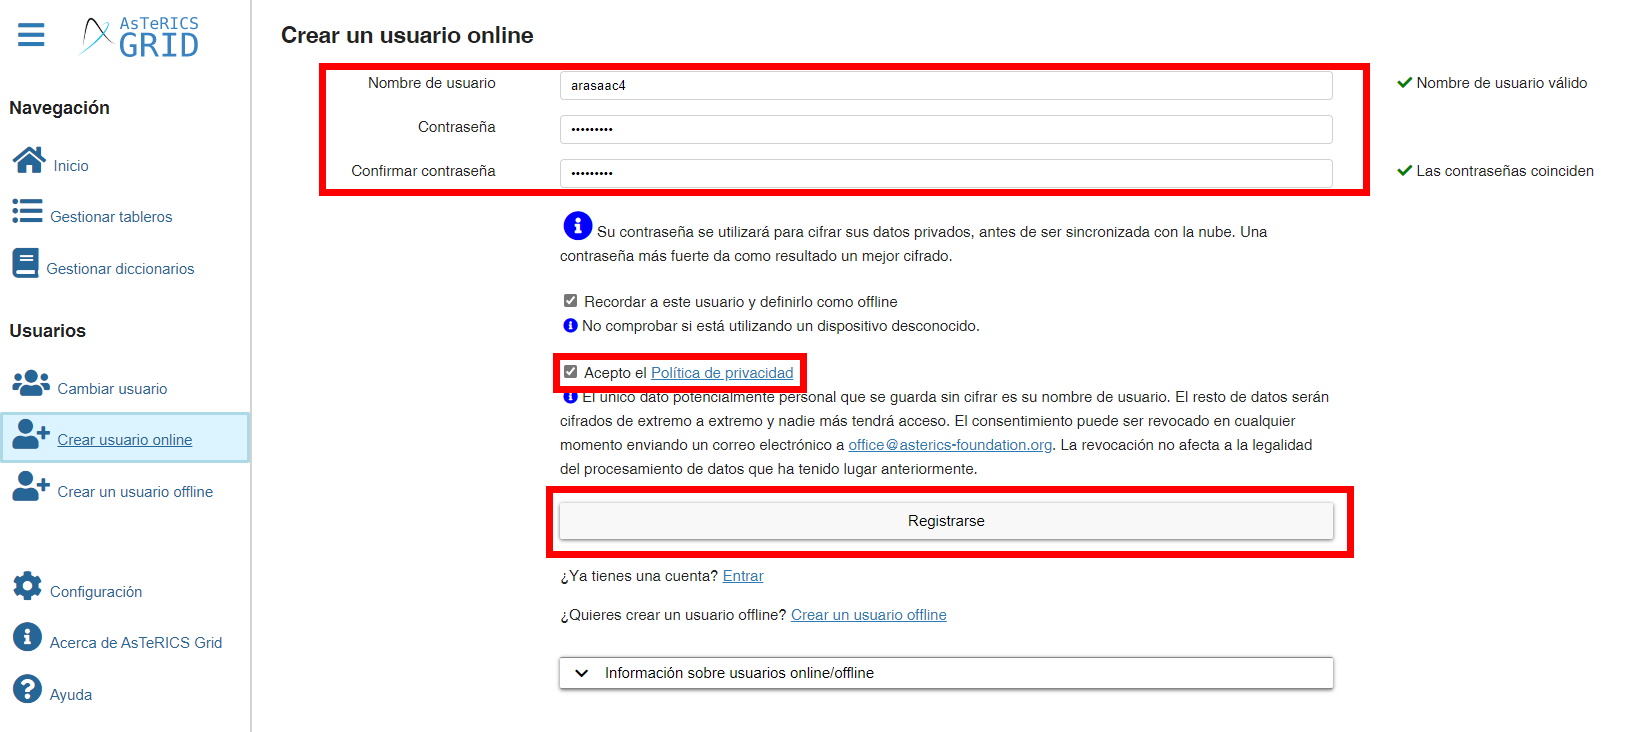
When we click on Register, the system creates the new account and redirects us to the screen explained in the previous chapter, where we must choose the option we are interested in.
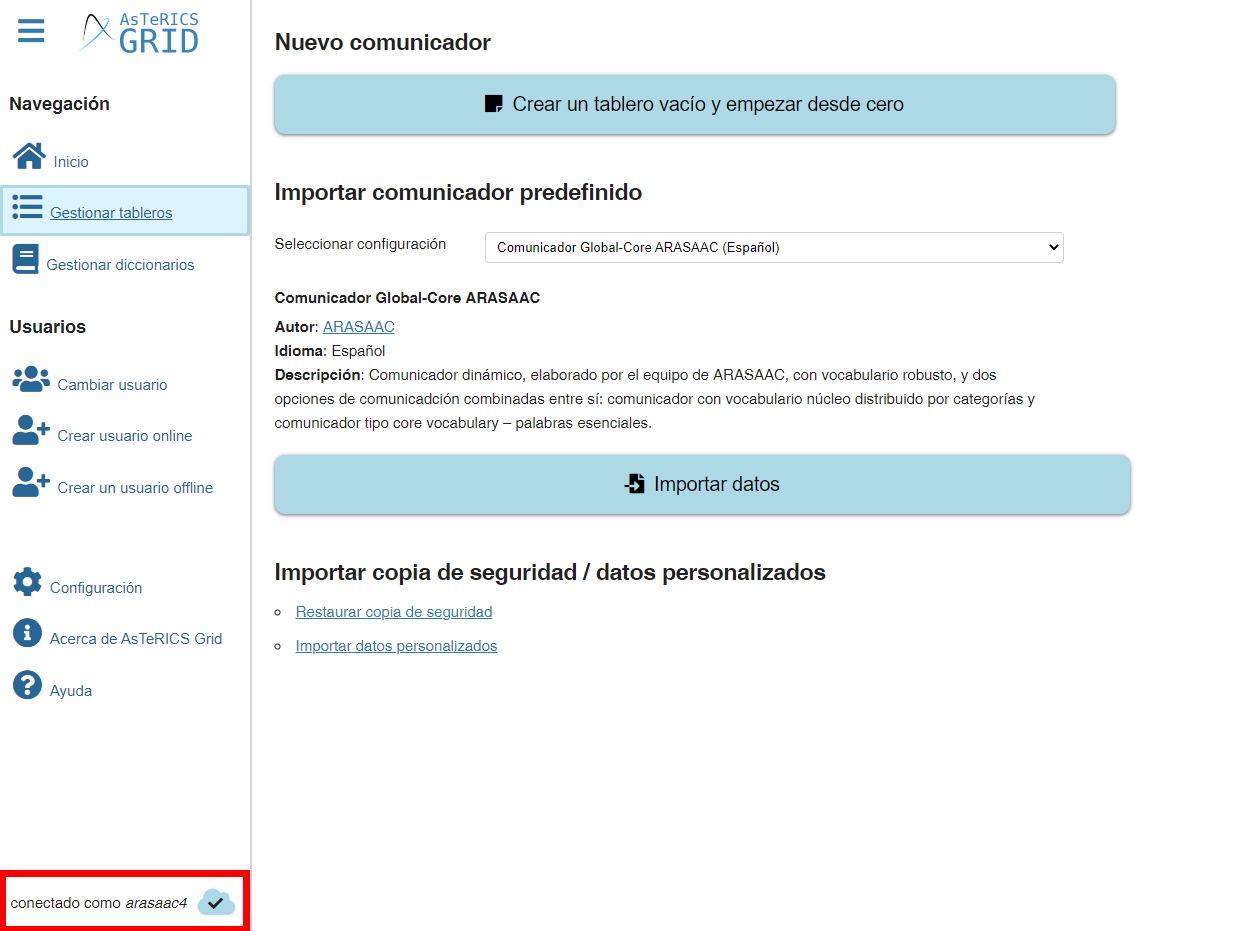
After selecting one of the options, if we go to the Change user section, we see our new user logged in and active (activated by default), along with the rest of the users already registered.
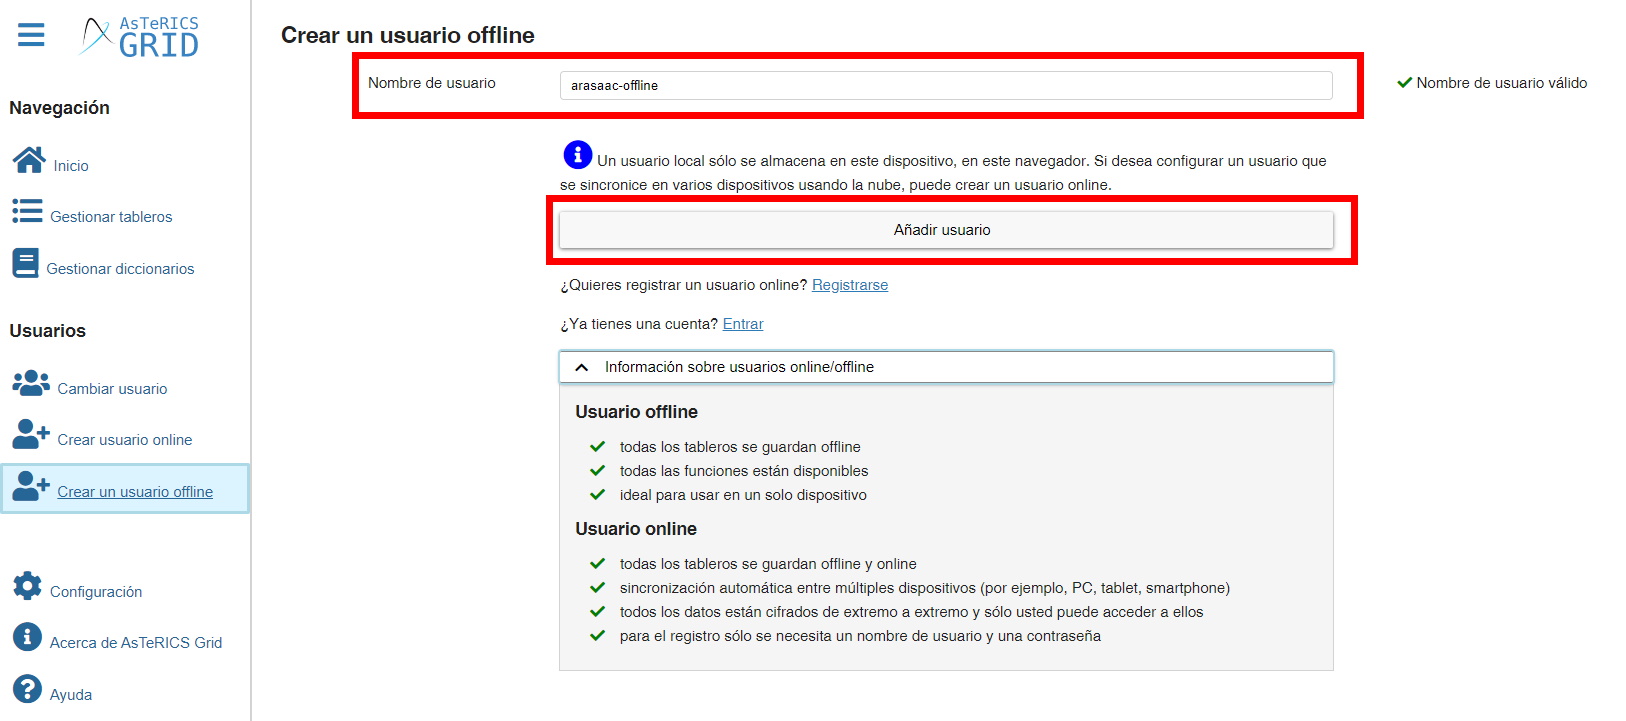
Adding an offline user
As we can see, there is also the possibility of creating an offline user. Although the information is saved offline on the device, we can access to save backup copies of each of the users independently, as we will see in another chapter later on.
To add a new offline user click on Add offline user. In this case, all we need to do is type in a username that the system will validate following the same criteria as above. Once the username has been typed and validated, click on Add user.
The system redirects us to the same screen that we explained in the previous chapter to choose the option we are going to use.
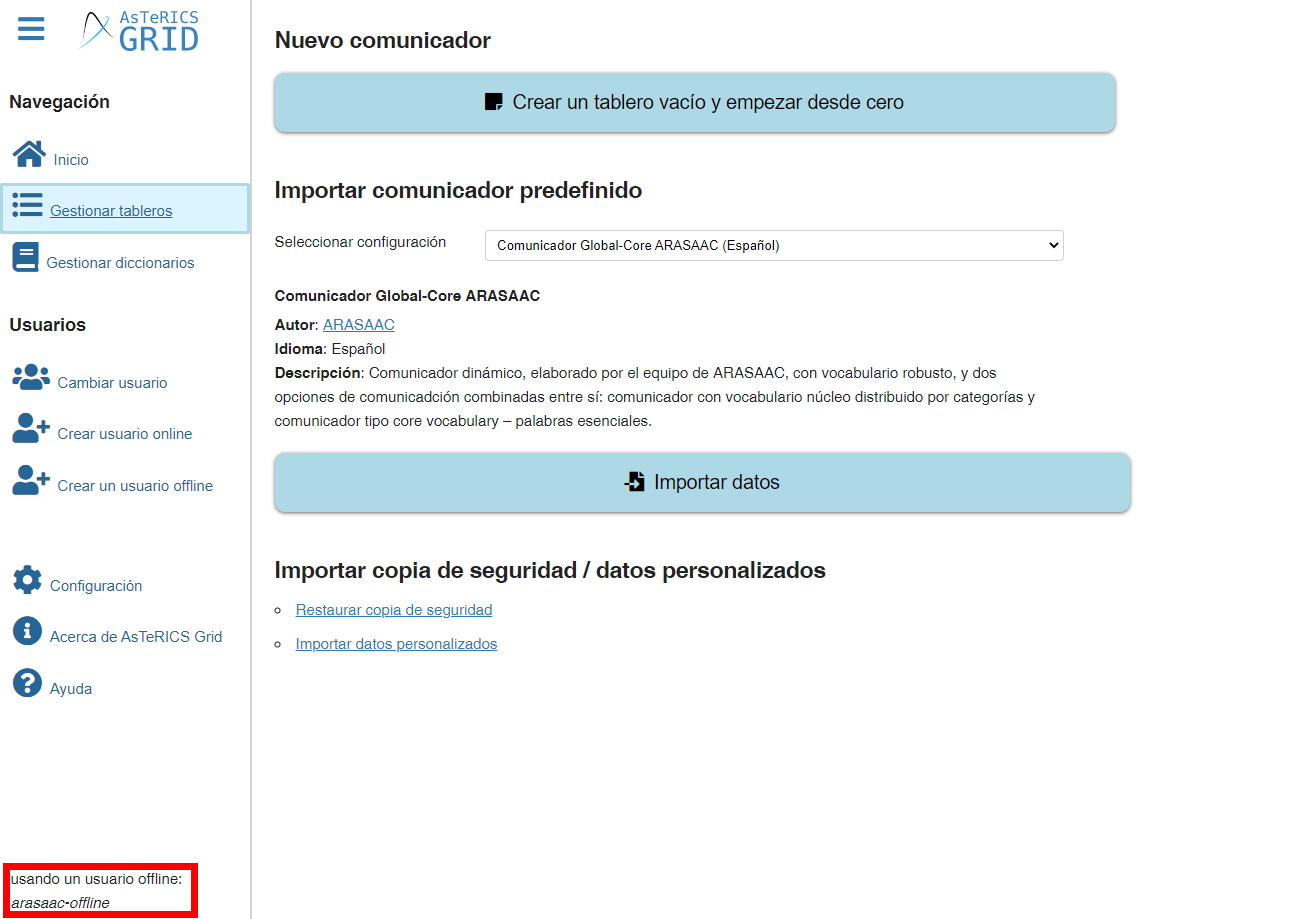
In the Change user section, we can see our user created and active by default. Note that the icon next to the username allows us to differentiate between online and offline users.
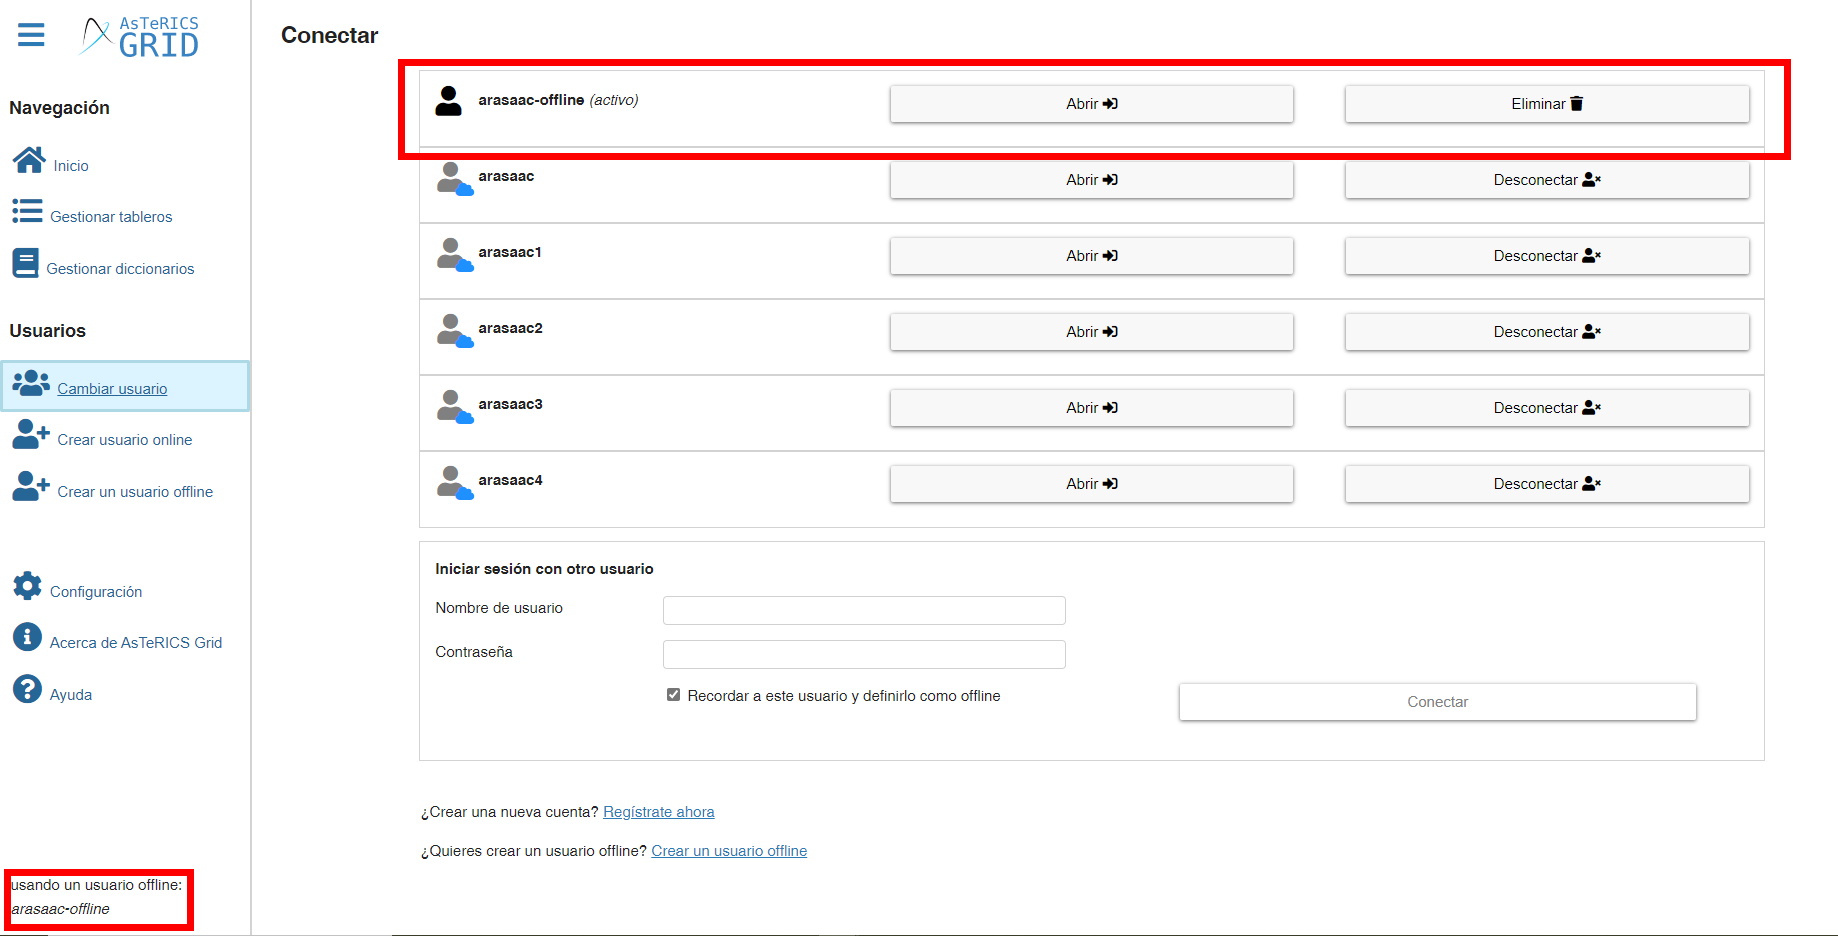
Connect users
If we have online users that we have previously created and we want to connect them on a certain device, we go to the Change user window. In the Login with other user section, type the username and password and click on Login.
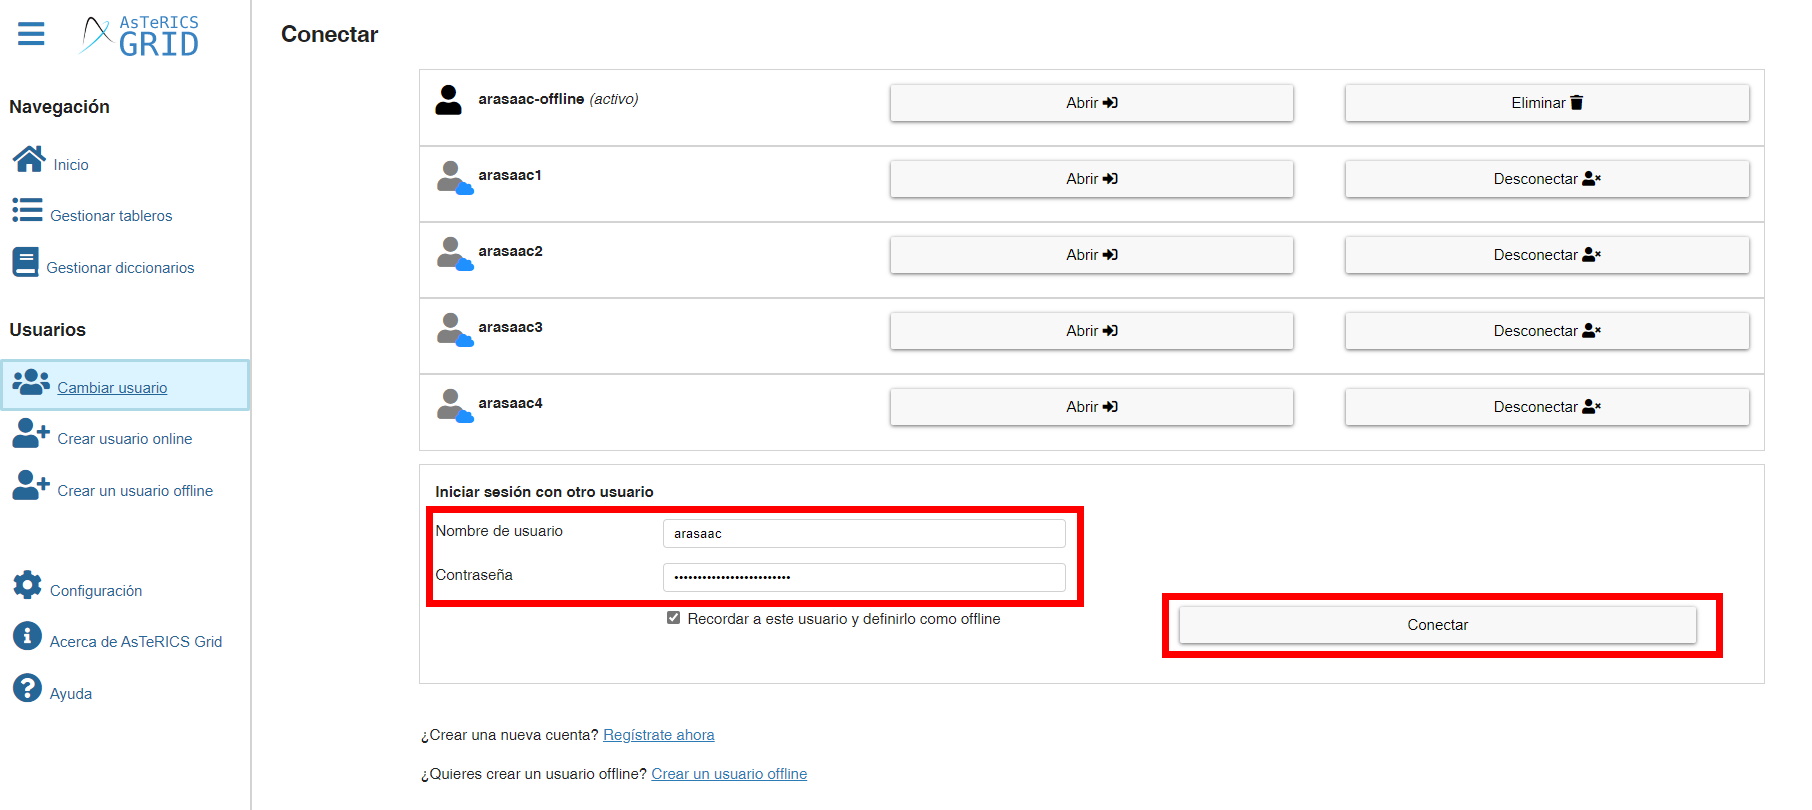
Automatically, the user will become active and the information stored on the server will start to be synchronized, as we can see in the lower left corner.
If we wish to disconnect a user from the device, we have the option Logout.
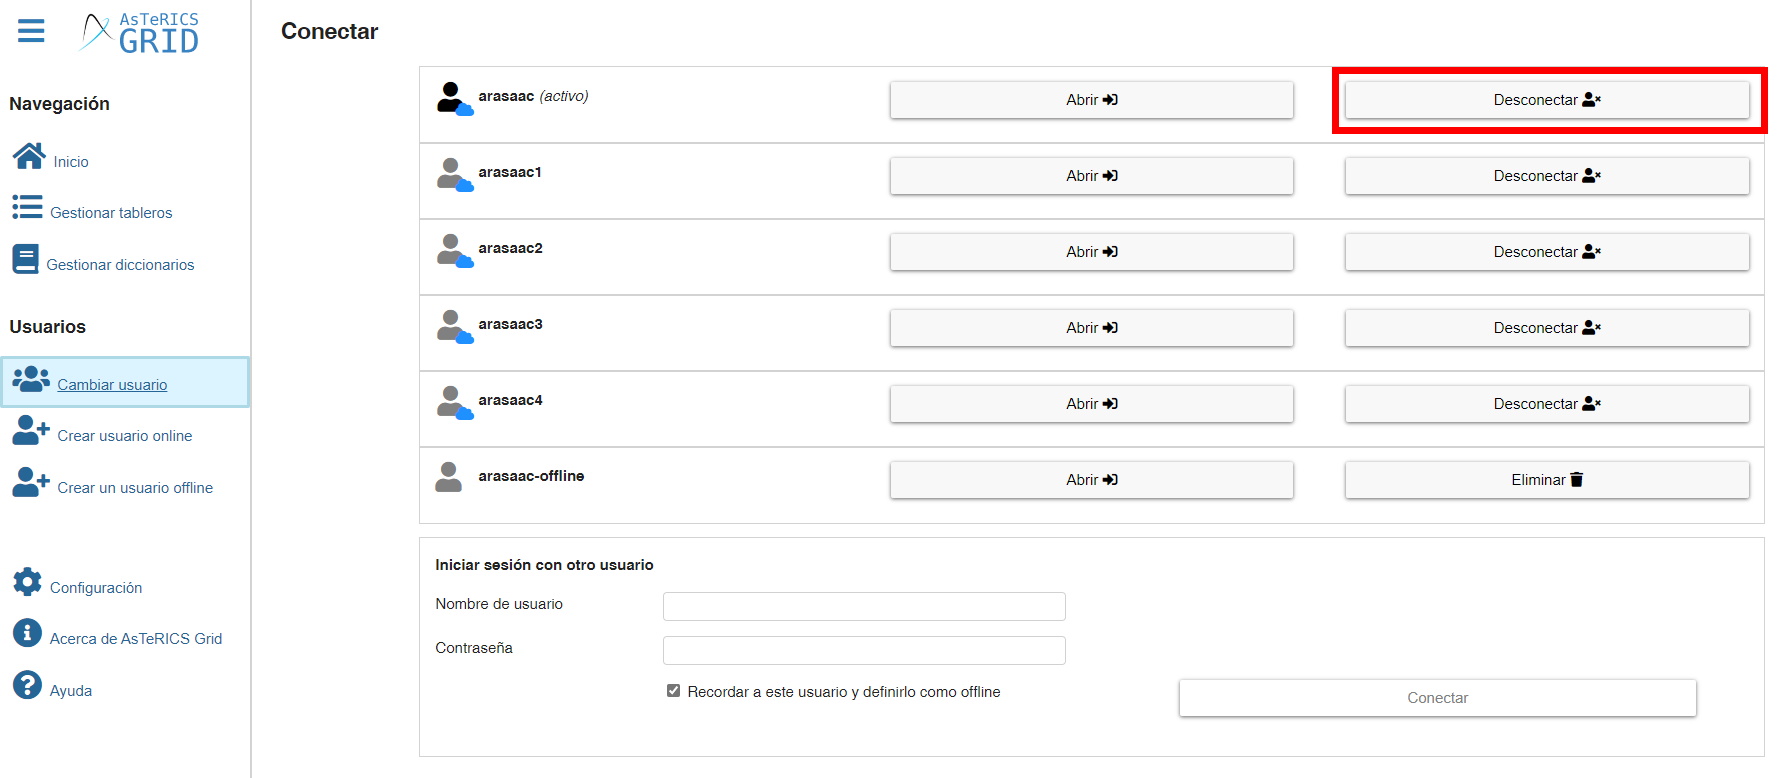
By clicking on this option, the system warns us that the user’s data will only be deleted from the device but, in no case, the user will be deleted or the information synchronized online will be lost.
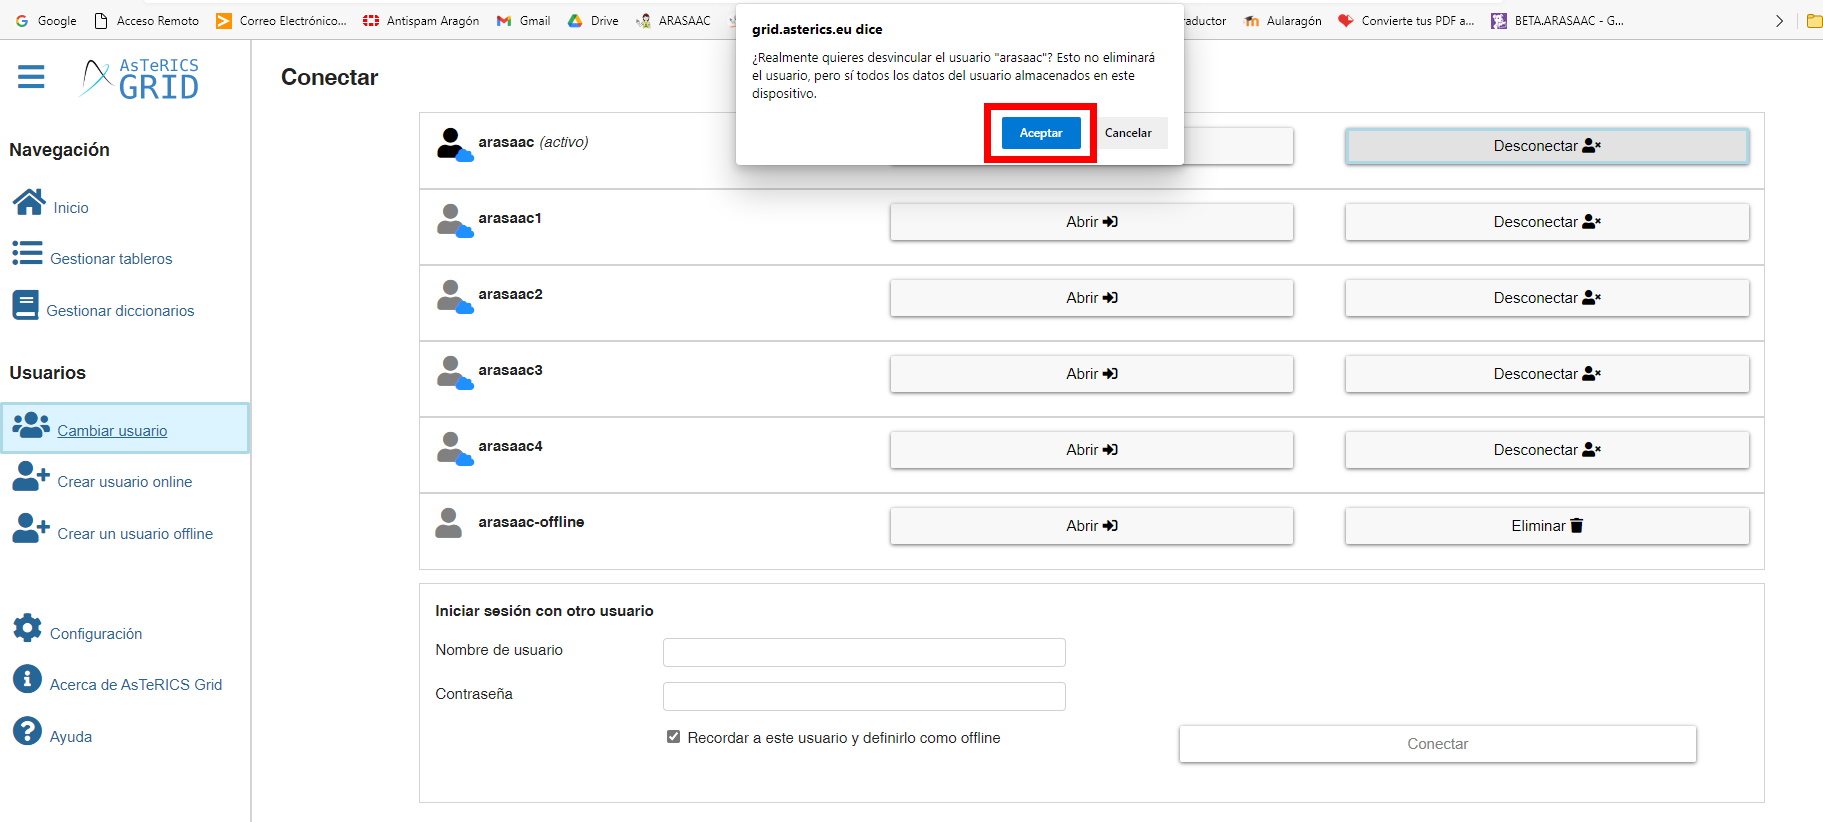
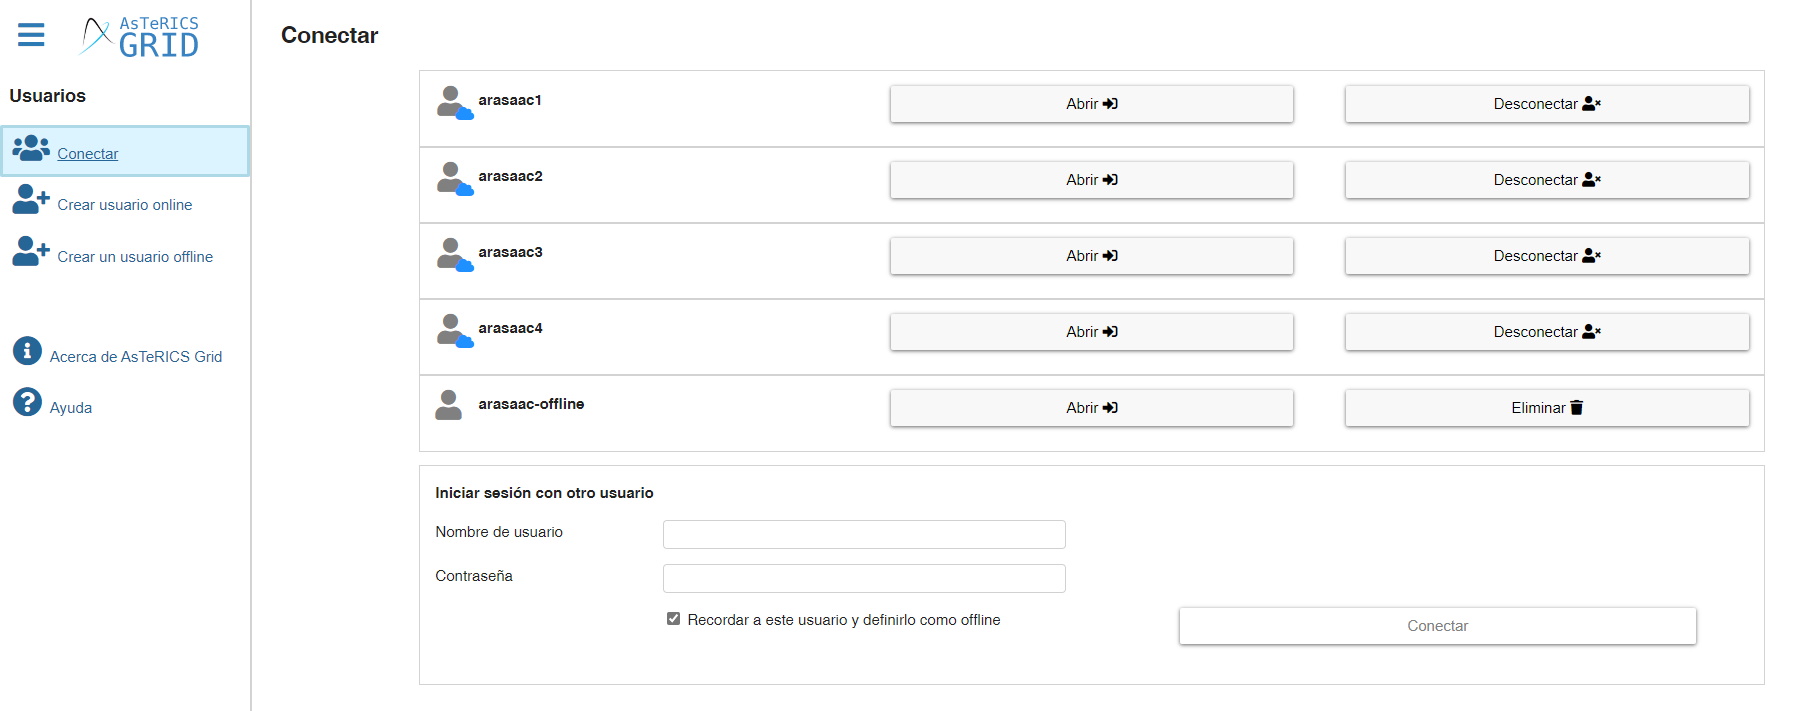
Once we click on OK, our user will no longer be in the list of connected users on the device.
Change user
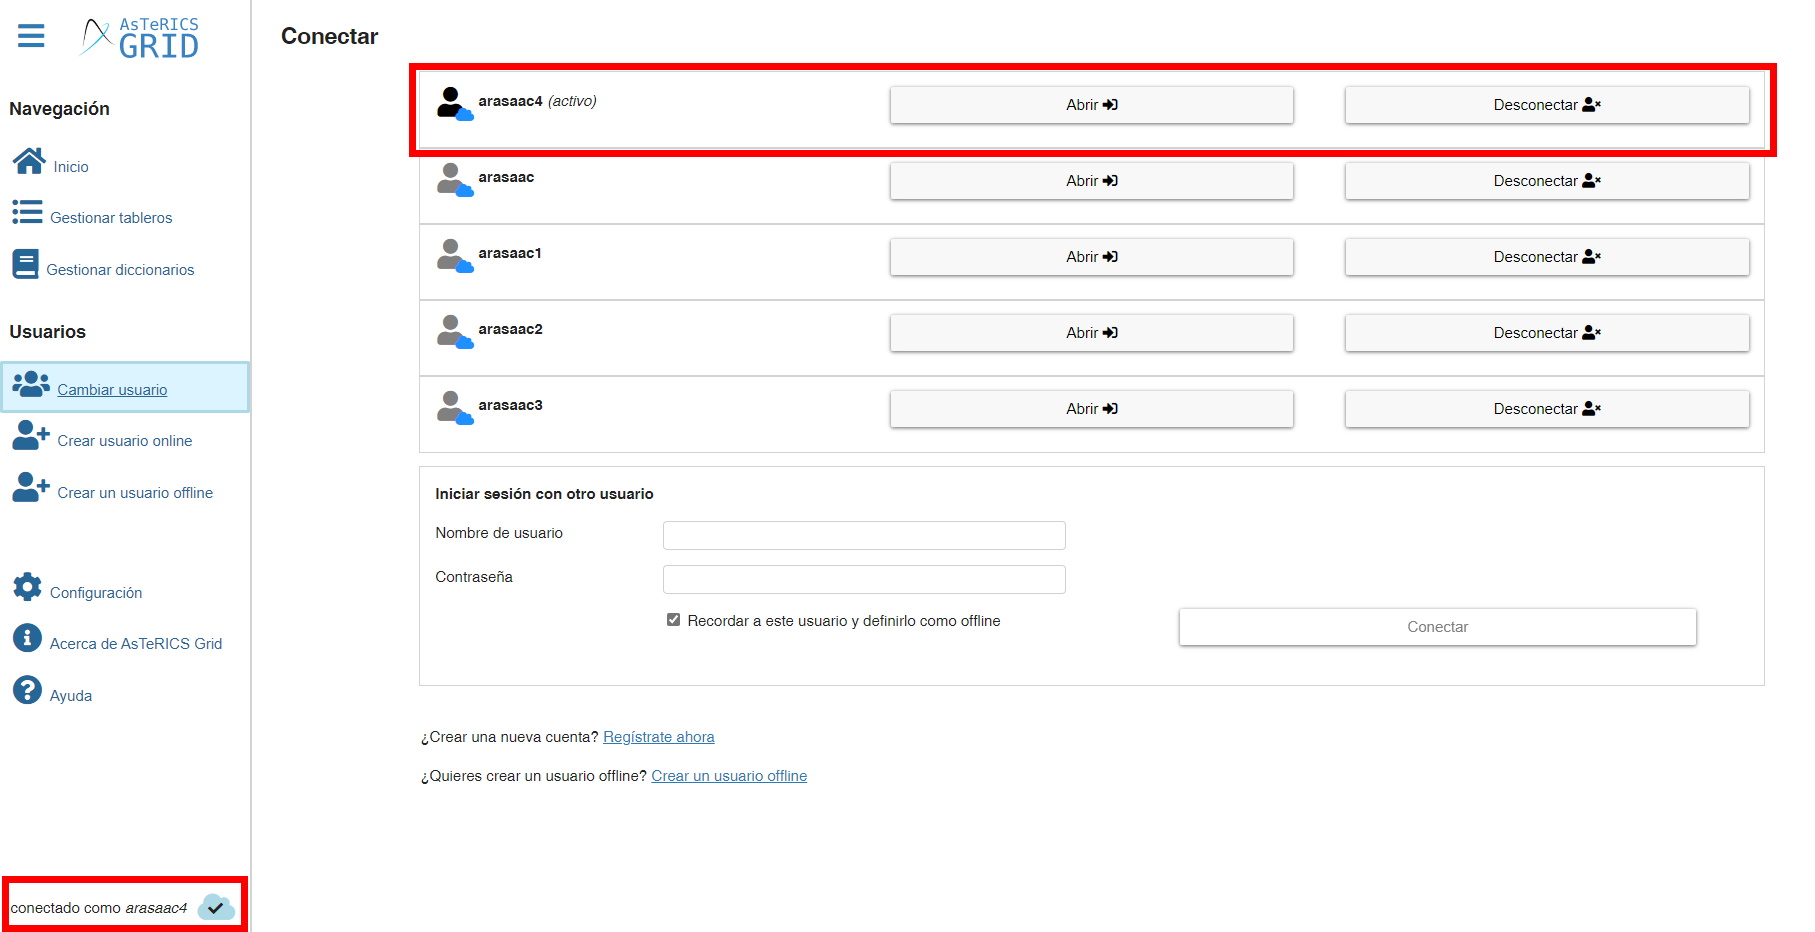
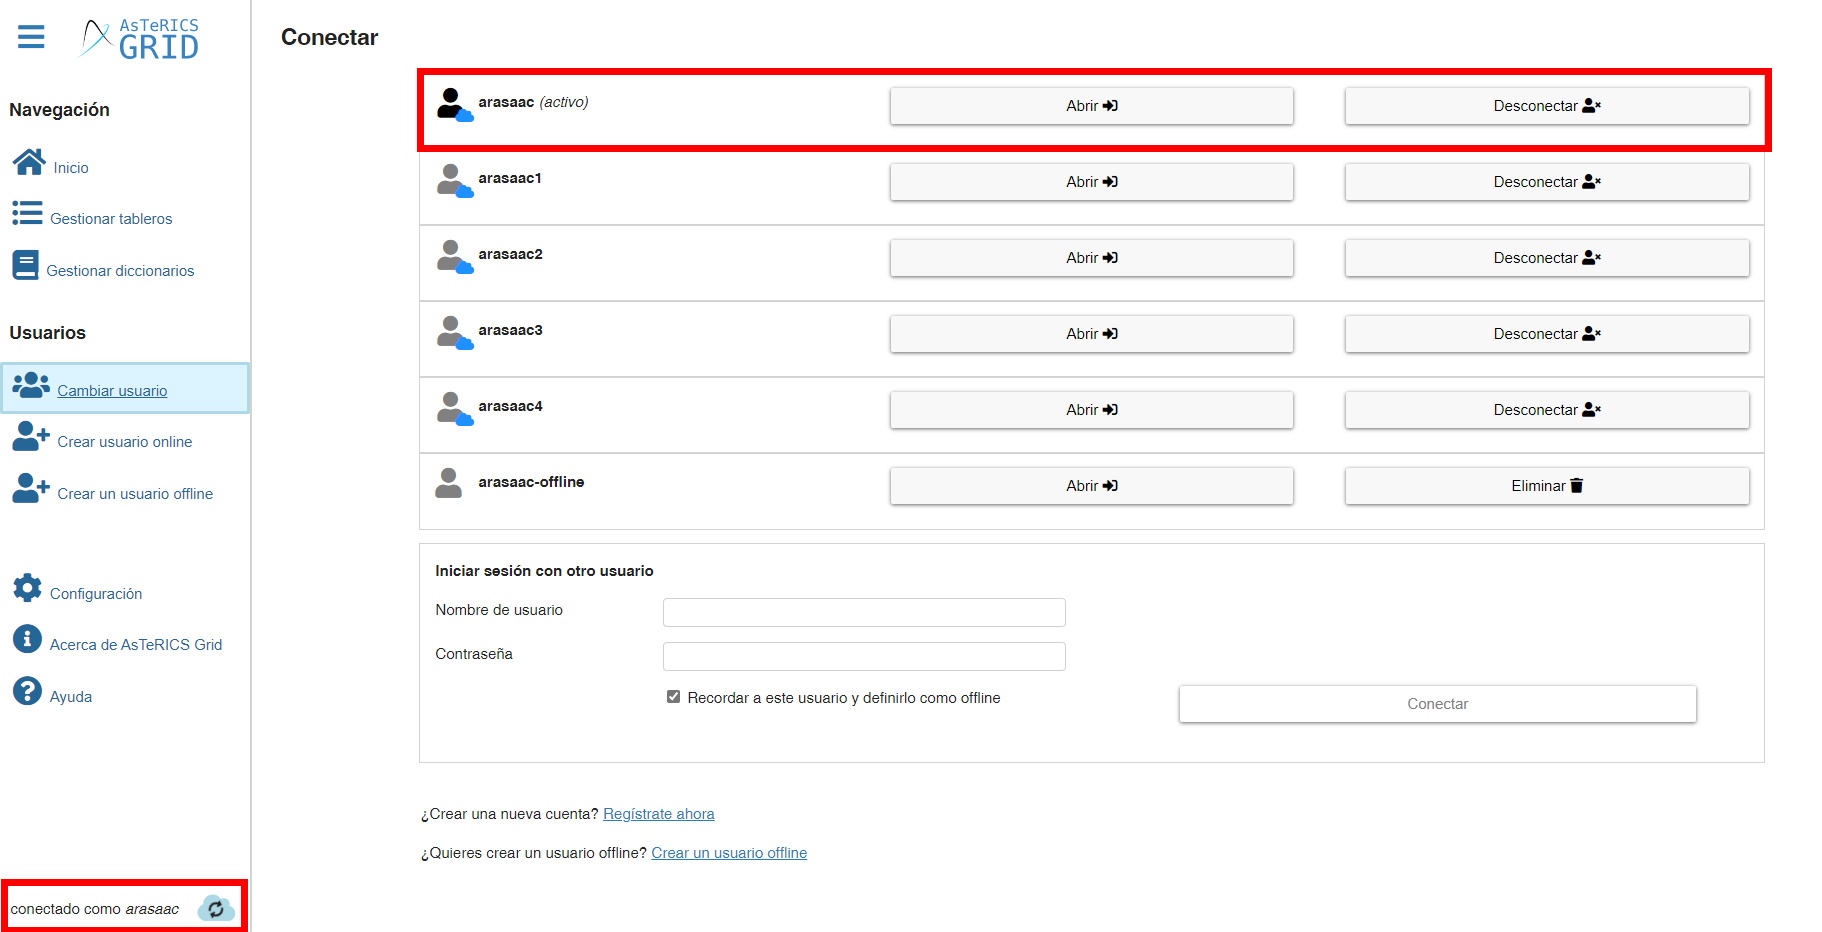
Once we have created one or more users we go to the section, Change users, where we can manage the user with which to work at any time.
As we can see in this screenshot, we have several users connected and “arasaac” is the one we are currently working with (active).
If we click on Open in the active user it will take us to the Main section, showing us the board we have used the last time.

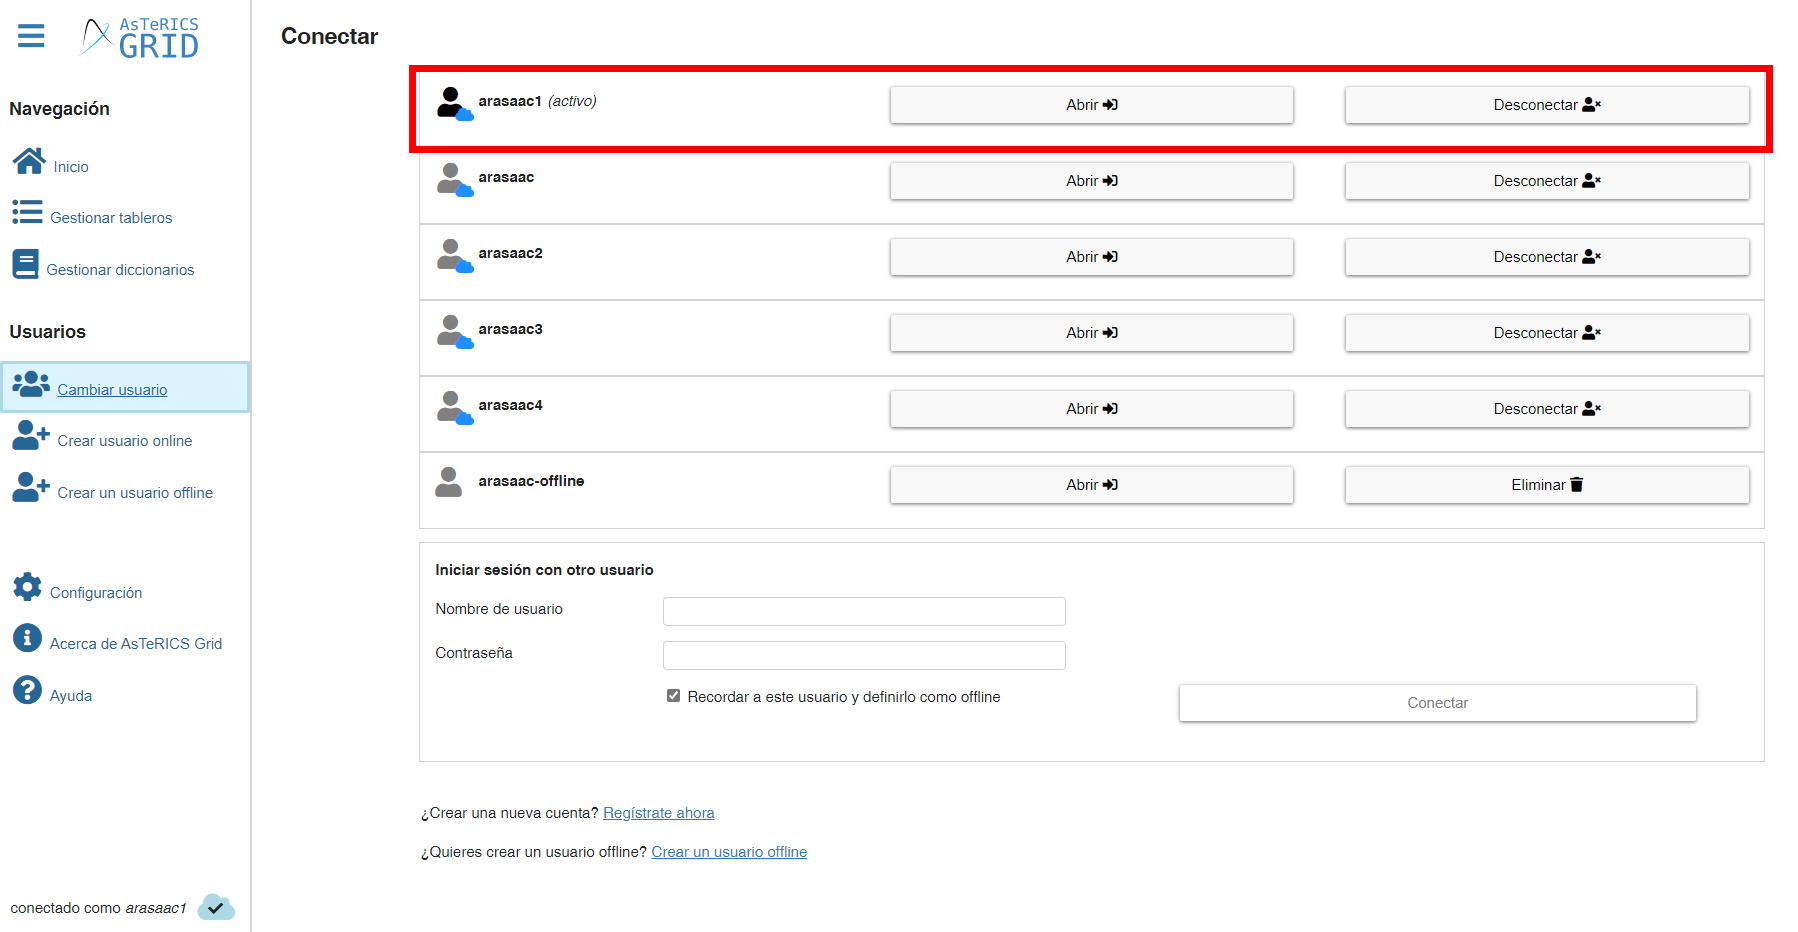
If in the user “arasaac1” we click on Open….
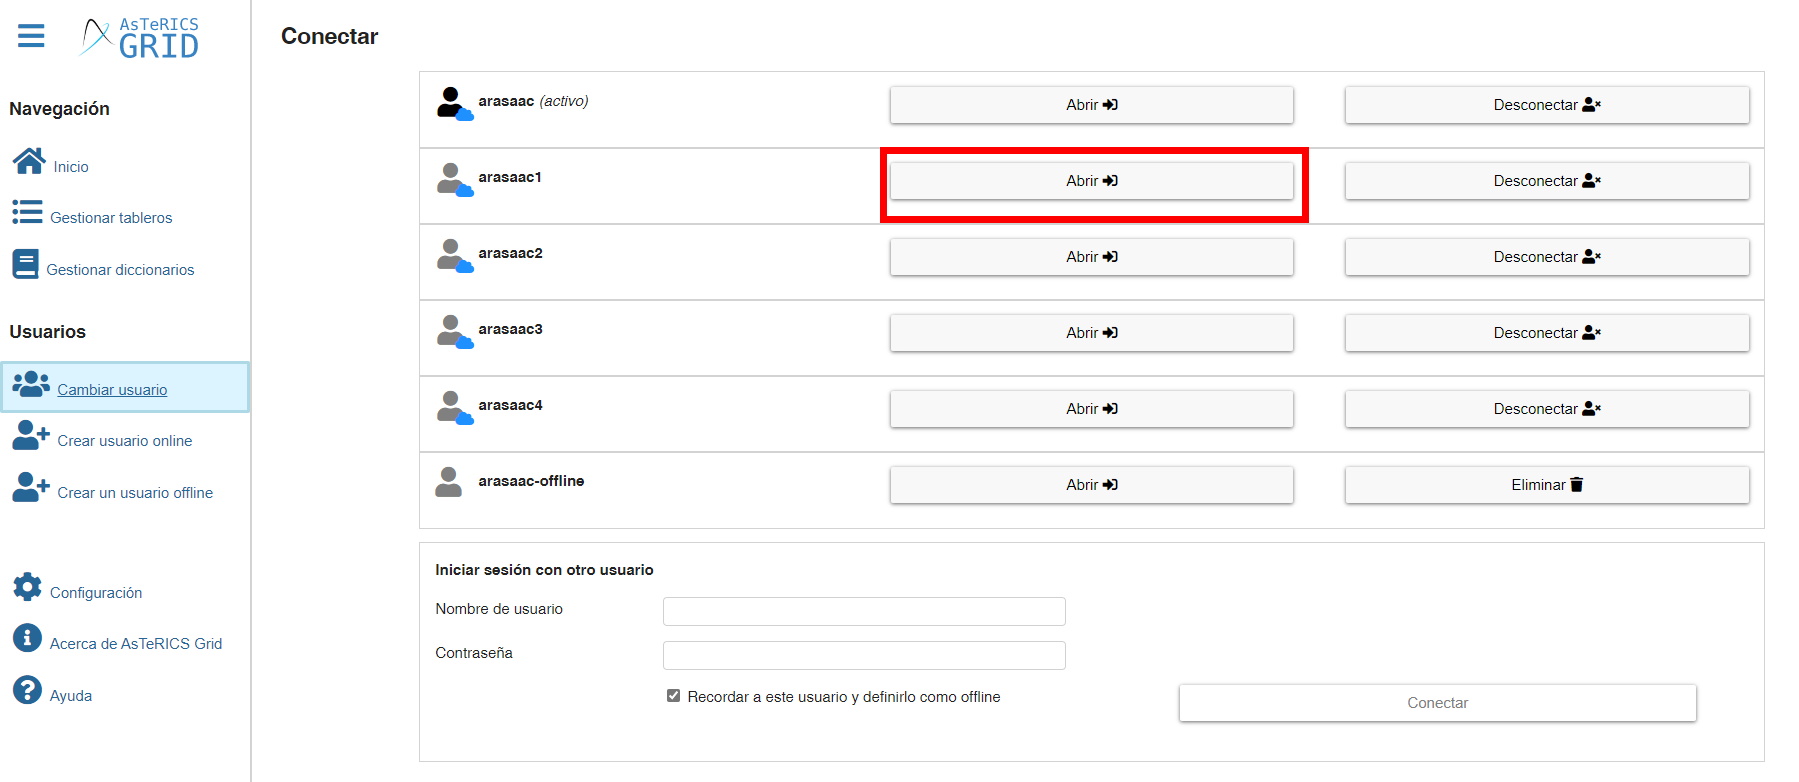
…we turn it into the active user, showing us the Main board that has been established.
Online users – Synchronization status
When we work with online users, the information of both the user configuration and the grids is synchronized with the Asterics Grid server, where it is stored encrypted until it needs to be retrieved on a new device by the user who logs in with that username and password.
To find out which user is active and what is the status of the synchronization with the server, we must look at the lower left corner of the side/main menu.
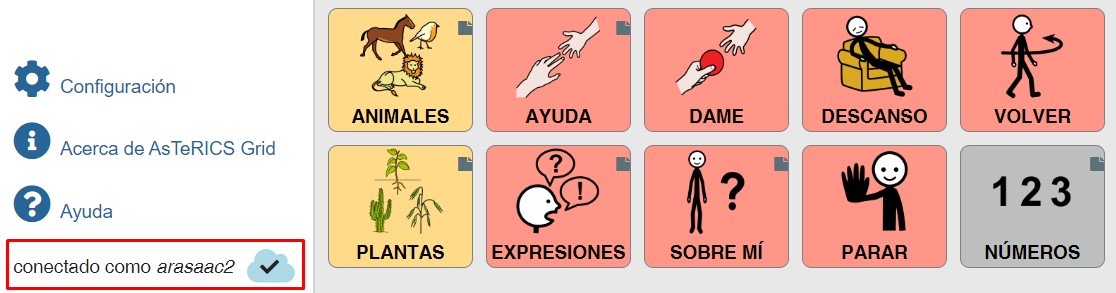
In this case, we see that the active user is “arasaac2” and that the synchronization was successful.
The different synchronization states are:
![]() Synchronizing: the information is being synchronized. This may take more or less time depending on factors such as the weight of the user’s configuration, the state of the network, Internet speed, etc.
Synchronizing: the information is being synchronized. This may take more or less time depending on factors such as the weight of the user’s configuration, the state of the network, Internet speed, etc.
![]() Synchronized: user settings and grids have been synchronized with the cloud and in the browser (device).
Synchronized: user settings and grids have been synchronized with the cloud and in the browser (device).
![]() Synchronization error: synchronization cannot be performed due to an error in the Internet connection or with the cloud.
Synchronization error: synchronization cannot be performed due to an error in the Internet connection or with the cloud.
![]() Synchronization paused: synchronization is paused for a short time. It will be resumed when it’s possible.
Synchronization paused: synchronization is paused for a short time. It will be resumed when it’s possible.
![]() Synchronization only in the cloud: if when registering a user on the device/browser we have not checked the option “Remember user and define as offline” the information will only be saved in the cloud. This icon will indicate that the information is already saved in this one only.
Synchronization only in the cloud: if when registering a user on the device/browser we have not checked the option “Remember user and define as offline” the information will only be saved in the cloud. This icon will indicate that the information is already saved in this one only.


